Today’s work shares a lot in common with Photo Booth view of Android Camera Google+ Upload Tutorial as shown below.
Once you work with an Android phone lots of the products or ideas below will probably come into play regarding media issues …
- Android mobile phone or tablet
- Gmail
- Google+
- Picasa
- YouTube
- Google Drive
- Google Play
… these all have Google in common, and there is no surprise that you’ll use many of the tools above on an Android device.
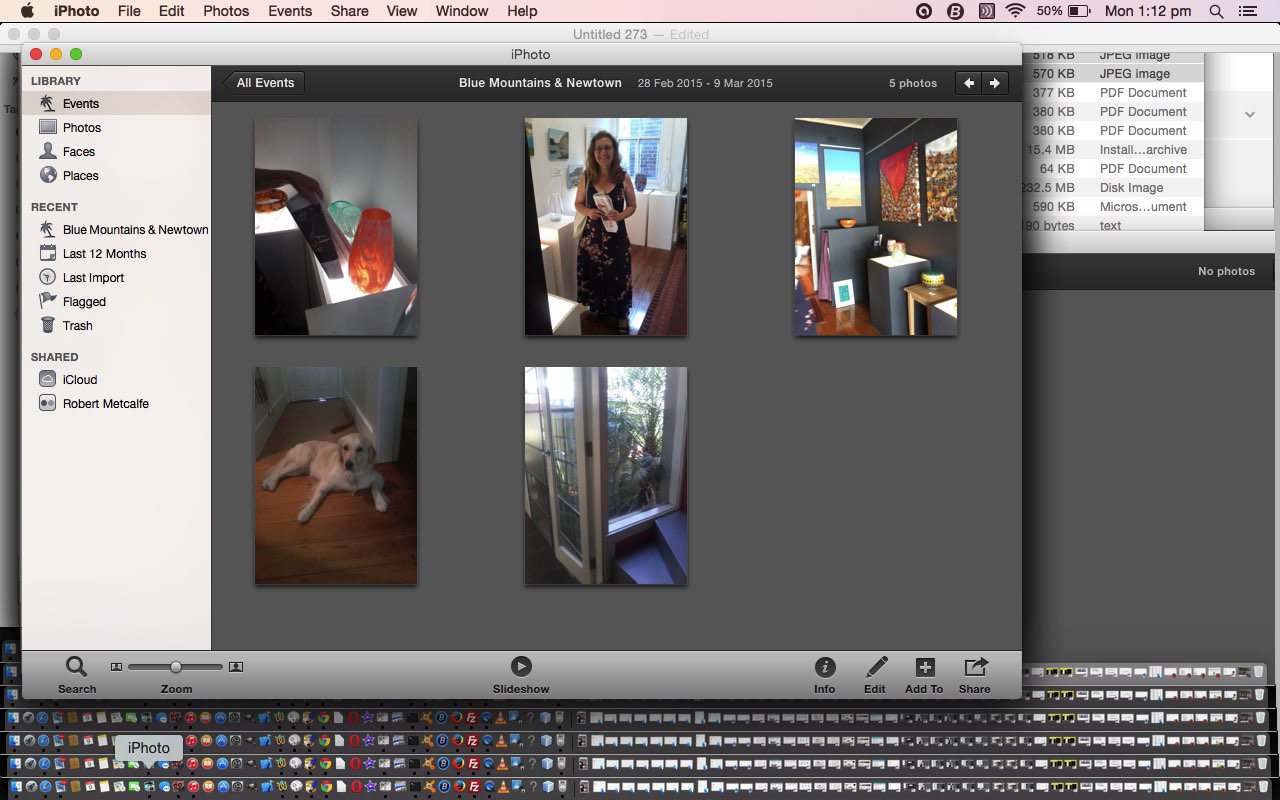
Today we head “across town” to store our photos taken on an Android phone’s Camera to the iPhoto app on a MacBook Pro laptop, so we store the files on a hard disk … in that list above the storage alternative could be Google Drive.
So how does this happen in general terms …
- Android mobile phone Camera app takes the photos
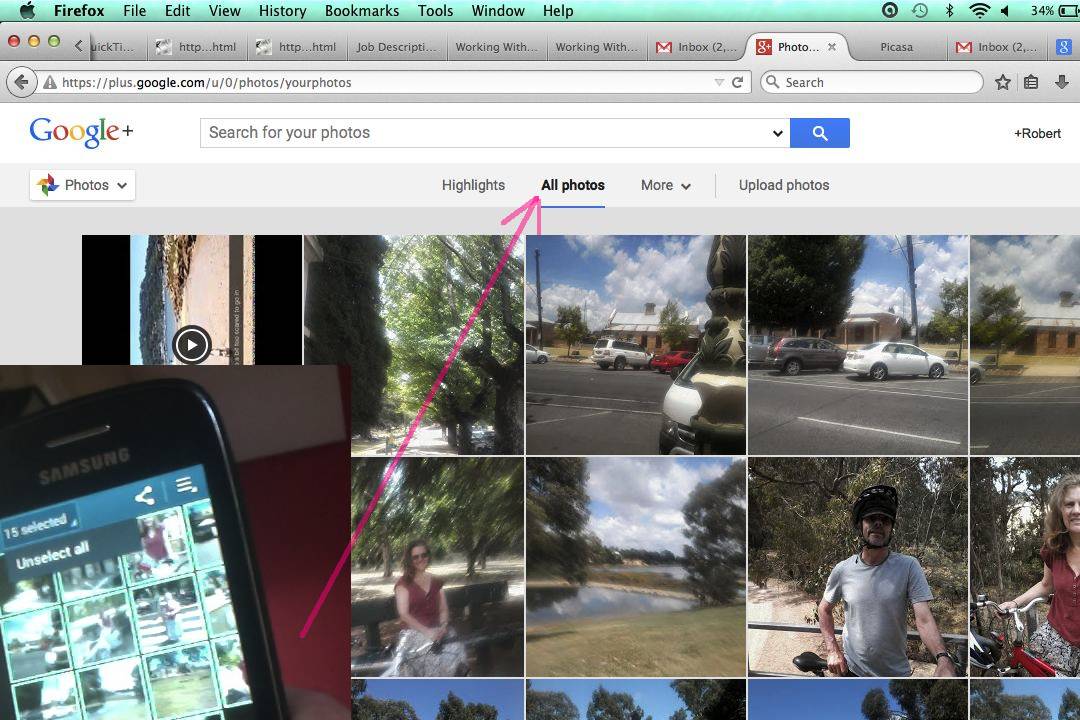
- Android mobile phone Gallery app’s Share Menu “Picasa” option can be used to transfer to Google+ as an Upload
- At the MacBookPro laptop Google+ can be accessed in a web browser and it has a Download photo->Original option to save to hard disk
- At the MacBookPro laptop iPhoto application can have a new event created and those hard disk photos of above dropped in
Am sure lots of tutorial today is ho-hum to many, but not all, so hope you might be someone who benefits from this information. And by the way, you may have a much more streamlined way of performing this task, and we’d welcome your feedback in the comments section if that is the case.
Previous relevant Photo Booth view of Android Camera Google+ Upload Tutorial is shown below.
We spend a lot of time on our Mac laptop (to make the content for this blog), and now that we try to explain a few Android (device) matters we are finding Photo Booth more and more useful as the means to put slideshows together.
As you might know, if you frequent this blog a lot, that we use the snapshotting capabilities of the Mac’s desktop Grab application a lot … and know all of this is a bit more unwieldy than Window’s FN->PNTSC …. but there you go. This suffices for desktop presentations of interest from the Mac, but an Android phone is quite separate, and does not even show as another device when you plug its USB into the Mac laptop … how intrepid? Though didn’t have high hopes … and know lots of you will know ways to do this with “third party” software products etcetera … but don’t know whether you get the hang of what we are, mostly, on about, with this blog … but we try to stay on the side of “using what you’ve got” to the level of operating systems and email arrangements you make and electronic equipment (ie. hardware) you buy … am sure there is great software out there for all these things, and that is great, but are you overlooking what comes with things straight “out of the box”?
Well … ?
Is it software DIY? Anyway, today, we upload photos (we took while on hols) to see what Android phone options are available, and though we plugged in the phone’s (ubiquitous) black lead (aren’t black leads something?!) into both a Mac and a Windows laptop … aw right … we wuz fishin’ … we ended up not needing to … the connection that eventually would have been made would have utilized the Android phone’s local WiFi wireless connection, and hooking up with Google+ as a repository for photos (in a similar way to the way our more preferred Flickr is as well, but it wasn’t an option) via the whole Gmail email username=email/password arrangement with Google … Android / Google … you can guess that this would end up being the likely configuration.
Today we use the Mac desktop Photo Booth photograph taking functionality (in contrast to its video taking functionality we talked about, below, with Photo Booth YouTube Video Primer Tutorial, which may apply for scenarios where you are totally organized and can predict what will happen next), that uses the Mac laptop webcam to take pictures of the Android phone, (and, by the way we find we can’t do without its Edit->Auto Flip New Items option set to on, to make any sense of its usefulness) until near the end when we use the usual Grab application to show you the bits where the photos arrive at Google+ photo repository.
So, the tutorial today has some “garden path” bits, but left them in, and hope you can bear with the stupidities, but eventually feel that relief that any troglodyte feels when they hum “Peter and the Wolf” and get away with it?!
Am sure lots of tutorial today is ho-hum to many, but not all, so, (and we address this to any young viewers, in particular) please enjoy, or see (sometimes fuzzy) bits of Beechworth, Victoria, Australia, Earth, Milky Way … kid … darn those ornery consonants.
Previous relevant Photo Booth YouTube Video Primer Tutorial is shown below.
Today, building on the knowledge of YouTube Closed Captions Primer Tutorial as shown below, we wanted to show you how the Mac application Photo Booth can create videos which can (then, additionally) be uploaded to the YouTube website for public viewing.
Photo Booth can use your Mac laptop’s inbuilt camera to create photos or videos. Today we use it as the “third party” photographing a how-to video showing how to use the Google Play website to install a mobile app onto your Android mobile phone.
The major considerations and steps involved in producing the YouTube clip below were:
- Open Mac application Photo Booth
- Make sure its Edit->Auto Flip New Items is set (on)
- Set up all the equipment …
- Samsung GT-S5310B smartphone
- Samsung GT-S5310B smartphone black cable (that came with the phone)
- Toshiba (Windows) laptop
- Mac application Grab for screenshots regarding tutorial above
… so that you are ready (eg. we set a Firefox window to Google Play http://play.google.com/ ahead of time on the Toshiba laptop) with the Photo Booth camera steady on a fixed shot that is okay
- Click Photo Booth’s video button near the bottom at the left
- Film the Photo Booth video
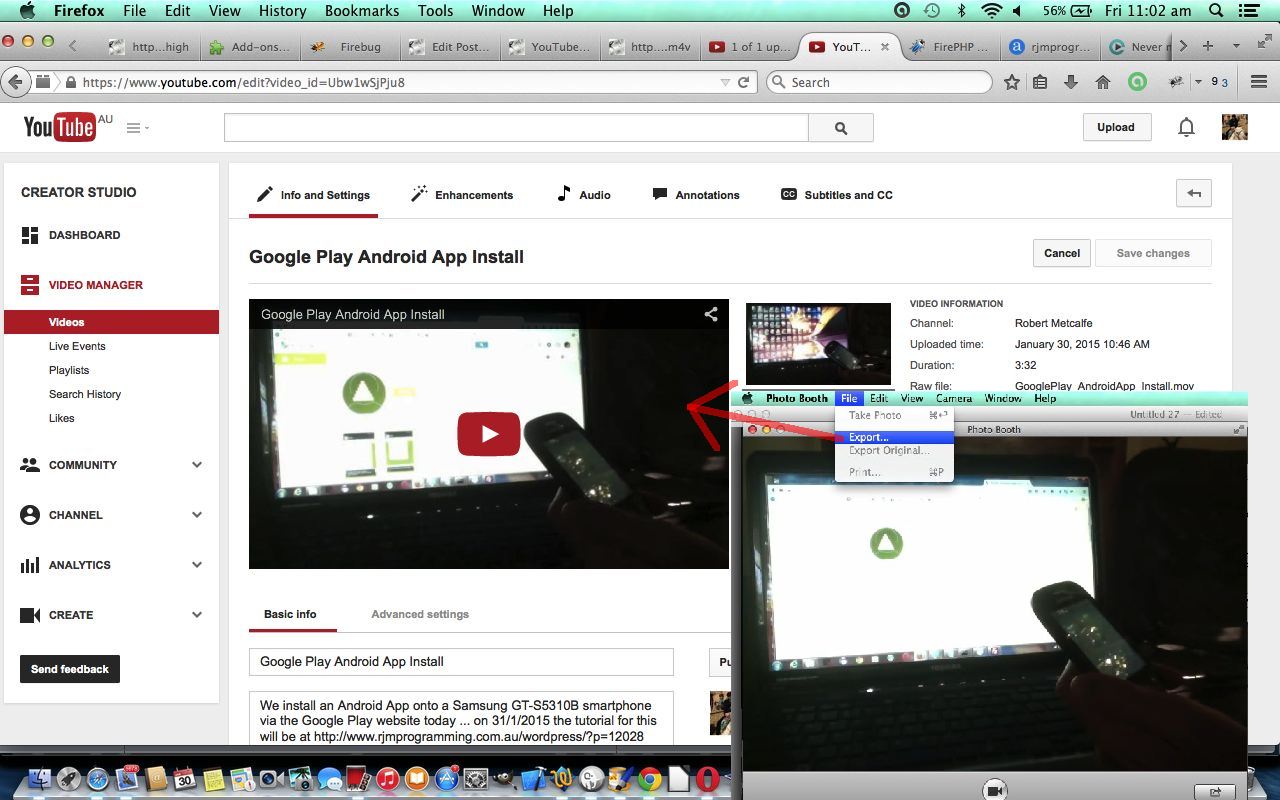
- Use Photo Booth’s File->Export option to create GooglePlay_AndroidApp_Install.mov
- Open (Firefox) web browser
- Click a YouTube link of some sort or type https://www.youtube.com into address bar
- Log on as the channel manager for the channel you administer
- Click Video Manager button or link
- Click Upload button
- Browse for GooglePlay_AndroidApp_Install.mov to Upload
- Fill in various information as you wait
- Back at Photo Booth replay video to help get the context required to construct a closed captions GooglePlay_AndroidApp_Install.sbv file using the TextWrangler text editor
- Click Subtitles and CC link
- Click Add New Subtitles or CC button … we choose English suboption
- Click Upload a File button
- Upload GooglePlay_AndroidApp_Install.sbv
- Click Audio link
- We picked Classical suboption within Top Tracks button options and we made a Satie composition the audio track for our YouTube video … you may say the silence at the end is a metaphor for similies … “but I cannot possibly comment”
- Click Enhancements link
- We gave it more Fill Light
- Click Publish button
- Click the Play button and while playing you can see an Embed link below the video playing, and this is what was used to make the embedded HTML code that shows it below … with the URL (equivalent) additional ?cc_load_policy=1 to have the closed captions happen
Hope you get some ideas out of today’s tutorial.
Previous YouTube Closed Captions Primer Tutorial is shown below.
Podcasts are very useful media resources for broadcasts or presentations or tutorials and can have both visual and audio components. Yesterday’s Podcast Publisher on Mac Primer Tutorial looked at one of the pair of Mac laptop applications for Podcasting, it being called Podcast Publisher (the other is Podcast Capture). In the course of doing all this we uploaded a YouTube clip for which the audio track was not great, due to overstrained neurons (in the dog, naturally). In the meantime, tried making another audio track using QuickPlayer New Audio Recording and it didn’t gel with YouTube’s requirements (when I got to “Drag audio here” … is known issue … ) … for another day … so how else could this YouTube clip be improved? … let me count the ways! … but seriously, why not add some Closed Captions, if the audio is not very apt.
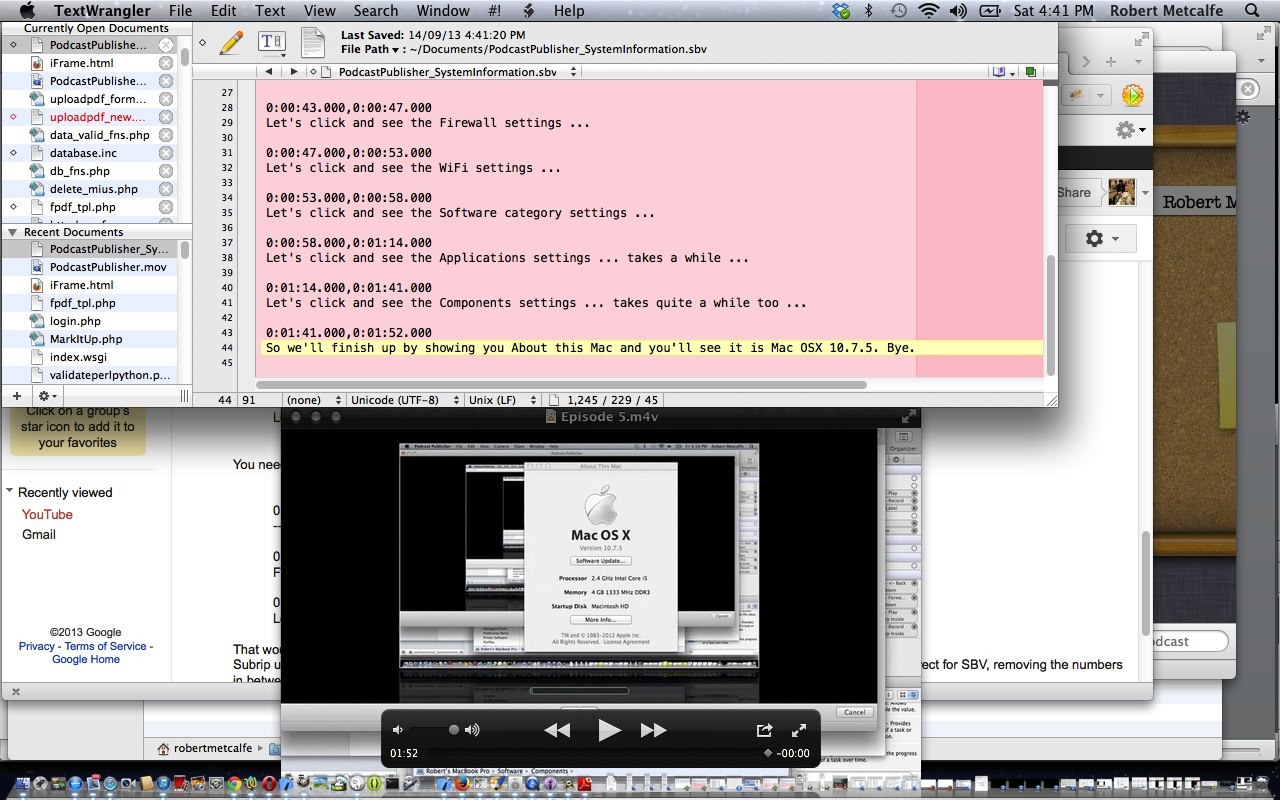
So we build up a .sbv file for YouTube’s Closed Caption upload requirements. This was done, as per the picture above, by playing the YouTube clip (your desktop version) using Quicktime Player, and building up the text .sbv file in a text editor like TextWrangler, stopping and starting through the Quicktime Player play-through.
Then we go to the relevant YouTube Channel and would advise watching the tutorial to see what happens, here at this link.
And so the changes get saved to YouTube as below:
Link to downloadable YouTube Closed Captions upload file used for this tutorial could be called PodcastPublisher_SystemInformation.sbv
If this was interesting you may be interested in this too.
If this was interesting you may be interested in this too.
If this was interesting you may be interested in this too.
If this was interesting you may be interested in this too.


14 Responses to Android Camera to Mac iPhoto Primer Tutorial