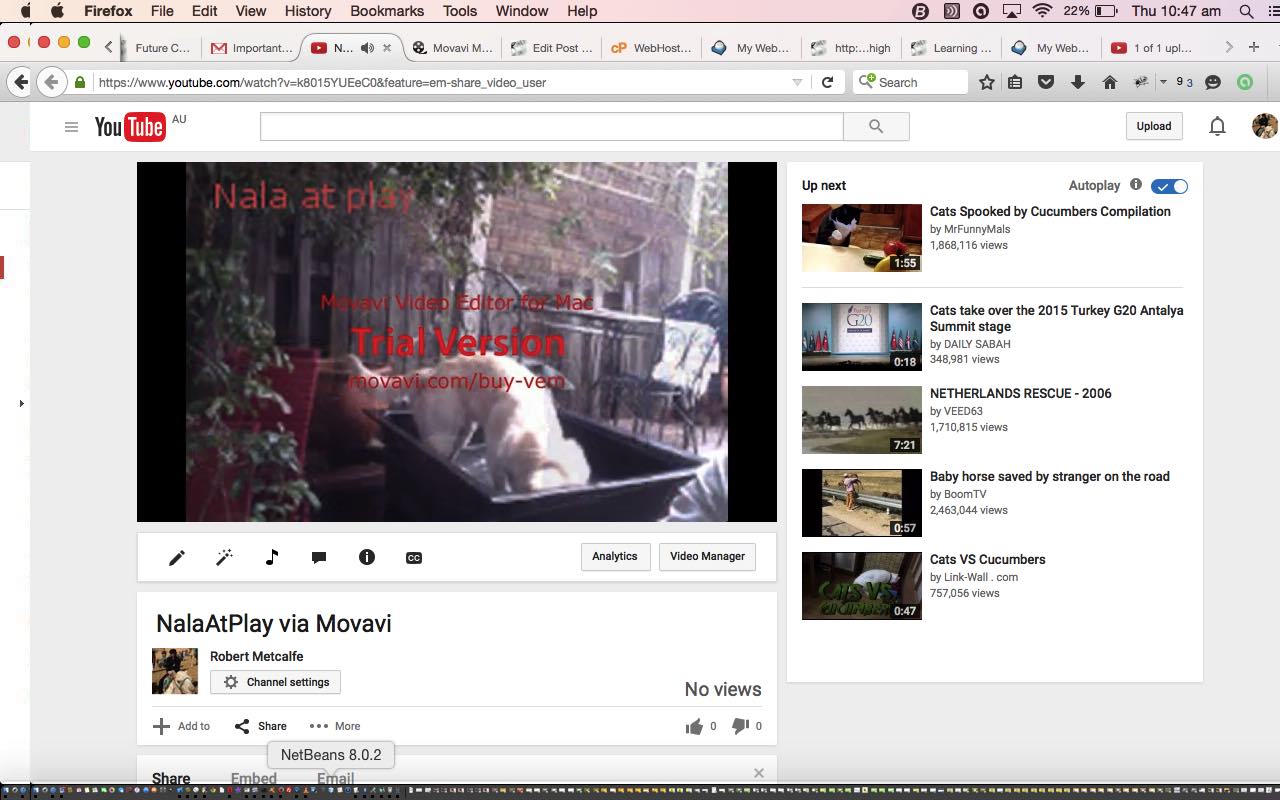
Today we show some video and audio creation, with a slideshow feeling, on a Macbook Pro using Movavi video and audio creator and editor.
Ultimately we end up with a YouTube clip as below …
So, roughly speaking, what was involved …
- On a Macbook Pro, surfed the web to Movavi
- Clicked the Download button
- When finished download, clicked the resultant download button then clicked the install *.dmg
- Opened up the Movavi desktop application
- Saw the drag and drop area to place image files (which had previously been located in Finder)
- Drag and dropped the individual image files to make up the video


- Added a Crossfade transition via the Transition button to the left of Microphone button
- Played video and was happy
- Added an audio track to entire video clip via Microphone button

- Clicked the Export button and Saved to a Movavi project folder

- Used Finder’s Get Info method to rename the resultant *.mp4 file to more self explanatory name
- Double clicked the *.mp4 in Finder to play the clip and saw that it was okay … and the rest concerns that optional upload to YouTube as you see fit …
- On a Macbook Pro, surfed the web to YouTube (having been already logged into Gmail, so was logged into a YouTube channel … otherwise you need to register for a YouTube Channel by following YouTube help instructions here)
- Clicked the Upload button and selected my *.mp4 file
 or dragged it into place
 - Filled in form details, before clicking the Publish button, to make the video public on YouTube
- Optionally, selected the Email link to test out sharing the video va an Email message, and that all worked too

That shows Movavi video and audio creation, with that slideshow feeling, but there are more editing features in Movavi that you can further explore.
Movavi and Apple’s iMovie are both options for this type of work to create …
- slideshows
- videos
- videos with audio
Movavi can be used to edit video files that were captured as videos (ie. not a slideshow derived from individual photo snapshots, as today’s video creation involved) from other devices too, so am sure you can see how useful this could be.
Anyway, take a look at our slideshow explaining Movavi, today, and thanks for reading. By the way the original photo stills were created via the Photo Booth Macbook Pro desktop application, which can also be used to upload to YouTube, which you can read about at Photo Booth YouTube Video Primer Tutorial.
If this was interesting you may be interested in this too.


22 Responses to Movavi Video and Audio Slideshow Tutorial