Today’s blog posting titular (and main) message is really a tip to those Mac OS X users that enjoy command line work, via the Terminal (desktop) application. Do you waste a fair bit of time using the cd command to navigate your way to various software projects, or the like? Around here, we tend to use Mac OS X Terminal command line a lot, but get around too much use of cd by letting (the fragrant aroma and sea breezes of) MAMP local Apache/PHP/MySql web server (wash over the very essence of our being). Even delving into the woooooorrrrrllllldddds of node.js or MeteorJS or Backbone.js or AngularJS or ReactJS our first instinct would be to work off MAMP’s /Application/MAMP/htdocs/ (document root) because we sort of “live MAMP” and “hang about with MAMP” (you had to be there), and so, find things later, to remember, as a result, and also, we baulk from those great long cd commands, as we are here today to outline another approach to all this.
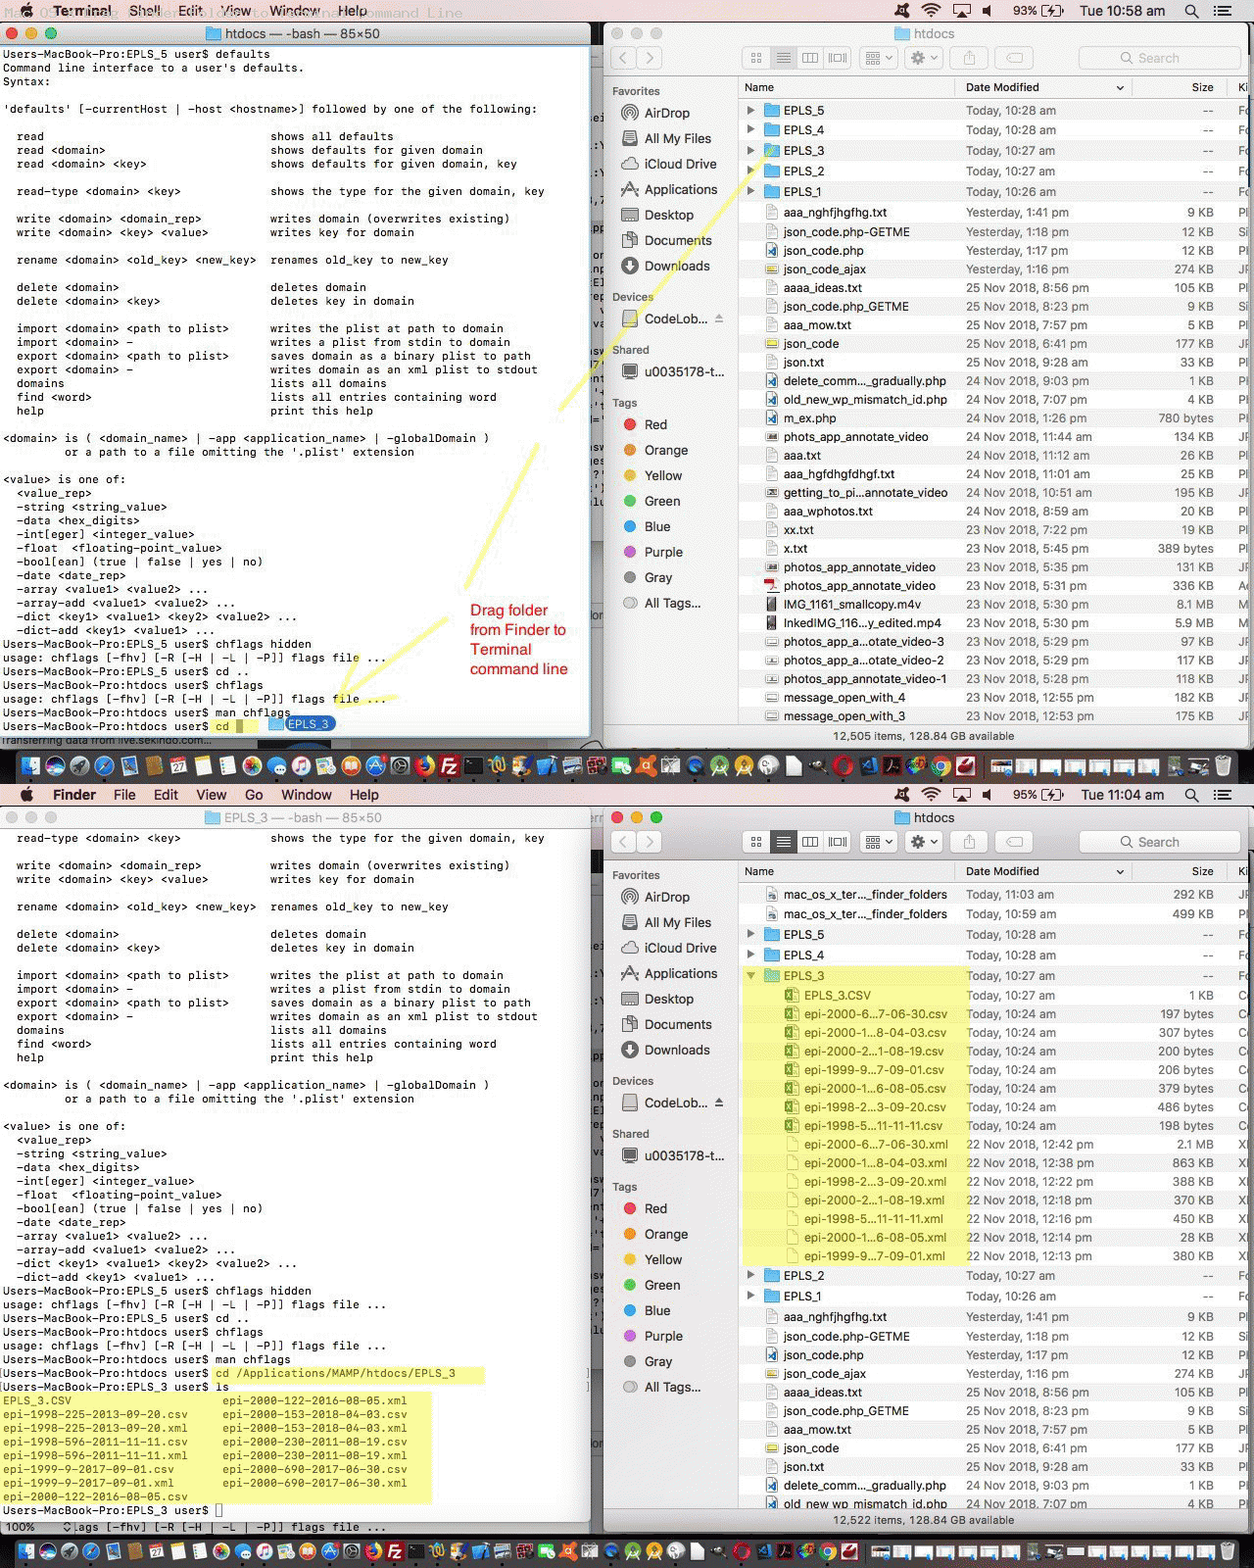
- Half fill your Mac OS X screen with a Terminal session, perhaps at the left.
- Fill the other right half with a Mac OS X Finder window.
- Try typing a blank character appended to cd on the Terminal session … ie. “cd “
- In the Finder session, drag a folder over to the Terminal session to the right of the “cd ” typing, and drop.
- In the Terminal session complete the command via an Enter key press.
Get it?! Cute, huh?! Okay, that’s the end of today’s blog posting’s main thought.
If you are not interested in the “Making Of …” thoughts you are excused now.
We were wondering how to present this concept. At first we thought a single image. No, it needs an action, and consequence, to be apt with today’s subject matter (ie. to segment the single image could be done, but would not simulate the “drag and drop” action feeling). What about a PDF Slideshow? That’s good for covering the action, and consequence, but not for setting it off without user intervention, which may never happen. So, in that case, what about an Animated GIF, homegrown (ie. where size can be bigger than with the redoubtable Gifpal animated GIF creator, for millions)? Yes, more the go, we think. And that got us back into the woooooorrrrrrlllllddd of Animated GIF and Video via PHP Writing PHP Data URI Tutorial and all its presentation styles, which we wanted to show you.
- we start with the titular animated GIF …
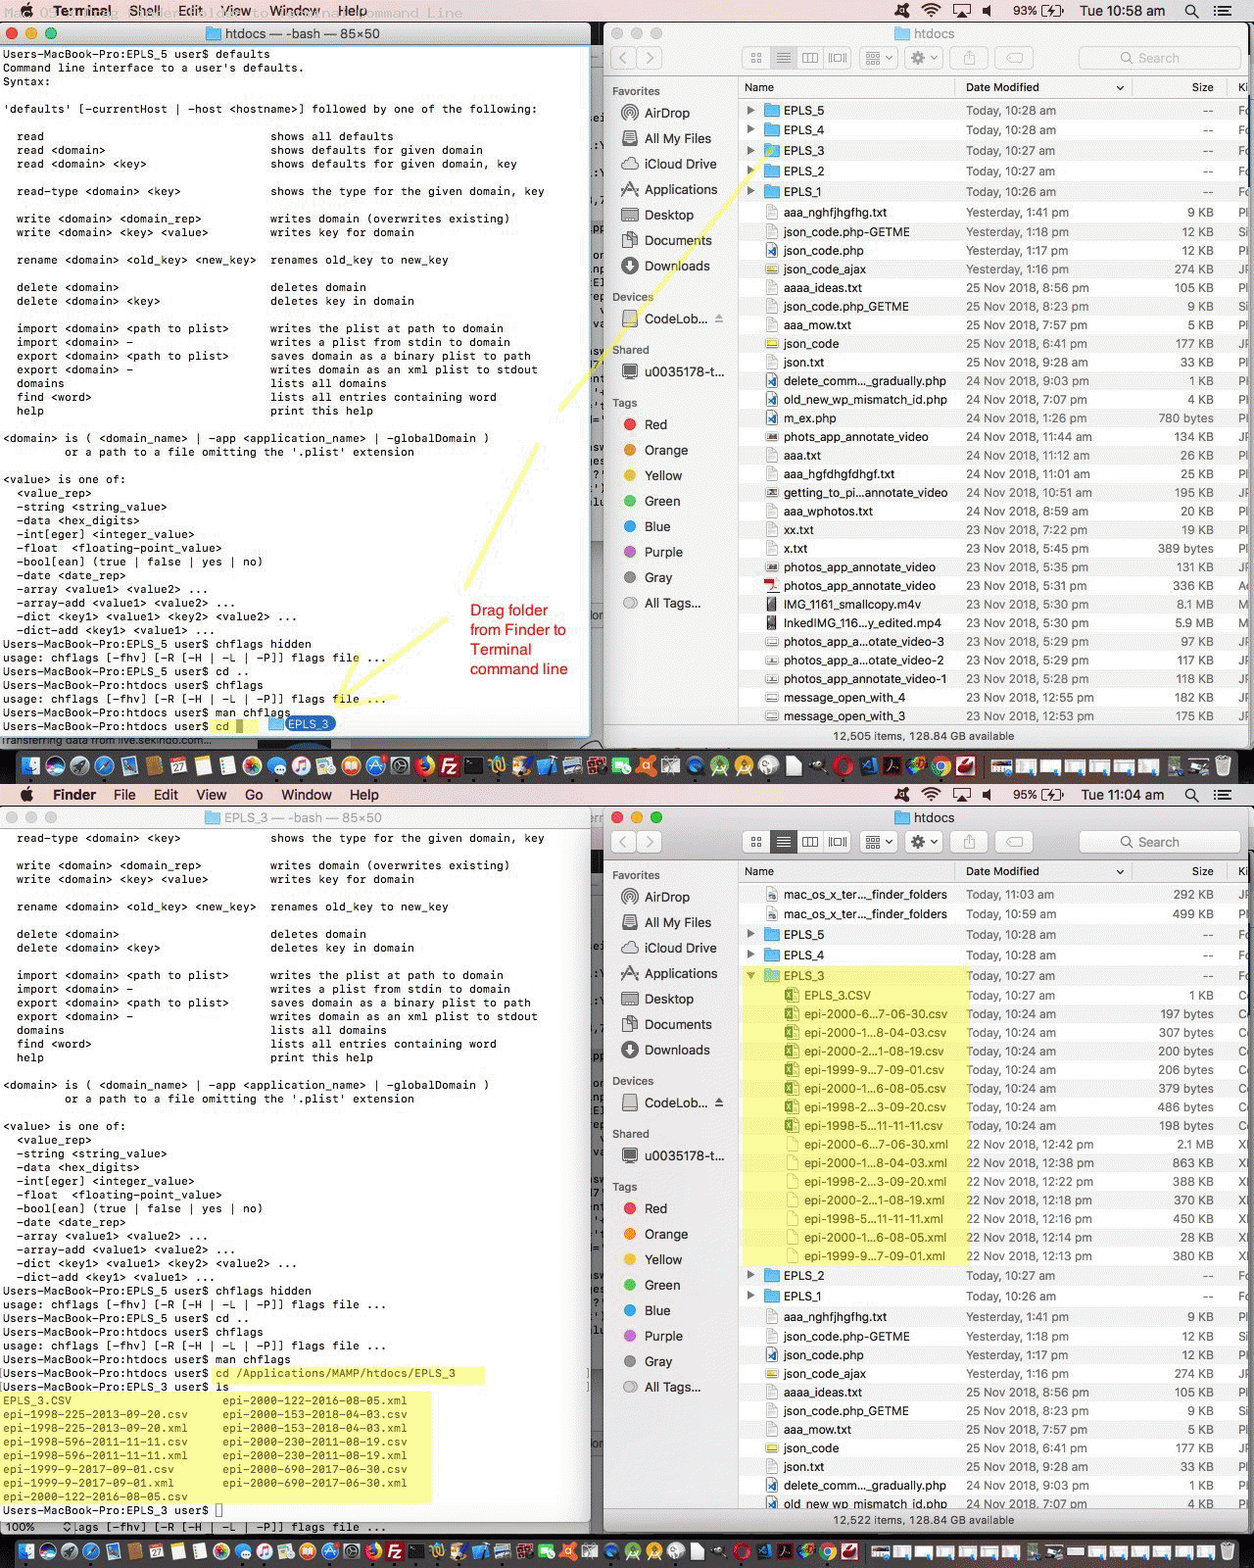
- then there’s the data URI animated GIF …
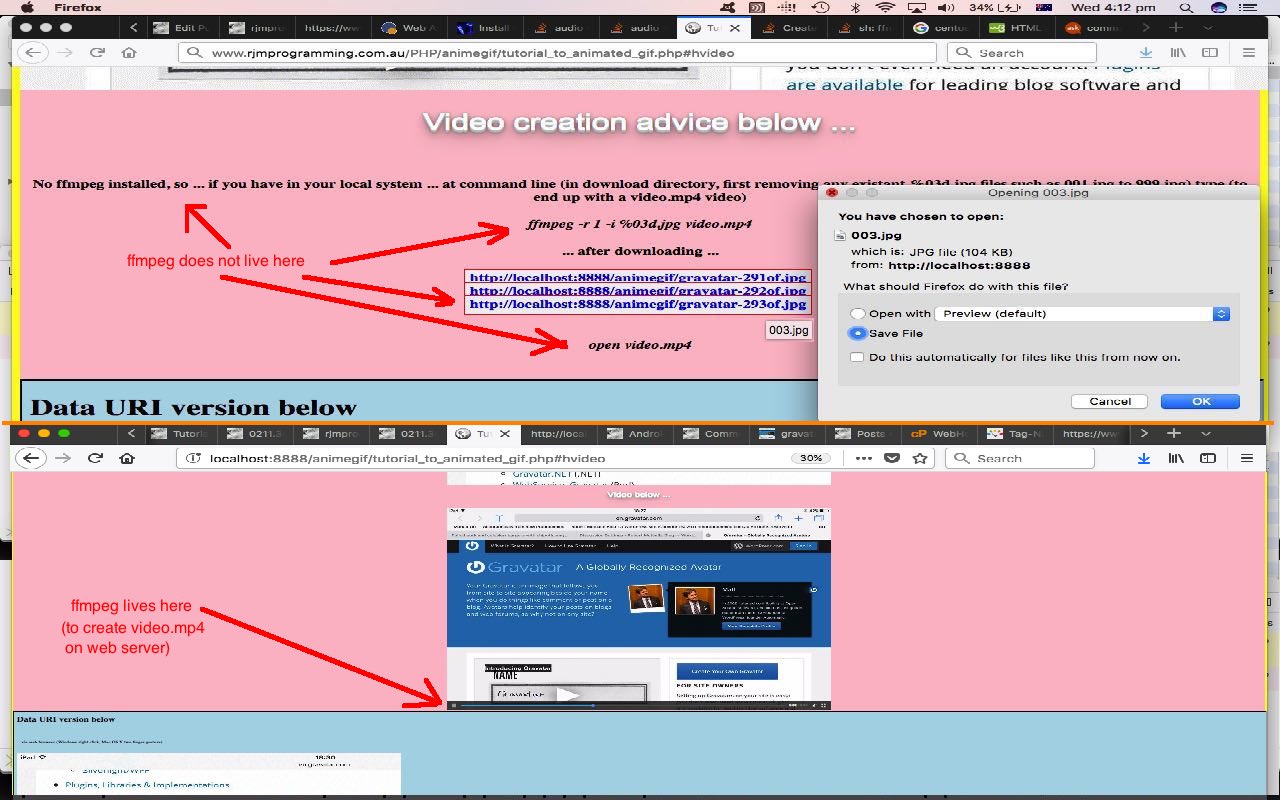
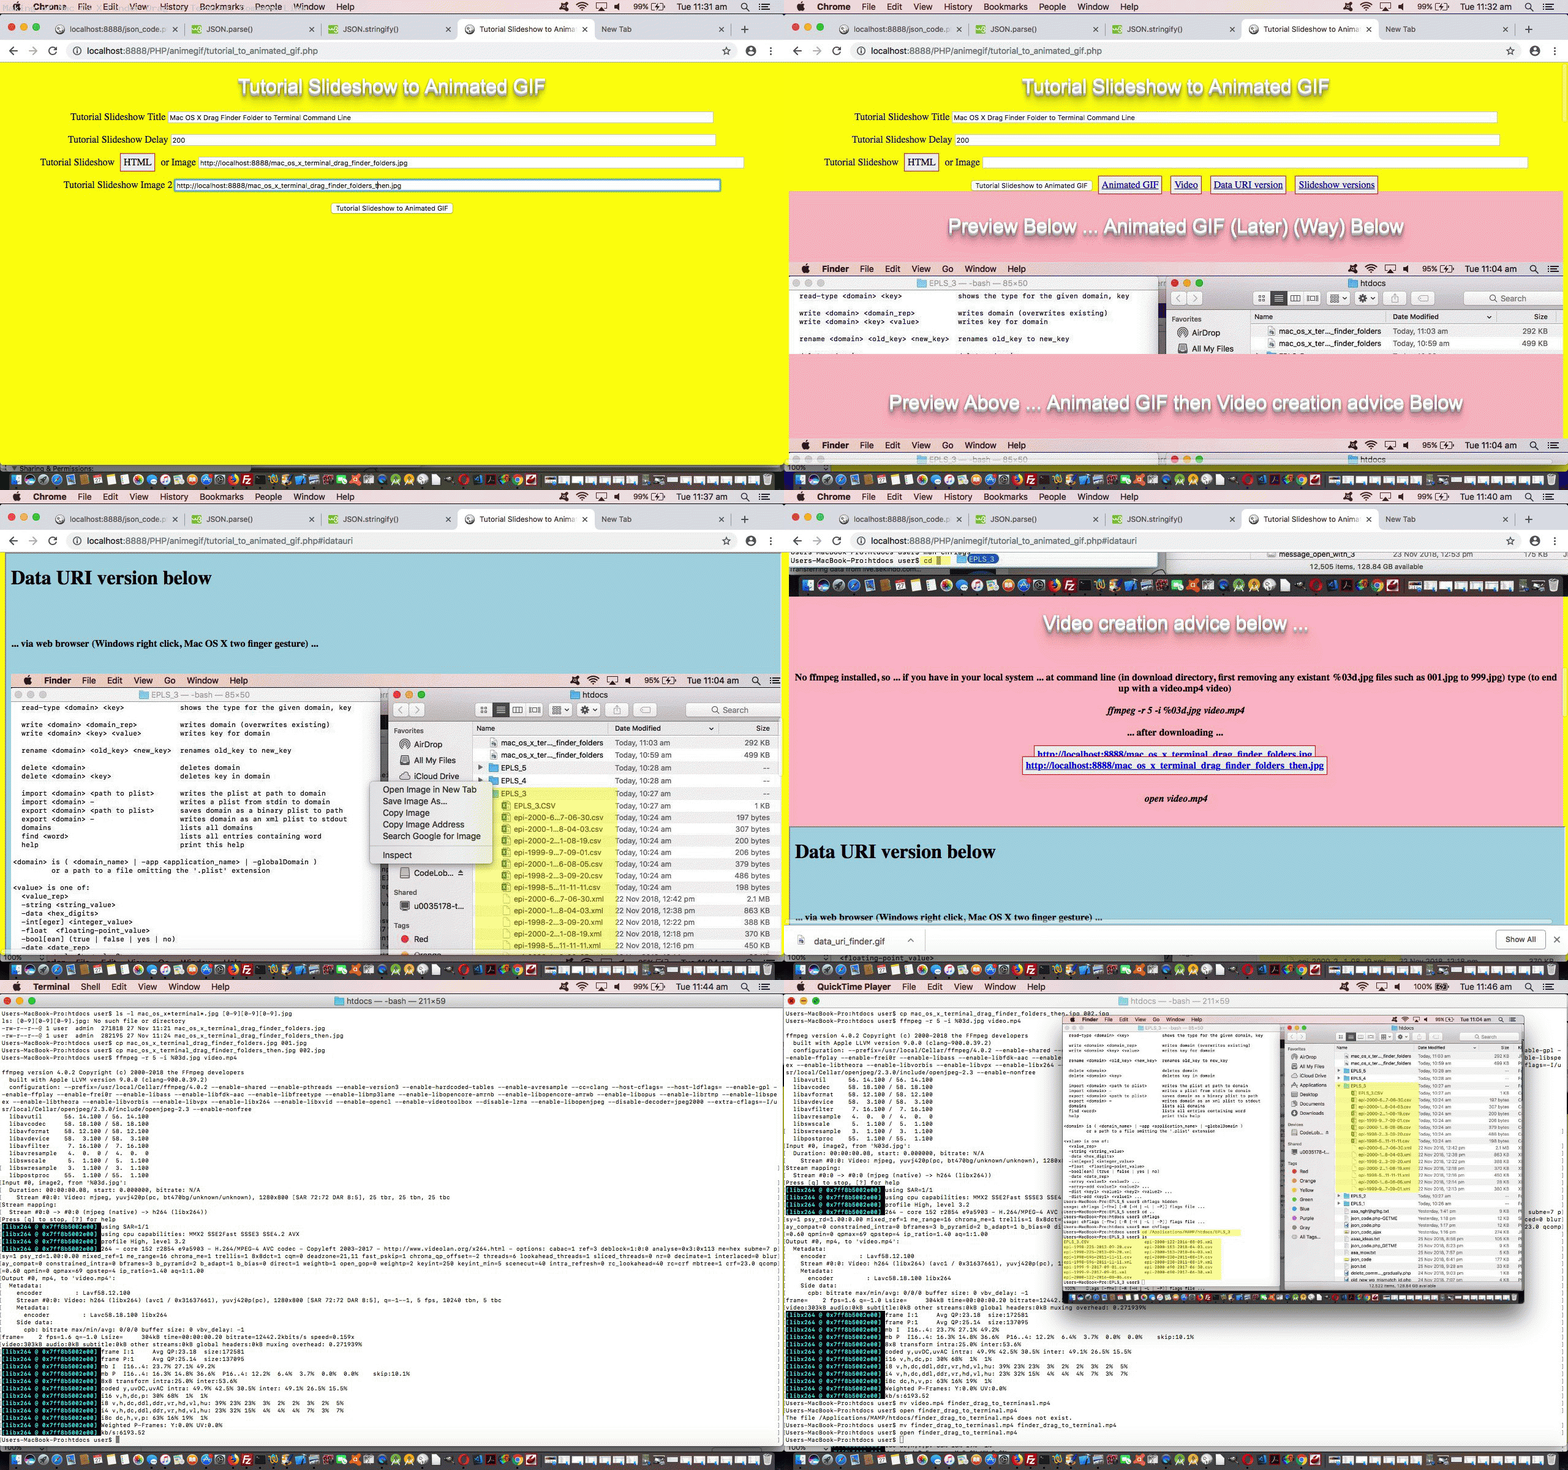
- then there’s the ffmpeg created (stop and wait to be controlled) video idea …
- then there’s the ffmpeg created (attempt to autoplay (and loop), given there is no audio, though many platforms disallow this idea) video idea …
- then there’s the animated GIF about this “Making Of …” work with …
Files work as well as folders. Supposing wherever we see cd above you substitute in your mind the command line editor vi and wherever we talked about folder above you substitute in ascii text file, that could work too. We hope you are left with ideas.
Previous relevant Animated GIF and Video via PHP Writing PHP Data URI Tutorial is shown below.
There is a great open source command line application called “FFmpeg” that can create video (or convert video) from image slides (for instance), and so, if we merge functionality for this into yesterday’s Animated GIF and Slideshow via PHP Writing PHP Data URI Tutorial some “presentation” styles that our web application can process are now …
- animated GIF
- slideshow
- video
As useful as “FFmpeg” is, it is not necessarily a default application existing on web server operating systems like our rjmprogramming.com.au’s CentOS server. But we do have it on our Mac OS X (MacBook Pro) operating system’s command line, so we write our PHP determining whether to …
- create the video data there and then via “FFmpeg” and PHP’s exec method … or …
- provide instructions to be able to create the video back at your client computer (that has “FFmpeg” perhaps) … to suit the …
ffmpeg -r 1 -i %03d.jpg video.mp4
… to create a video called video.mp4 with 1 second delays between (input) slides named 001.jpg then 002.jpg then 003.jpg etcetera … thanks useful webpage for the help … that in the command line can sometimes be played via …
open video.mp4
… or used in some HTML as per …
<video controls id=ivideo type='video/mp4'><source src='video.mp4'></source></video>
… that we show you, below, the Mac OS X local MAMP (Apache/PHP/MySql) web server running of today’s PHP to create …
If you are a regular at this blog and “FFmpeg” sounds a bit familiar to you, that’s probably because you’ve read FFmpeg Image Optimization Primer Tutorial on an earlier occasion … by candlelight … with the lights dimmed?!
See this in the context of how this PHP tutorial_to_animated_gif.php code changed for videos in this way or try it as a live run.
Previous relevant Animated GIF and Slideshow via PHP Writing PHP Data URI Tutorial is shown below.
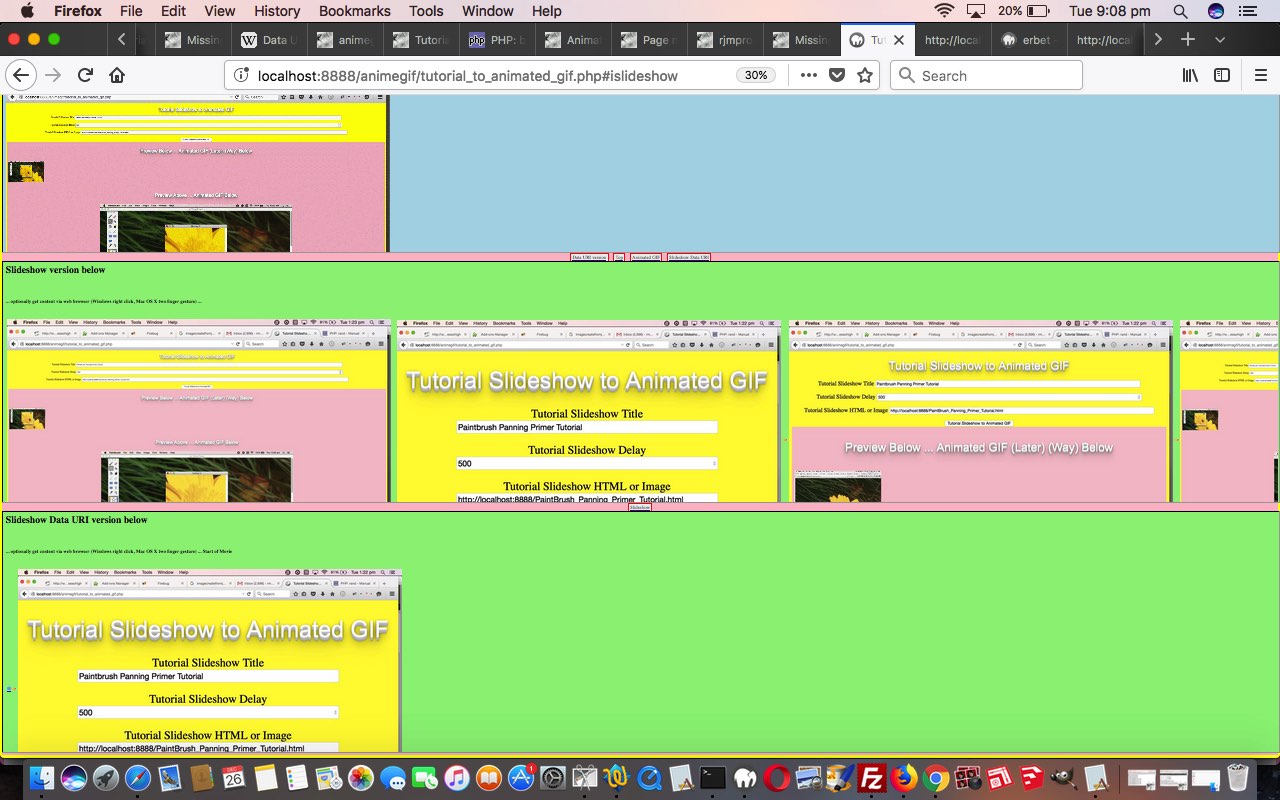
To us, there are great similarities between animated GIFs and slideshows, as two forms of “presentation”, and so to extend yesterday’s Animated GIF via PHP Writing PHP Data URI Tutorial animated GIF creator “PHP Writes PHP” web application that now has the option for data URI “exports” we add the functionality for …
- slideshow creation (using our inhouse methods) which defaults to a horizontal (hashtag type of) navigation … as well as adding a …
- slideshow creation, with Data URI image data, using functionality as if CSS z-index (ie. slides stacked on top of each other in “overlay” style) was being used, but actually isn’t …
… that little bit different to another “stacked” (or z-index feeling) approach we talked about with Multiple Class Slideshow Details Tutorial, where HTML element “class” properties were changed so that the last class defined reflects the look of the slideshow slide desired at any given time. We just use an array, and a setTimeout timer to achieve the same ends today, with our work (or “presentation”). If this “horizontal versus stack” navigation choice interests you, also take a read of HTML Input Element Types Randomized History Tutorial.
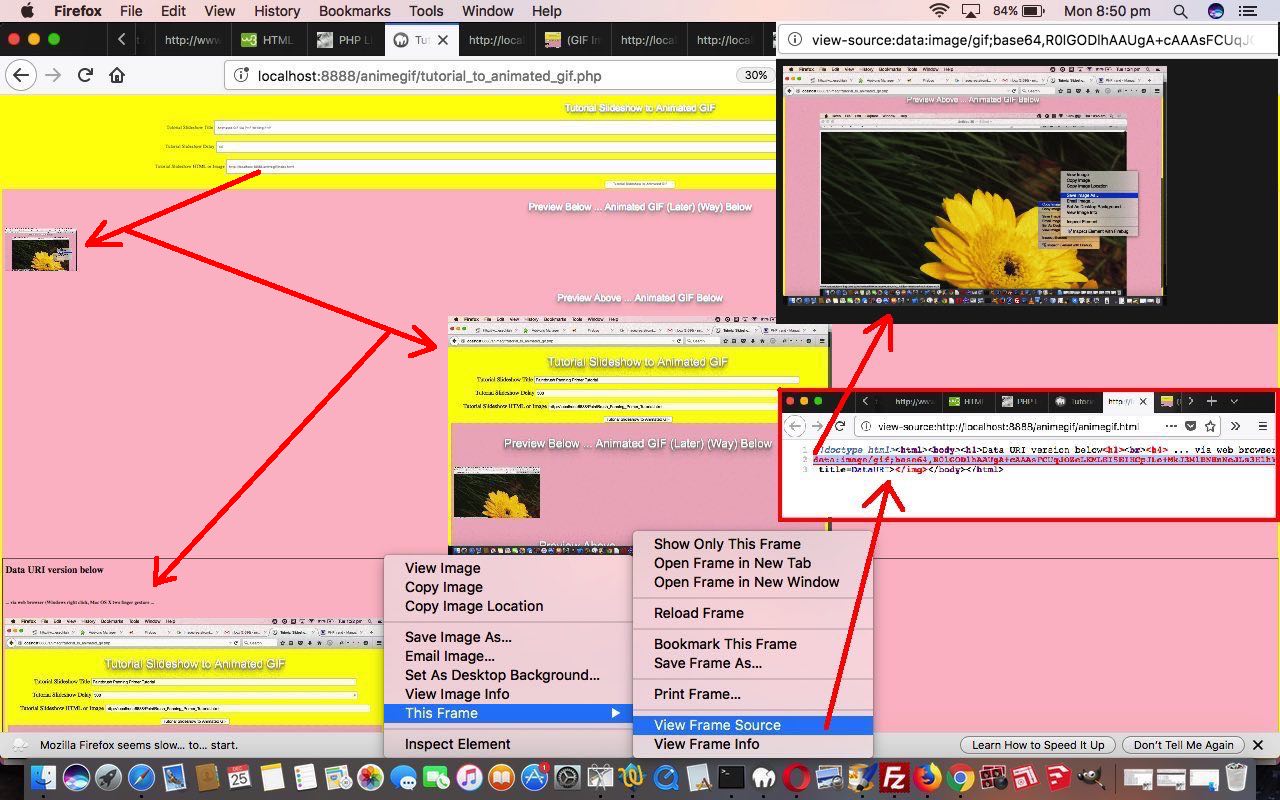
Again, with all this added functionality, because it is “hosted” in an HTML iframe element all the existant web browser (Windows right click or Mac OS X two finger gesture) functionality can come into play, and make life quite interesting for your non-mobile users “collecting” data URIs … there are worse hobbies!
You can see this in the context of how this PHP tutorial_to_animated_gif.php code changed for slideshows in this way or try it as a live run.
Previous relevant Animated GIF via PHP Writing PHP Data URI Tutorial is shown below.
The previous relevant “PHP writes PHP” methodology animated GIF creator we talked about, first, with Animated GIF via PHP Writing PHP Primer Tutorial came back to mind yesterday with our Missing Javascript Audio on Unmute Tutorial, where we pondered on whether an animated GIF could be represented on a webpage by a data URI. Why take an interest in this? Data URIs are very important to do with …
- future mobile development web form navigation benefits from their usage
- the use of data URIs make your web pages independent of web server location issues, so make your web data more portable, and flexible
… and ideally, animated GIFs are also not just a decorative part of all this web application usage (as they can be a very efficient representation of an animation that could not be a more succinct way to show that animation or presentation), and if they can be made to be like any other GIF or image data file in the ways they can be represented (and used), then that is all for the good.
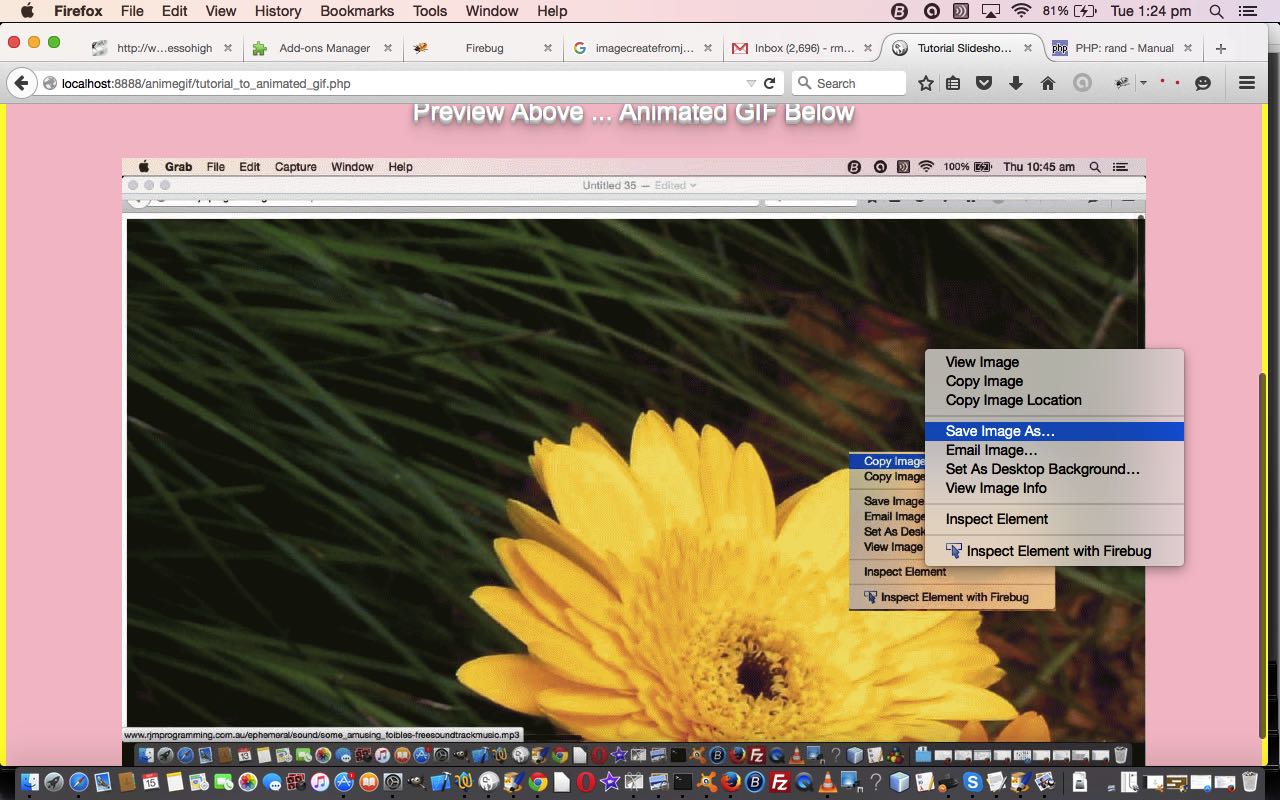
So we changed the Jeroen van Wissen’s inspired PHP (“PHP writes PHP” methodology) code tutorial_to_animated_gif.php code allow for this extra animated GIF data URI representation in a new additional HTML iframe (containing the animegif.html of code below) that when harnessing existant web browser (Windows right click or Mac OS X two finger gesture) functionality can glean for us, as required, that animated GIF’s data URI representation. But don’t get too excited about this being rocket science, in that with a bit of effort, and PHP, it could have been gleaned from what we already produced, in that (in PHP “land”) …
$lastbitto="\$fp = fopen('animegif.gif', 'w');

\$data = \$gif->GetAnimation();

\$dataUri = 'data:image/gif;base64,' . base64_encode(\$data);

fwrite(\$fp, \$data);

fclose(\$fp);

\$fp = fopen('animegif.html', 'w');

fwrite(\$fp, '<!doctype html><html><body><h1>Data URI version below<h1><br><h4> ... via web browser (Windows right click, Mac OS X two finger gesture ...</h4><br><img src=' . \"\\n\" . \$dataUri . \"\\n\" . ' title=DataURI></img></body></html>');

fclose(\$fp);";
You can see this in the context of how this PHP code changed in this way or try it as a live run.
Previous relevant Animated GIF via PHP Writing PHP Primer Tutorial is shown below.
We find another very useful reason for PHP to write PHP. Today we establish a PHP web application to dynamically create Animated GIF images via some still images, like Gifpal would do.
We have some great open source PHP code to thank for the basis of the functionality we found at Jeroen van Wissen’s very useful link, thanks.
Then we added a more user friendly interface to get the information off the user we need. We present this in an HTML form, which navigates to the same PHP to do the actual assembly of the Animated GIF via techniques where PHP writes PHP … and really needs to, to be useful.
Do you remember, last, when we did some PHP writing PHP functionality … PHP Writes PHP Vertical TextBoxes Primer Tutorial?
And inside the PHP it makes big use of the GD and Image Functions to read and write the image data we assemble via the user information.
This Animated GIF form of animation is the easiest to implement, as it consists of just the one GIF image file, but the user has very little control over the animation settings, such as the delay between stills, one of the settings we ask about in our web application.
Our PHP source code today you could call tutorial_to_animated_gif.php and we redirect you to some live run ideas …
- normal run with HTML form which posts back to itself … live run
- example GET parameters run (like our tutorial picture)
Hope you find this tutorial useful.
If this was interesting you may be interested in this too.
If this was interesting you may be interested in this too.
If this was interesting you may be interested in this too.
If this was interesting you may be interested in this too.
If this was interesting you may be interested in this too.

