
CSS Countdown Reveal Tutorial
To improve on yesterday’s CSS Countdown Primer Tutorial we thought it would be good to give the user a chance to see as much above the fold as possible, and then “reveal” the larger images via details/summary element combinations. We started testing all this out with larger images where the details/summary helps a lot, but as you will see with today’s animated GIF presentation even if the user shapes to use a details/summary (one : colon scenario) for a smaller (like thumbnail) image we now map that back to the original (two colon :: scenario) CSS content method where it displays better.
To know how to “size” the details element, we need to know the height and width of the image it will “house”, and that can be achieved in “midair”, so to speak, via Javascript code like …
 function dimgh(selem) {

  var img = document.createElement('img');

  img.onload = function() {

    //alert(('' + img.height).replace('px','') + 'px');

    var hashbits=img.src.split('#');

    if (hashbits.length > 1) {

    if (document.getElementById('ilist')) {

      if (eval(('' + img.height).replace('px','')) <= 100) {
        document.getElementById('ilist').value=document.getElementById('ilist').value.replace(':' + img.title, '::' + img.title);

      }

    }

    hgts[eval(hashbits[1])]=(eval(130 + eval(('' + img.height).replace('px',''))) + 'px');

    } else {

     if (document.getElementById('ilist')) {

       if (eval(('' + img.height).replace('px','')) <= 99) {
        document.getElementById('ilist').value=document.getElementById('ilist').value.replace(':' + img.title, '::' + img.title);

      }

    }

    hgts.push(eval(130 + eval(('' + img.height).replace('px',''))) + 'px');

    }

  };

  if (document.getElementById('ilist')) {

  img.title = selem;

  img.src = selem;

  } else {

  img.title = selem;

  img.src = selem + '#' + eval(-1 + hgts.length);

  }

  return selem;

 }
… where variable “selem” above contains the image’s “src” attribute value.
That image becomes any details element used’s background image as per resultant HTML such as …
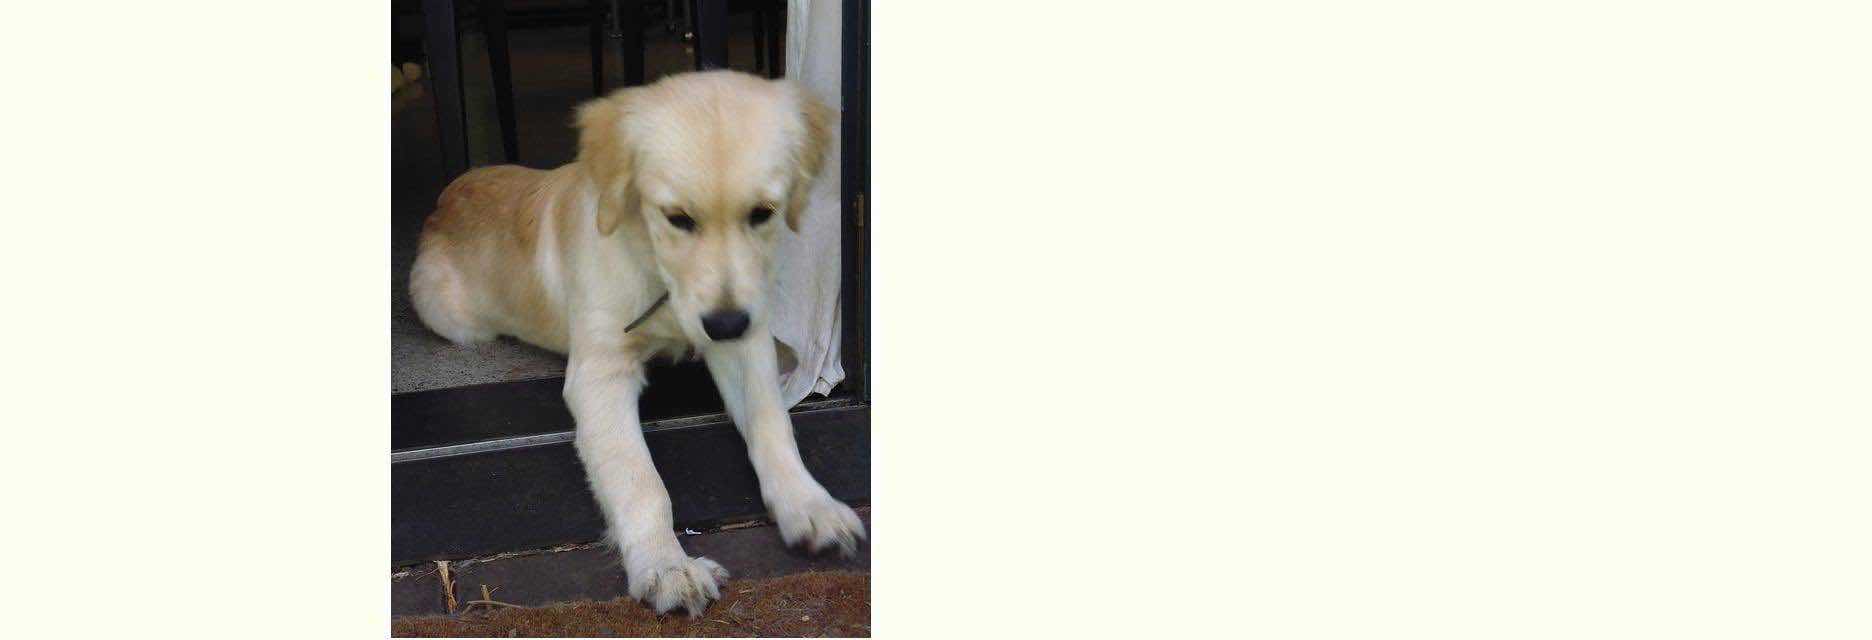
<details id="det1" data-height="162px" onclick="depends(this, this.getAttribute('data-height'));" style="background:linear-gradient(rgba(255,255,255,0.8),rgba(255,255,255,0.8)),url(MarkItUp/student.png);background-repeat:no-repeat;background-position:0px 60px;"><summary><div class="nested" style="--tooltip-string:url(MarkItUp/student.png);">Student</div></summary></details>
… with that pertinent Javascript being …
 function depends(deto, bigh) {

   var newb='';

   if (!deto.open) {

     if (deto.outerHTML.indexOf(' data-smallh=') == -1) {

       var rectis=deto.getBoundingClientRect();

       deto.setAttribute('data-smallh', ('' + rectis.height).replace('px','') + 'px');

     }

     deto.style.height=bigh;

     deto.style.minHeight=bigh;

     newb='linear-gradient(rgba(255,255,255,0.1),rgba(255,255,255,0.1)),url(' + ('' + deto.style.background).split('url(')[1];

     deto.style.background=newb;

     deto.style.backgroundRepeat='no-repeat';

     deto.style.backgroundPosition='0px 60px';

   } else {

     deto.style.height=deto.getAttribute('data-smallh');

     deto.style.minHeight=deto.getAttribute('data-smallh');

     newb='linear-gradient(rgba(255,255,255,0.9),rgba(255,255,255,0.9)),url(' + ('' + deto.style.background).split('url(')[1];

     deto.style.background=newb;

     deto.style.backgroundRepeat='no-repeat';

     deto.style.backgroundPosition='0px 60px';

   }

 }
… where you can see being used the methodology whereby a background image opacity is independent of any foreground opacity setting.
To see this in action see the changed css_count_image.html‘s live run.
Previous relevant CSS Countdown Primer Tutorial is shown below.

CSS Countdown Primer Tutorial
It’s not normally a talent you associate with CSS, the ability to do any maths, but you can count (or increment/decrement) with it, with styling like …
<style>

#myspan {

  counter-reset: the-final-countdown var(--tooltip-string);

  line-height: 2;

}


div::before {

  counter-increment: the-final-countdown -1;

  content: "~" counter(the-final-countdown) "~";

  background: yellow;

  display: inline-block;

  width: 20rem;

  margin-right: 0.5rem;

  text-align: center;

}


div::after {

  content: var(--tooltip-string);

}

</style>
… and did you see above it can work with variables as another Javascript type talent?
As a Javascript coder knows, once you have variables to play with, they can represent other useful things.
Let’s establish a CSS variable via (HTML like) …
<span id=myspan style="--tooltip-string:12;"></span>
… then that “12” gets substituted so that …
<style>

#myspan {

  counter-reset: the-final-countdown 12;

  line-height: 2;

}

</style>
… and more adventurously we can use Javascript such as …
  function thisdecodeURIComponent(inname, inval) {

   var outval=decodeURIComponent(inval), dwiurl='';

   if (inval != '') {

     icnt=eval(inname.replace('dw',''));

     dwiurl=(location.search.split(inname.replace('dw', 'di') + '=')[1] ? decodeURIComponent(location.search.split(inname.replace('dw', 'di') + '=')[1].split('&')[0]) : '');

     if (dwiurl != '') {

       outval='<div style="--tooltip-string:url(' + dwiurl + ');">' + inval + '</div>';

     } else {

       outval='<div>' + inval + '</div>';

     }

     spanstr="<span id=myspan style='--tooltip-string:" + icnt + ";'><h1>CSS counter via var</h1><h3>RJM Programming - February, 2021</h3><h4>Thanks to <a target=_blank title='https://css-tricks.com/valid-css-content/' href='https://css-tricks.com/valid-css-content/'>https://css-tricks.com/valid-css-content/</a></h4></span>";

     icnt++;

     while (inval != '') {

        inval=(location.search.split('dw' + icnt + '=')[1] ? decodeURIComponent(location.search.split('dw' + icnt + '=')[1].split('&')[0]) : '');

        if (inval != '') {

          spanstr="<span id=myspan style='--tooltip-string:" + icnt + ";'><h1>CSS counter via var</h1><h3>RJM Programming - February, 2021</h3><h4>Thanks to <a target=_blank title='https://css-tricks.com/valid-css-content/' href='https://css-tricks.com/valid-css-content/'>https://css-tricks.com/valid-css-content/</a></h4></span>";

          inname='dw' + icnt;

     dwiurl=(location.search.split(inname.replace('dw', 'di') + '=')[1] ? decodeURIComponent(location.search.split(inname.replace('dw', 'di') + '=')[1].split('&')[0]) : '');

     if (dwiurl != '') {

       outval+='<div style="--tooltip-string:url(' + dwiurl + ');">' + inval + '</div>';

     } else {

       outval+='<div>' + inval + '</div>';

     }

        }

        icnt++;

     }

   }

   return outval;

  }
… to get CSS to display an image via a CSS variable associated with a particular “CSS “counter” instance (if you will). Cute, huh?!
Thanks to https://css-tricks.com/valid-css-content/, see how this can work in practice with today’s “proof of concept” css_count_image.html‘s live run …
If this was interesting you may be interested in this too.
If this was interesting you may be interested in this too.

