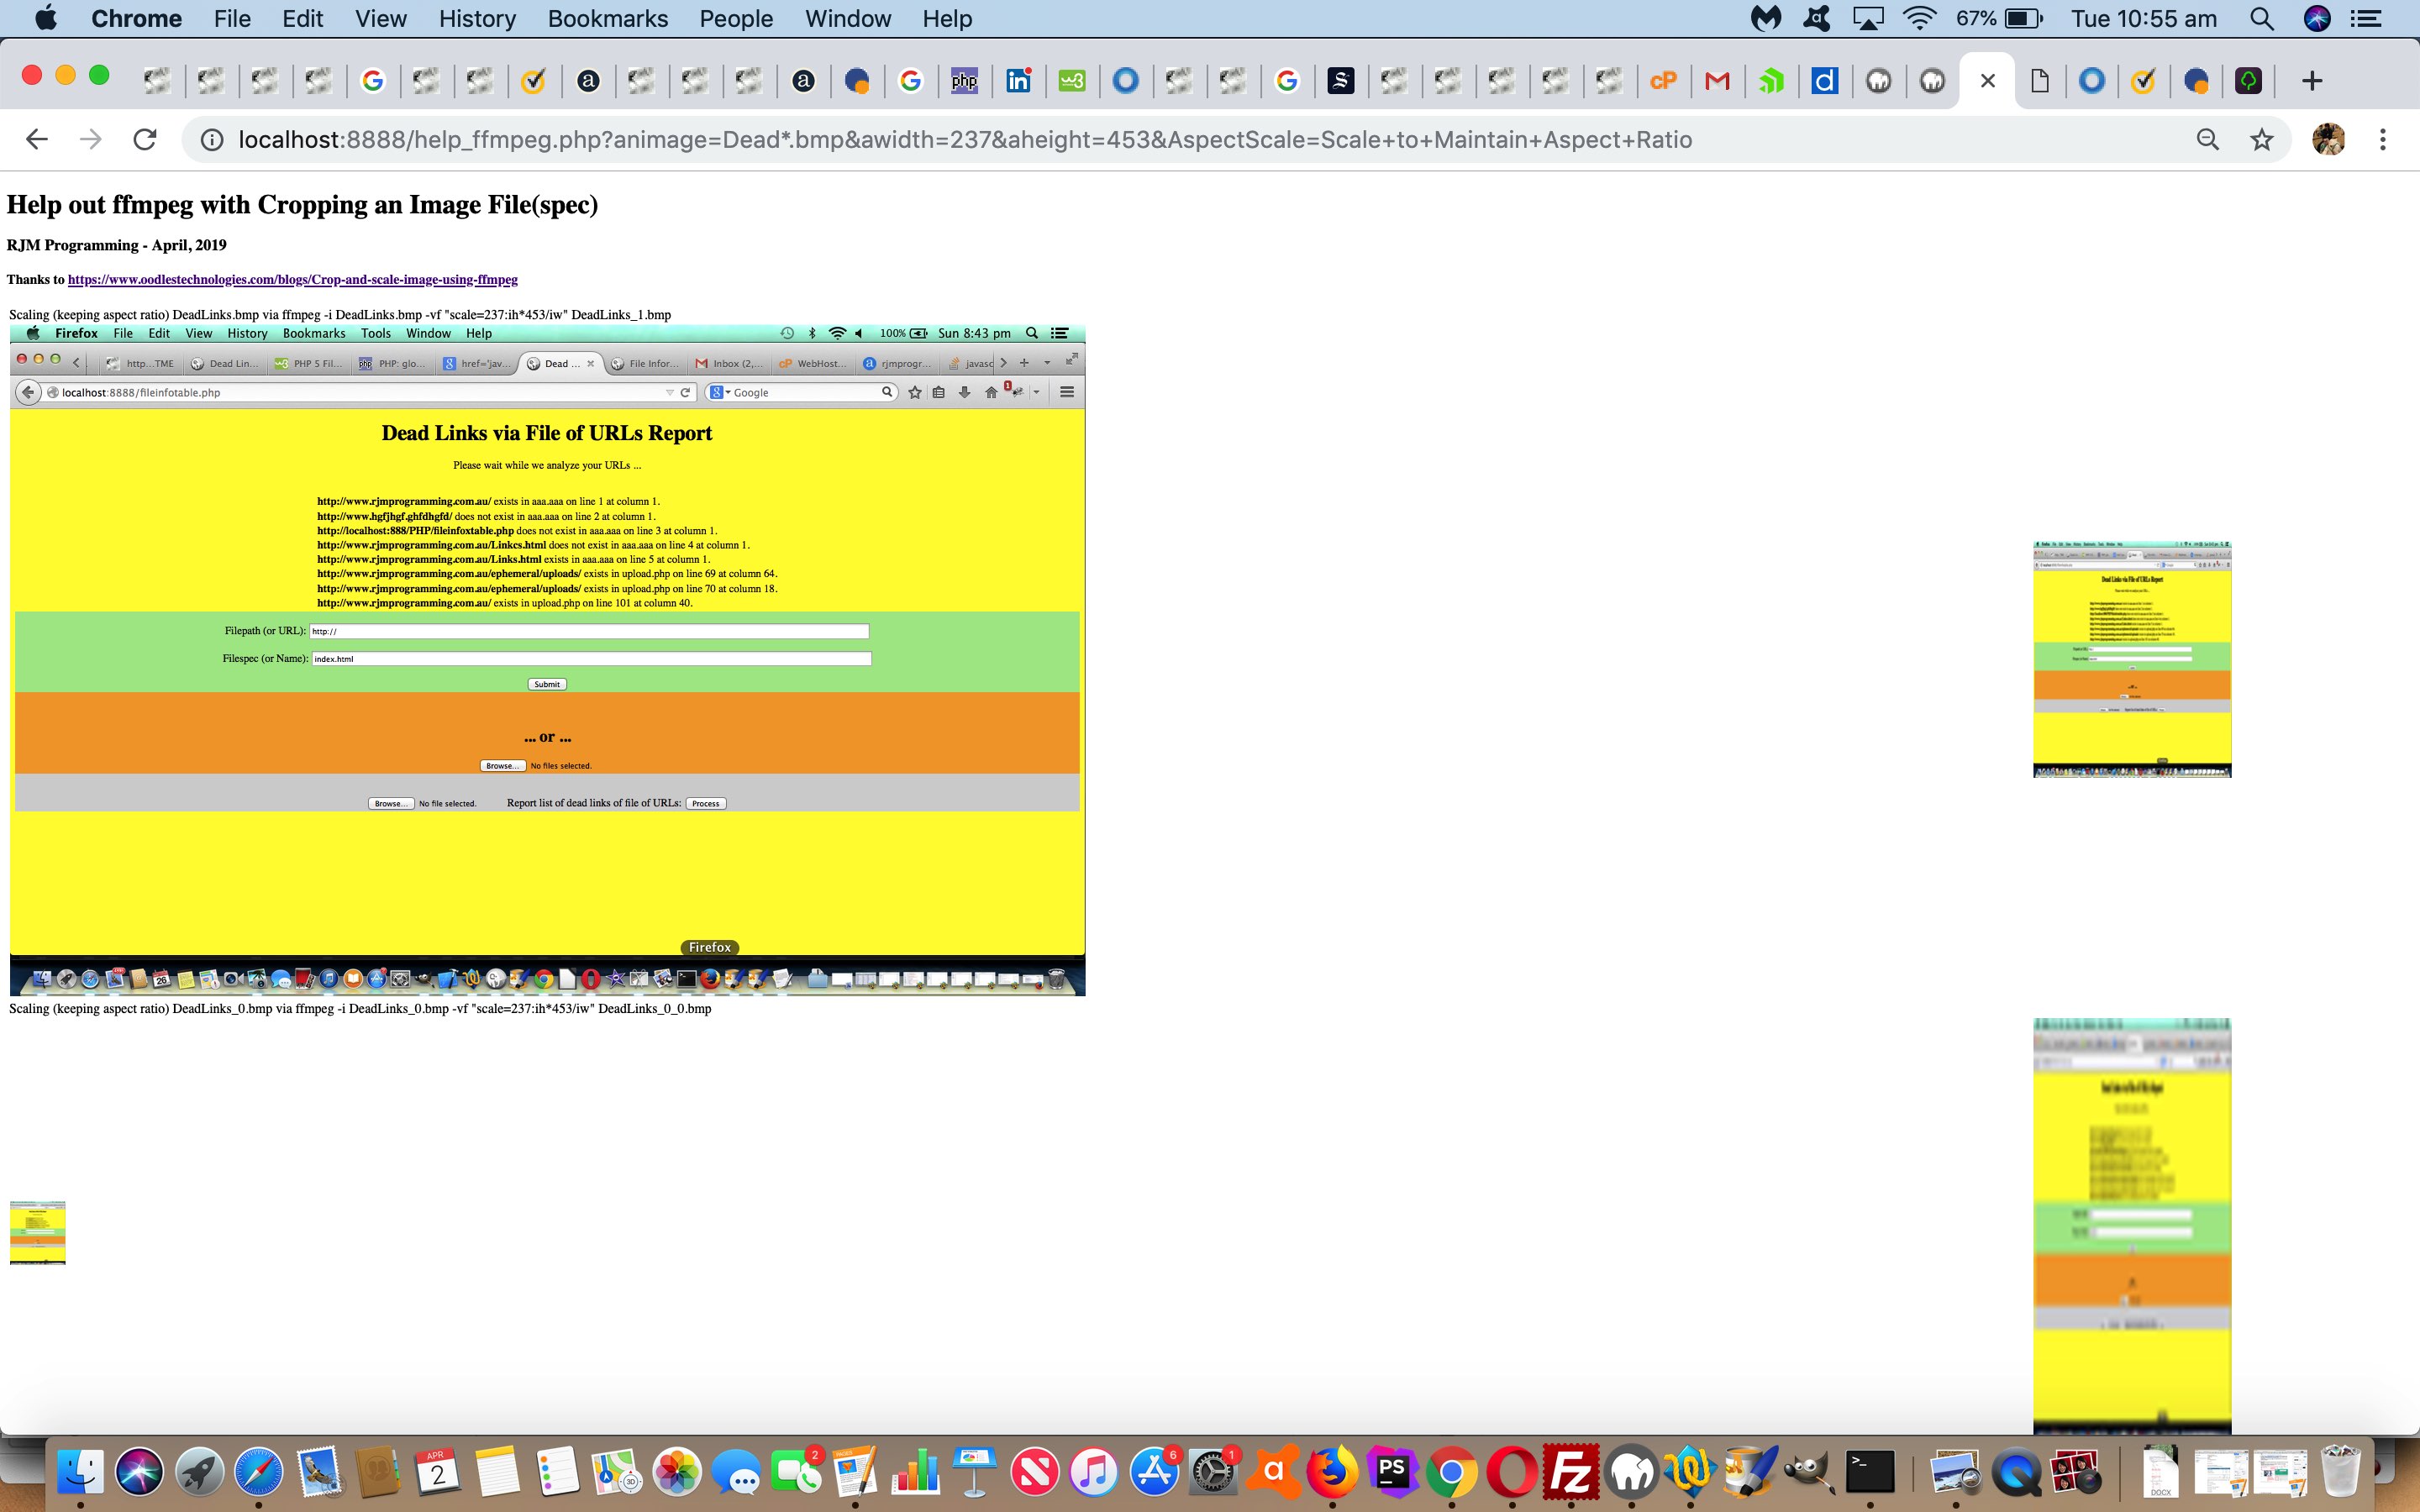
We’re adding “Scaling” functionality onto the “Cropping” functionality of yesterday’s Batch ffmpeg Image Cropping Primer Tutorial today.
For now, we are also harnessing the power of running this changed PHP help_ffmpeg.php within a web browser by showing you both input and output images in data URI form. Why data URI? Data URI makes your work transportable, as any data URI formed image does not reference a domain of any sort. Sounds good in emails, doesn’t it? This data URI usage might be a “bridge” from the local web server usage we’ve started out on (and may remain on) to other realms in that within the web browser you can Windows right click or Mac OS X two finger gesture on this data URI image of interest and get a copy of it or display it somewhere else or … who knows …

… the water temperature’s pretty good at the moment!
In amongst the new scaling functionality, and again we’d like to thank https://www.oodlestechnologies.com/blogs/Crop-and-scale-image-using-ffmpeg for their excellent heads up, we allow for scaling to a user defined width and height, but maintaining the original image’s “Aspect Ratio”.
Previous relevant Batch ffmpeg Image Cropping Primer Tutorial is shown below.
Putting together presentations based on slides which are images you may come across the desire to apply batch image manipulations to a whole set of images, in the same way. When we presented Gimp Batch Image Manipulation Primer Tutorial you would have seen this in play with the Gimp image editor’s Bimp batch processing functionality part.
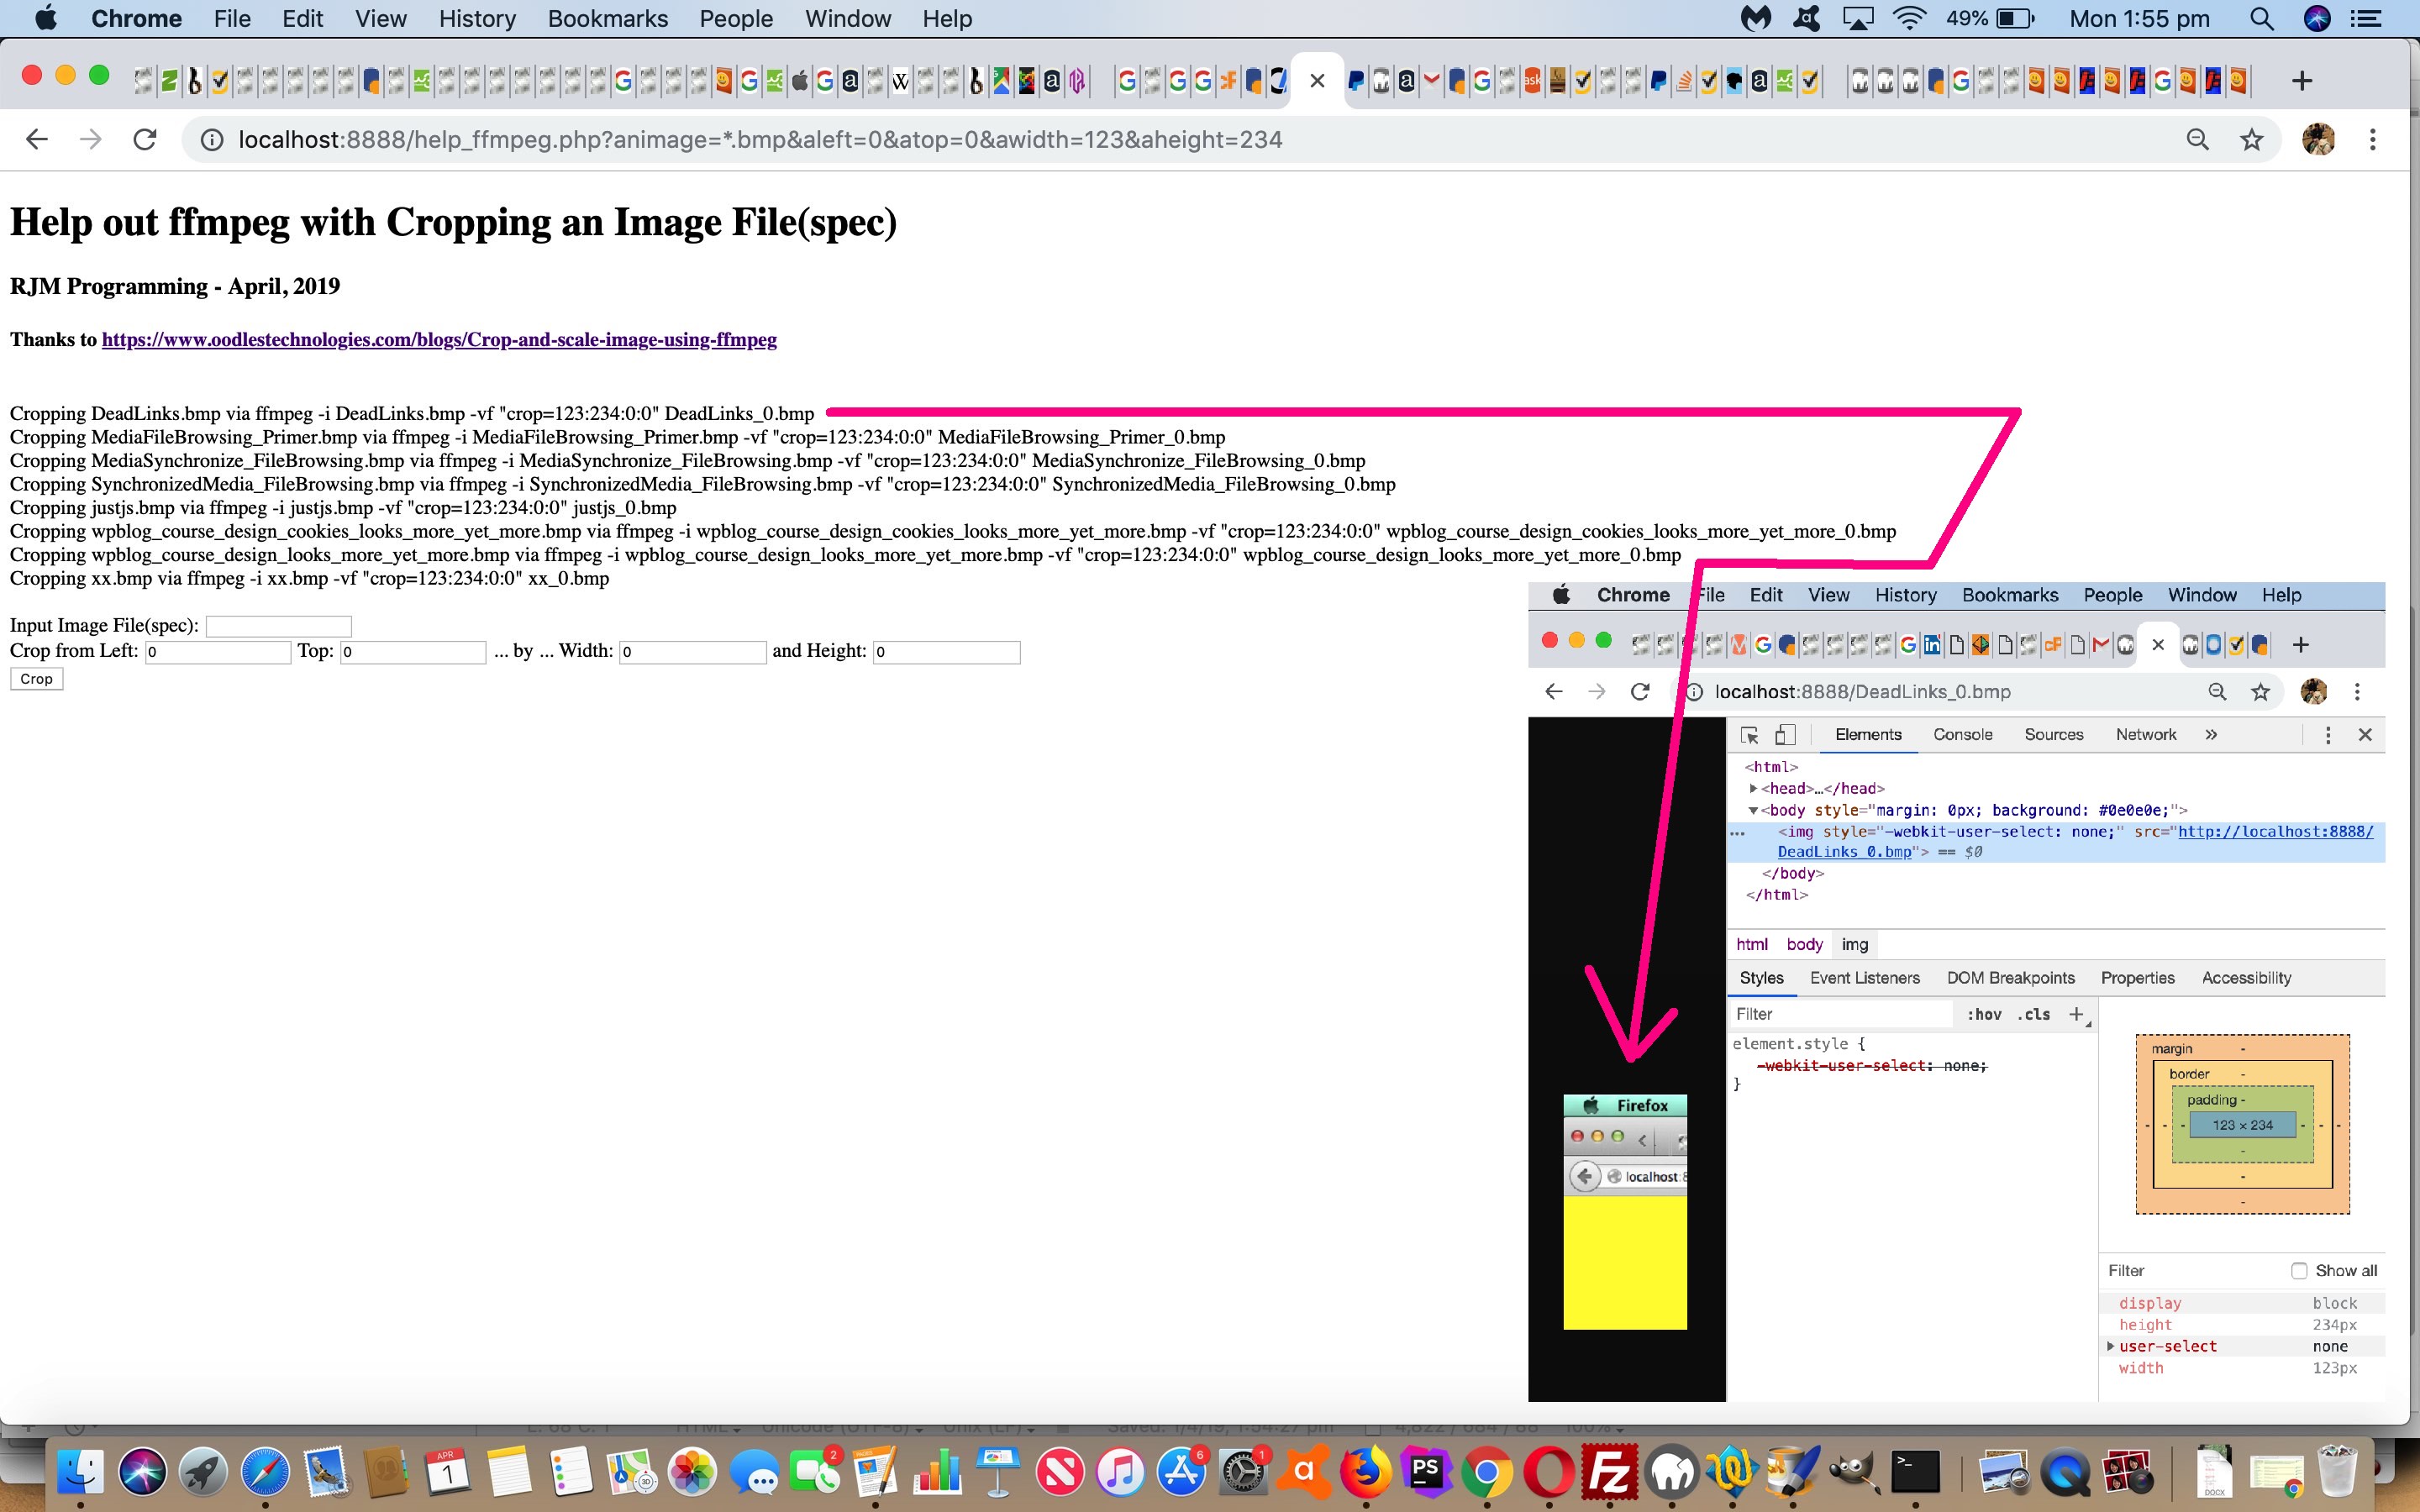
Today we write some PHP to do this with an exec invocation of the great ffmpeg, which we will show you code for on rjmprogramming.com.au but no “live run” links on this occasion. “Live run” for us happens on (the Apache/PHP/MySql local web server) MAMP, a setup we enthusiastically recommend for any Mac OS X (or macOS) users out there developing web applications, where …
HTTP://localhost:8888/
… URL (at a web browser address bar) corresponds to a (local) web server folder (MAMP’s “Document Root”) called (for us) …
/Applications/MAMP/htdocs/
… and the user performing today’s PHP help_ffmpeg.php can define an image file(specification) relative to that “Document Root” basis above, and processing via PHP’s file specification specialist, glob. It’s all relative, really.
We’ll be adding to this, but today we start out on this exploration with some cropping functionality, the heads up for we’d like to thank https://www.oodlestechnologies.com/blogs/Crop-and-scale-image-using-ffmpeg … ta, muchly! One last thing is that ffmpeg is Open Source and you can read about compiling this desktop application yourself by referring to the links explaining how to do this at Video via Slide Images and Back Again via ffmpeg Primer Tutorial.
Previous relevant Gimp Batch Image Manipulation Primer Tutorial is shown below.
Gimp is a great graphics editor with a huge number of methods to subtlely or not so subtlely adjust your images, no matter where they have come from (some of today’s came from Mac OS X screen captures via the Grab application and some came from a digital camera).
Gimp has a great and practical way to manipulate a batch of files to perform the task to this series of photographs. This could be especially useful for website imagery work.
In today’s tutorial you see one batch run changing the images to black and white and another to change the size of a series of photographs (to a smaller size than the huge size they come out of the digital camera (ie. more suited to website usage)) and add a text watermark in the top left hand corner.
Here is some downloadable PHP that helps out (after) the second batch approach to show up to six of the resized images at a time and change these images over time, and you could call it CuteButtons.php … this PHP arrangement (it is possible to do this same functionality just with Javascript, but is maybe easier to achieve in PHP, as well as there being methods like file_exists and file_get_contents and copy which are things (client-side) Javascript will never be able to do (well, maybe first of three in a clunky way)) is generic in the sense that there are hardcoded image names, but they can be overridden by using get parameters image1, image2, image3 etcetera etcetera etcetera …
eg. http://www.rjmprogramming.com.au/GIMP/Bimp/CuteButtons.php?image1 =http://www.rjmprogramming.com.au/GIMP/iPhoto/NLook.jpg&image2 =http://www.rjmprogramming.com.au/GIMP/iPhoto/NLok.jpg
The Gimp of this tutorial is on a Mac laptop using Mac OS X 10.9.2 Mavericks. A curious thing happened with trying to get Batch Image Manipulation to work. It worked to a point but, initially, wouldn’t accept images when clicking the “Add image files” button. Read somewhere that this is less likely to happen when installing via MacPorts (presumably via port install gimp) but I installed via the Gimp website. Am not sure that it was all a coincidence, or was a dream, but seem to remember what made Gimp’s Batch Image Manipulation functionality to fully start working, was an “out there” idea I tried that was to download the gimp-plugin-bimp.zip in which there was a Windows bimp.exe (Gimp plugin), which I ran on Mac using the Terminal application’s Bash environment’s command wine via wine bimp.exe (we installed wine here via MacPorts port install wine and talked about wine with Wine for Windows on Mac Primer Tutorial). Just thought I’d mention this in case it helps somebody. My theory for the turn around is that this may have written something good to a configuration file (even before it failed to run (as you’d expect) with various Windows graphics libraries not loading).
Gimp’s Batch Image Manipulation (bimp) runs as a new application (as you can see in the tutorial), as you might expect would happen for (my favourite) XQuartz (formerly XWindows (see a future XWindows Primer Tutorial for more information here)) type of program (as Gimp is).
If this was interesting you may be interested in this too.
If this was interesting you may be interested in this too.
If this was interesting you may be interested in this too.


