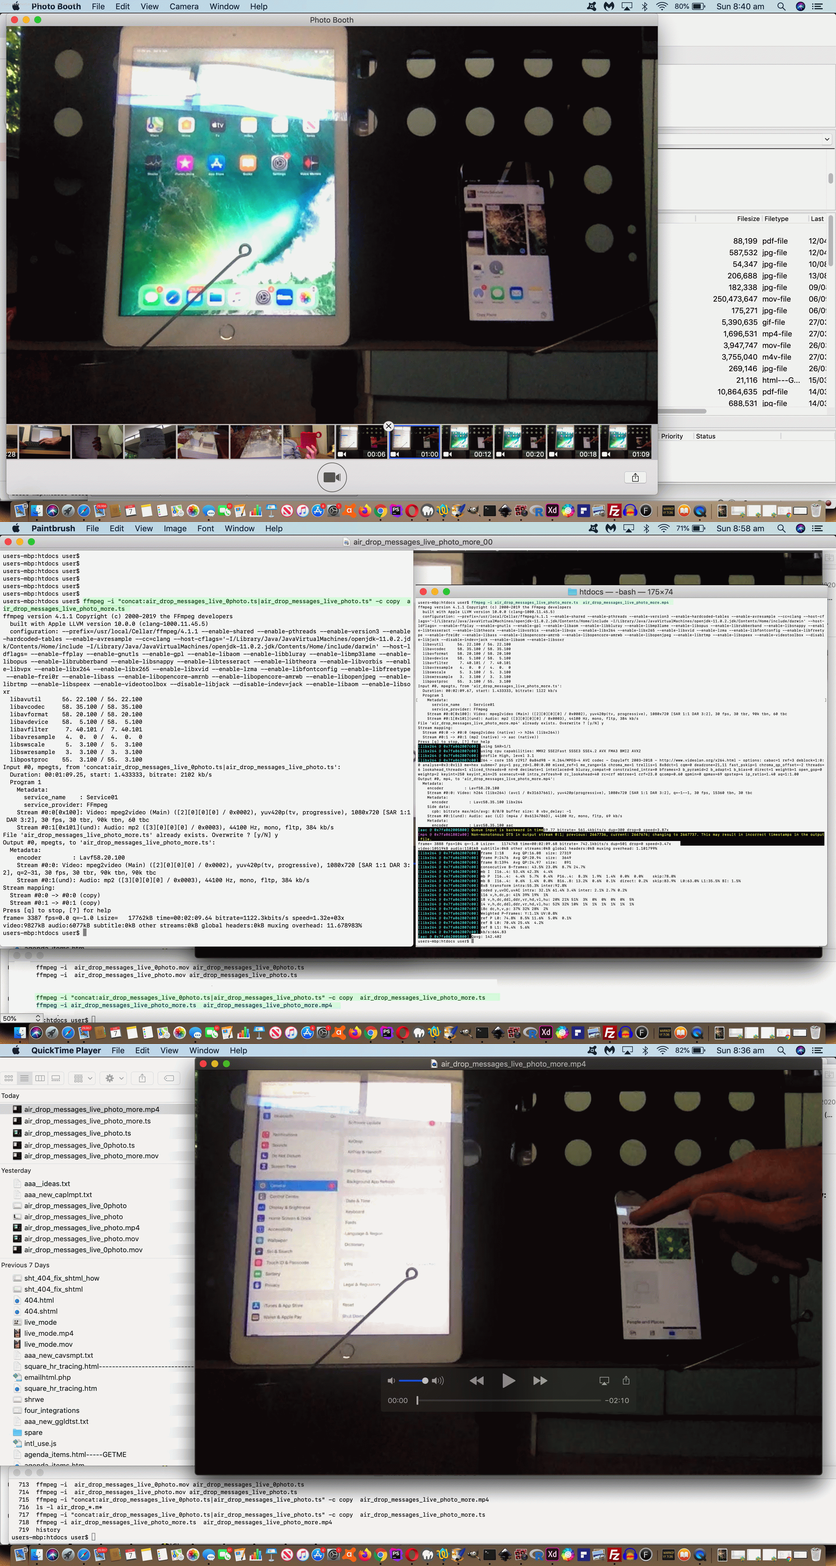
You might also want to think of today’s tutorial as a (follow up to) “Making Of” presentation with reference to yesterday’s Camera App Photo Live Mode Sharing Tutorial where we used the wonderful command line ffmpeg tool. For us, this “command line” was macOS 10.14.5 Mojave one, but ffmpeg stresses its cross-platform capabilities. The videos relating to …
- yesterday’s MP4 explanatory video was created via …
- macOS MacBook Pro PhotoBooth …
- Video mode
- two finger gesture Export…
…
- and the day before’s MP4 explanatory video was created via …
- iOS iPad Camera app (filming iPhone creating its Camera app Live mode photos) …
- Video mode
…
- share to macOS MacBook Pro (and we refer you to yesterday’s Camera App Photo Live Mode Sharing Tutorial)
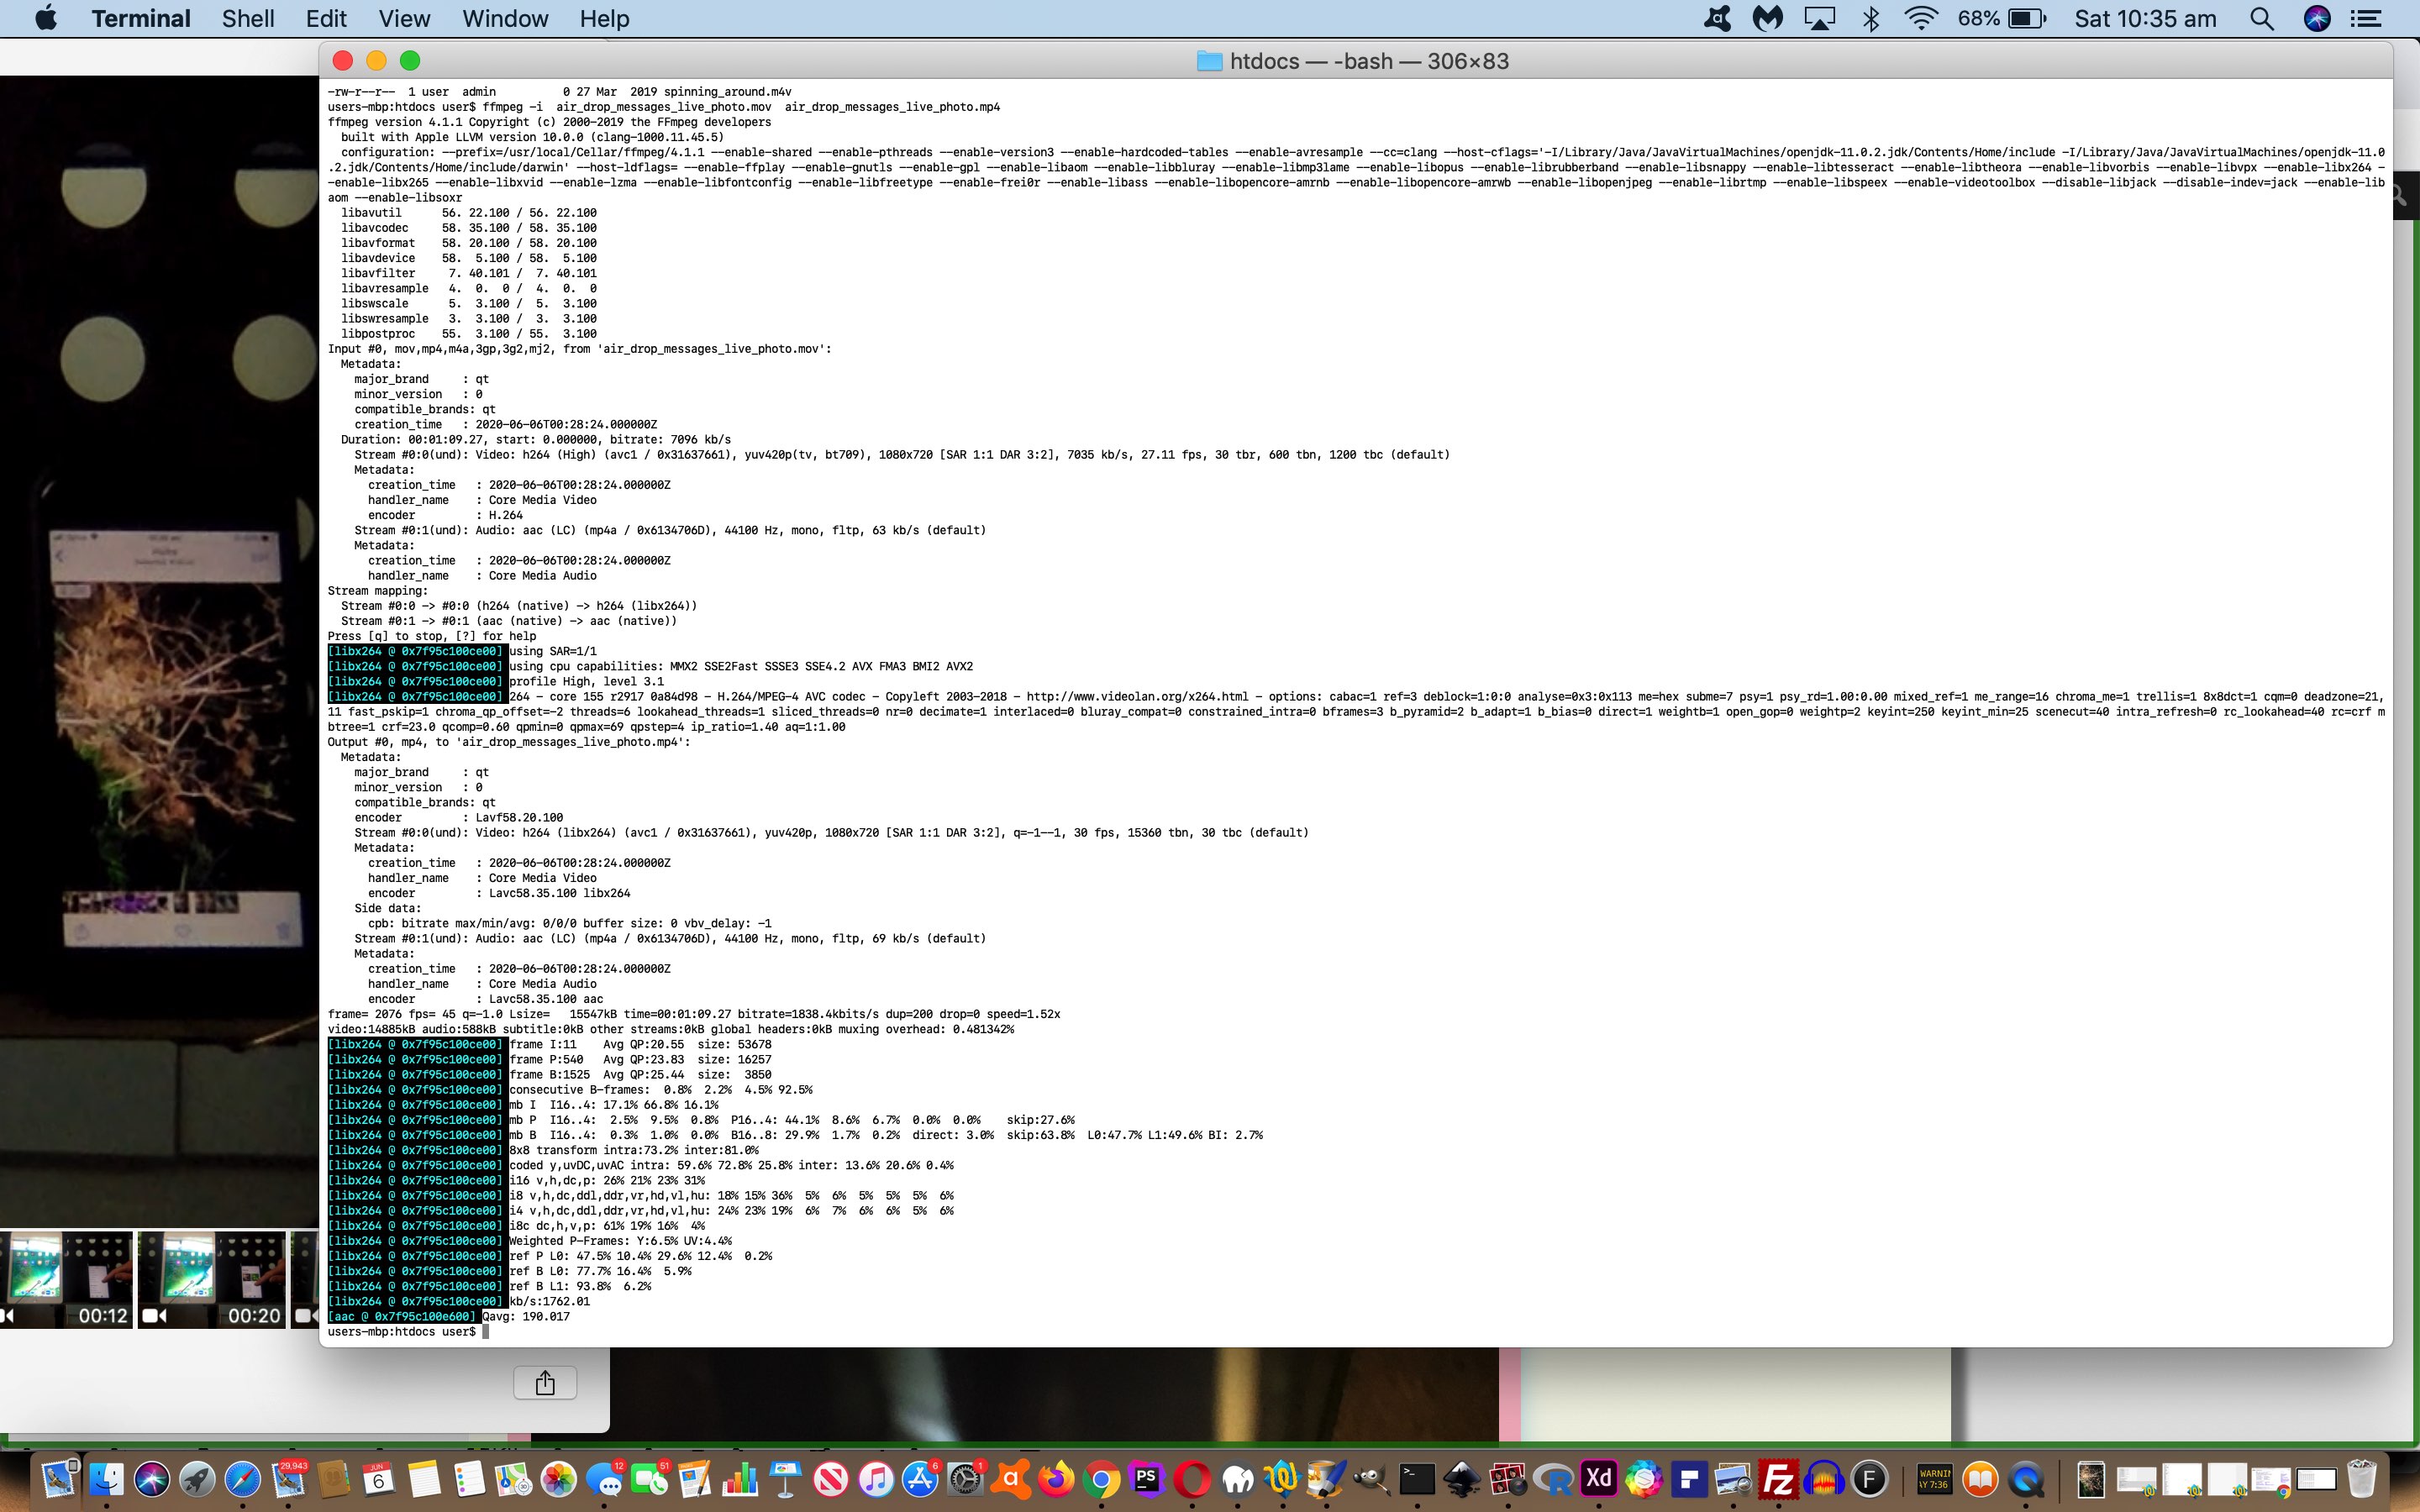
- at (macOS (Terminal application)) command line … convert MOV to MP4 via …
ffmpeg -i avideofile.mov avideofile.mp4
… and as you would appreciate if you are into creating graphic media presentation content, it is challenging to make the one apt “take” of a video. Sometimes, even, you get a part of a procedure “semi-right” and rather than completely start over with another video, “life intervenes” to mean that second video just takes up where the first left off. Yesterday’s explanatory video was of this ilk, and we “let it slide” that way for a day. Today, though, we take up the challenge …
But why don’t we try to concatenate two videos into one to give a bigger picture of the explanatory video result?
… and the answer to this was staring us in the face (and isn’t it just mortifying saying “Good morning, ffmpeg”), with command line “ffmpeg” being capable of this, and we recommend you read this useful link, thanks, regarding further reading here, because we had some false starts, but ending up realizing that the “ts” (Transport Stream) format video as a middleperson made both doing and understanding “ffmpeg” video concatenations easy. So …
- to “ffmpeg” video concatenate …
- primary to intermediate video format conversion …
Broadly … Convert primary “MOV” media formats to intermediate “ts” videos Specifically, on macOS Terminal, for two roughly minute long videos, that second command below related to yesterday’s explanatory video …
ffmpeg -i  air_drop_messages_live_0photo.mov air_drop_messages_live_0photo.ts

ffmpeg -i  air_drop_messages_live_photo.mov air_drop_messages_live_photo.ts
- concatenate videos in intermediate format …
Broadly … Concatenate “ts” videos into another “ts” video Specifically, on macOS Terminal …
ffmpeg -i "concat:air_drop_messages_live_0photo.ts|air_drop_messages_live_photo.ts" -c copy air_drop_messages_live_photo_more.ts
- intermediate to output video format conversion …
Broadly … Convert intermediate “ts” concatenated video into output “MP4” (concatenated) video Specifically, on macOS Terminal …
ffmpeg -i air_drop_messages_live_photo_more.ts air_drop_messages_live_photo_more.mp4
… as you can see with the resultant concatenated video (about two minutes) below …
… some AirDrop and AirPlay iPhone Settings demonstrations (in the first take not used yesterday, but prepended today) adds to the Sharing explanatory video for the “Sharing of iOS Camera app Live mode Photos”. This explanatory video “concatenated take” was created via …
- macOS MacBook Pro PhotoBooth Video mode … filming …
- iPhone (sharer) and iPad (sharee?) mounted on a music stand … then …
- two finger gesture Export… (exports to MOV video, for us)
Did you know?
Knowing very little about the ffmpeg intermediate “ts” (Transport Stream) video format we looked it up and discovered it is a streaming video format. So what, you might ask? Well, some time back, YouTube was recommending use of streaming video formats in preference to other video formats, and so we decided to upload to YouTube ffmpeg’s “ts” version of this video for your interest and perusal, perhaps …
Previous relevant Camera App Photo Live Mode Sharing Tutorial is shown below.
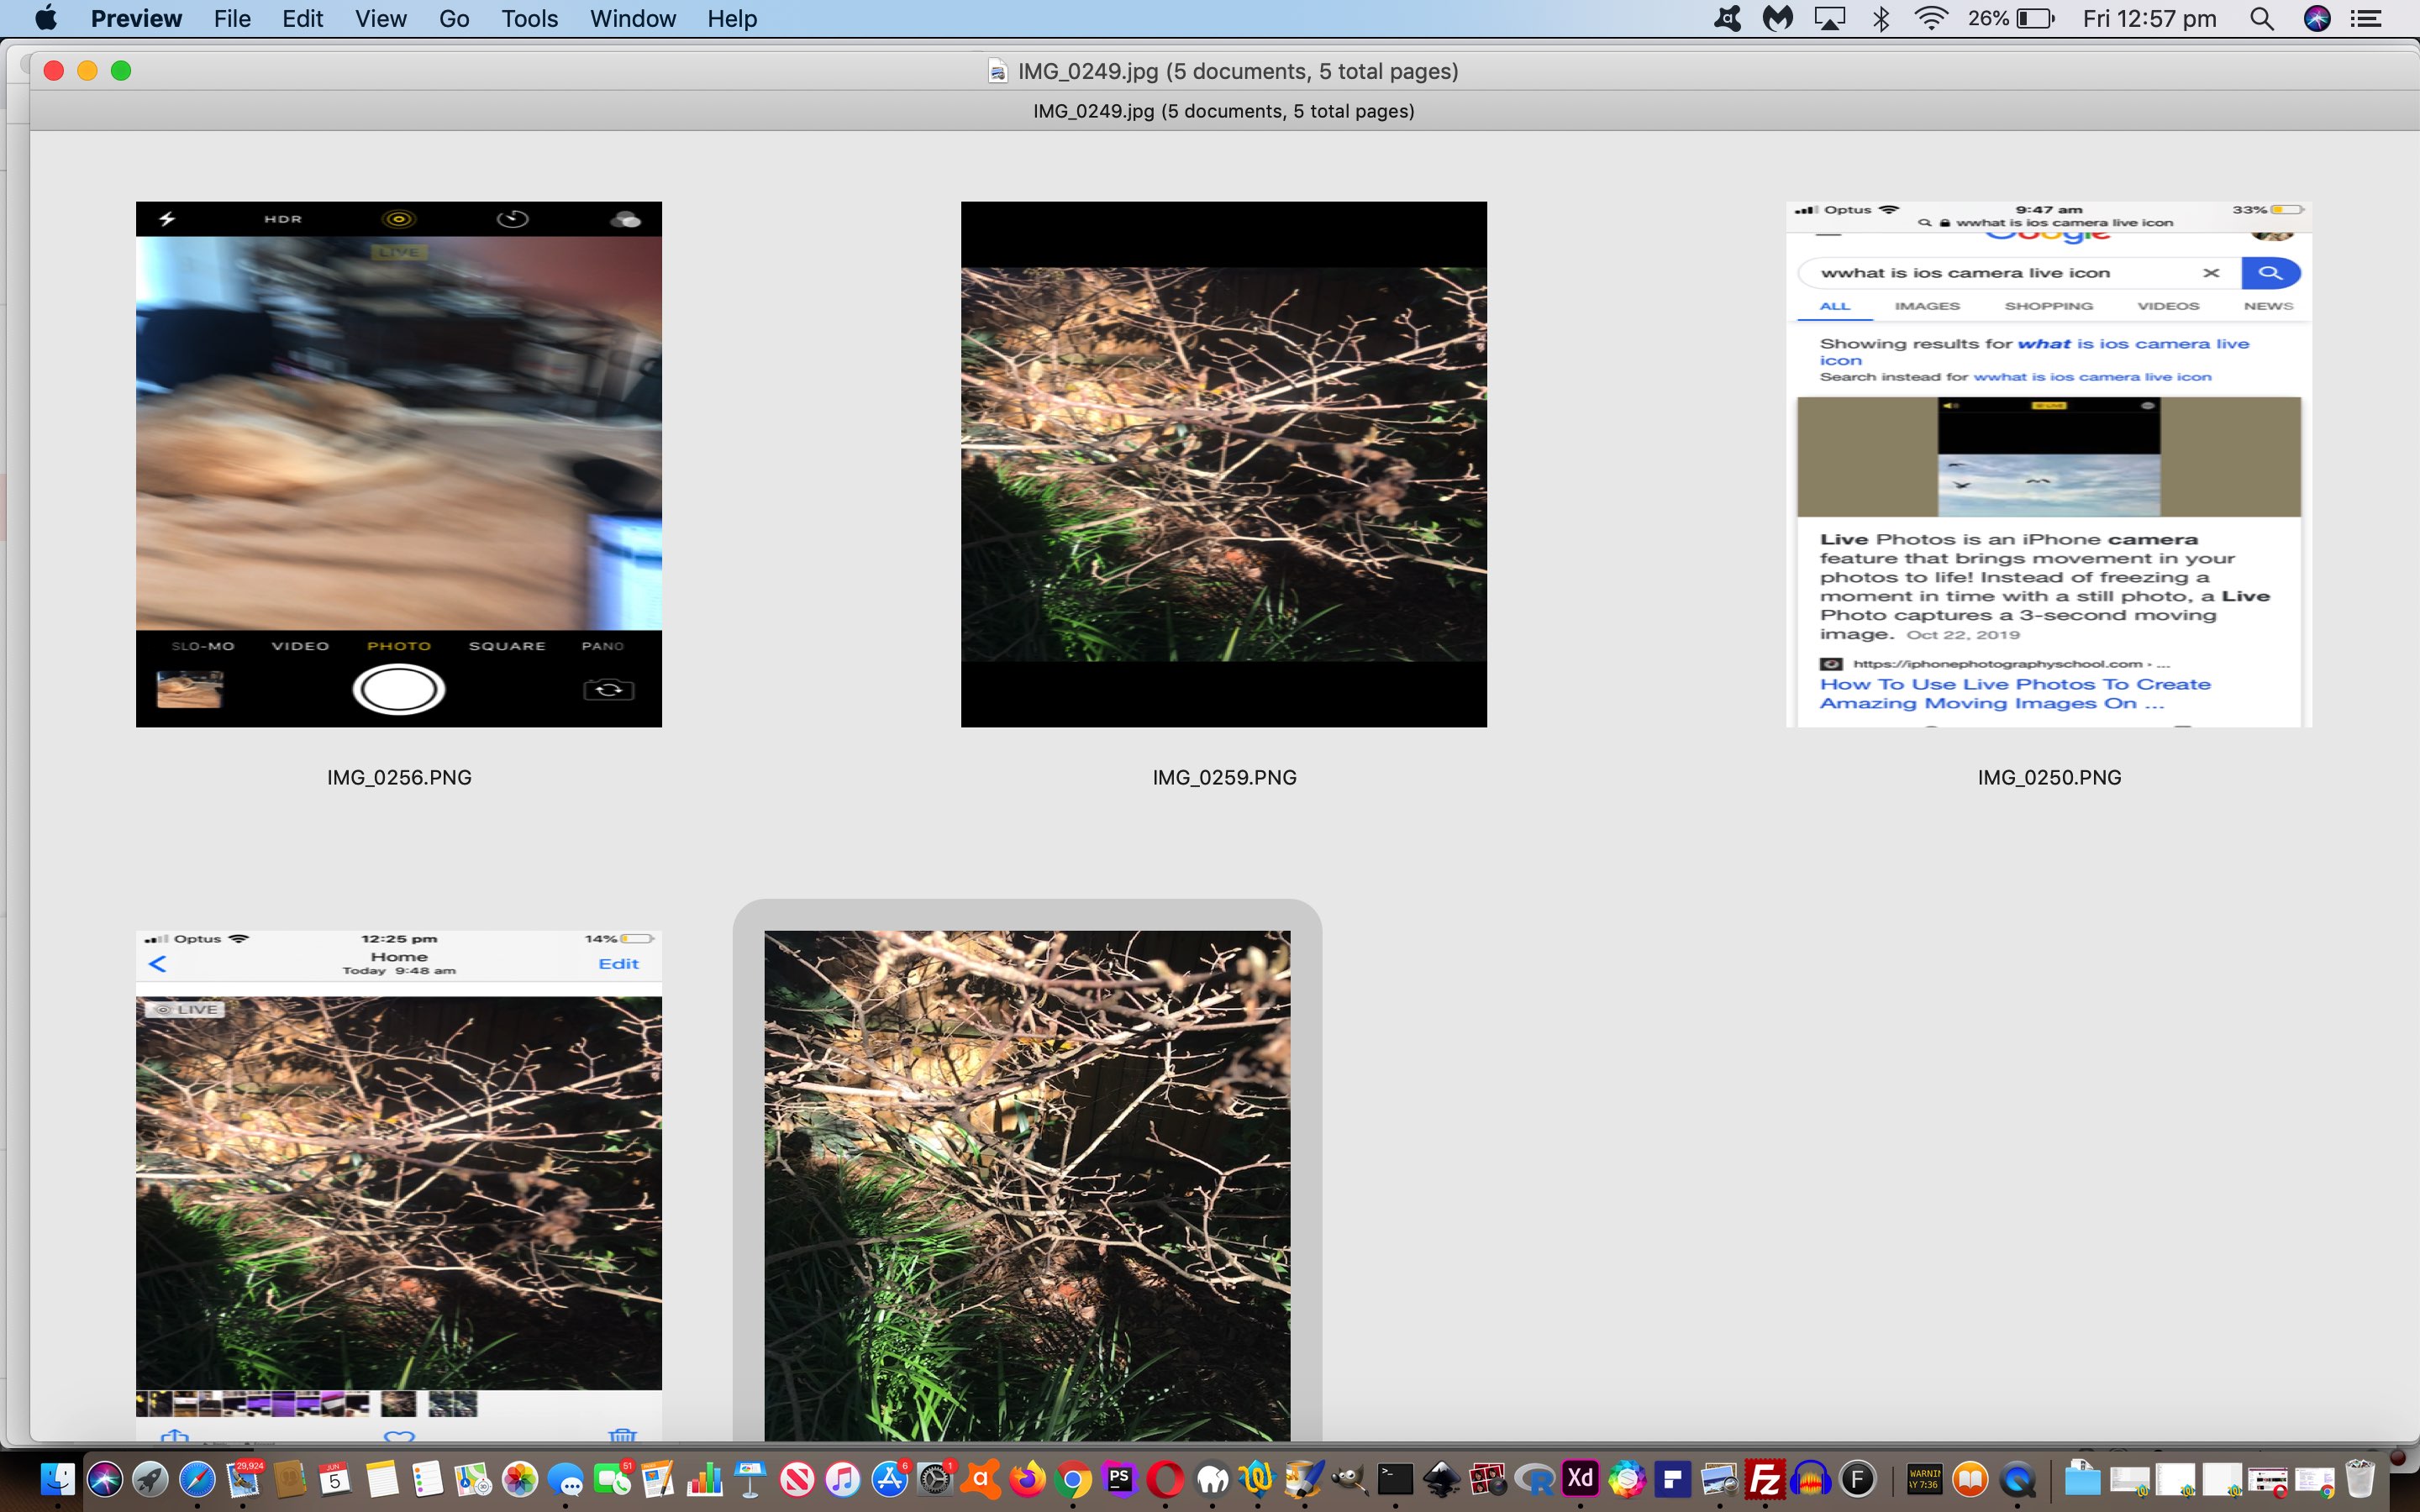
Yesterday’s Camera App Photo Live Mode Primer Tutorial talked about the iOS Camera app’s Live mode functionality, creating an animated GIF type of photo that can be stored in the …
Albums -> Media Types -> Live Photos
… area. Sharing via the Mail option of the Photos app’s Sharing icon and menu lost the “animation” (for the emailee), creating a “still” (photo) as the downloaded media. But, as promised in the Stop Press yesterday, there are some sharing options that can keep that “animated” (GIF) feel …
- via Messages app the shared photo will play like an animated GIF on a long touch (perhaps also on non-iOS devices (we did not test this?))
- for sharing with other iOS devices within range and operating system viability you can use AirDrop
… as you can see demonstrated below …
Did you know?
In amongst the Apple “stable” this animated GIF “look and feel” is exclusively a (mobile) iOS (ie. iPhone, iPad etcetera) thing. The same SMS viewed on this macOS MacBook Pro displays as a “still” (photo), and the macOS involvement makes it a “still” even forwarding this on to iOS via the macOS Messages app.
Previous relevant Camera App Photo Live Mode Primer Tutorial is shown below.
Meanwhile, back at Apple‘s iPhone Camera App, further to Camera App Video Slow Motion Primer Tutorial, we wanted to find out more about that yellow “dart board” type “button” up the top that can be toggled between …
- live off
- live
What is “Live Mode” as far as the iOS Camera app goes? We consulted Google and came to How to Use Live Photos on iPhone and iPad …
Basically, a Live Photo is a combination of a video clip and a still image that results in something akin to an animated GIF when long pressed. With the feature enabled, your iPhone or iPad grabs up to 1.5 seconds of video before and up to 1.5 seconds of video after you tap the shutter button.
… as a “very cute” hybrid between “photo” mode and “video” mode and “slo-mo” (video) mode. Afterwards, if your “live” mode photo is saved into Photos it will sit in …
Albums -> Media Types -> Live Photos
… and will present, initially, like a “still”, but touch (for a goodly time), will “very cutely” turn into an animation (like an animated GIF that you control).
So what happens if you share this “live photo” via email? On this MacBook Pro, it gets shared as a “still”. On an iPad (opened email) it shares as a “still”, as it does on the same iPhone device it was taken on, in that iPhone’s Mail app. But …
Touch Photos app icon -> Albums -> Media Types -> Live Photos -> Long Touch on "Live Photo" of interest
… brings the whole “back story” to light.
Stop Press
If you want to share a Live Mode iPhone Camera app photo in an SMS via Messages app or with another Apple iOS device in the same building, the sharing news is better. We’ll demonstrate tomorrow.
Previous relevant Camera App Video Slow Motion Primer Tutorial is shown below.
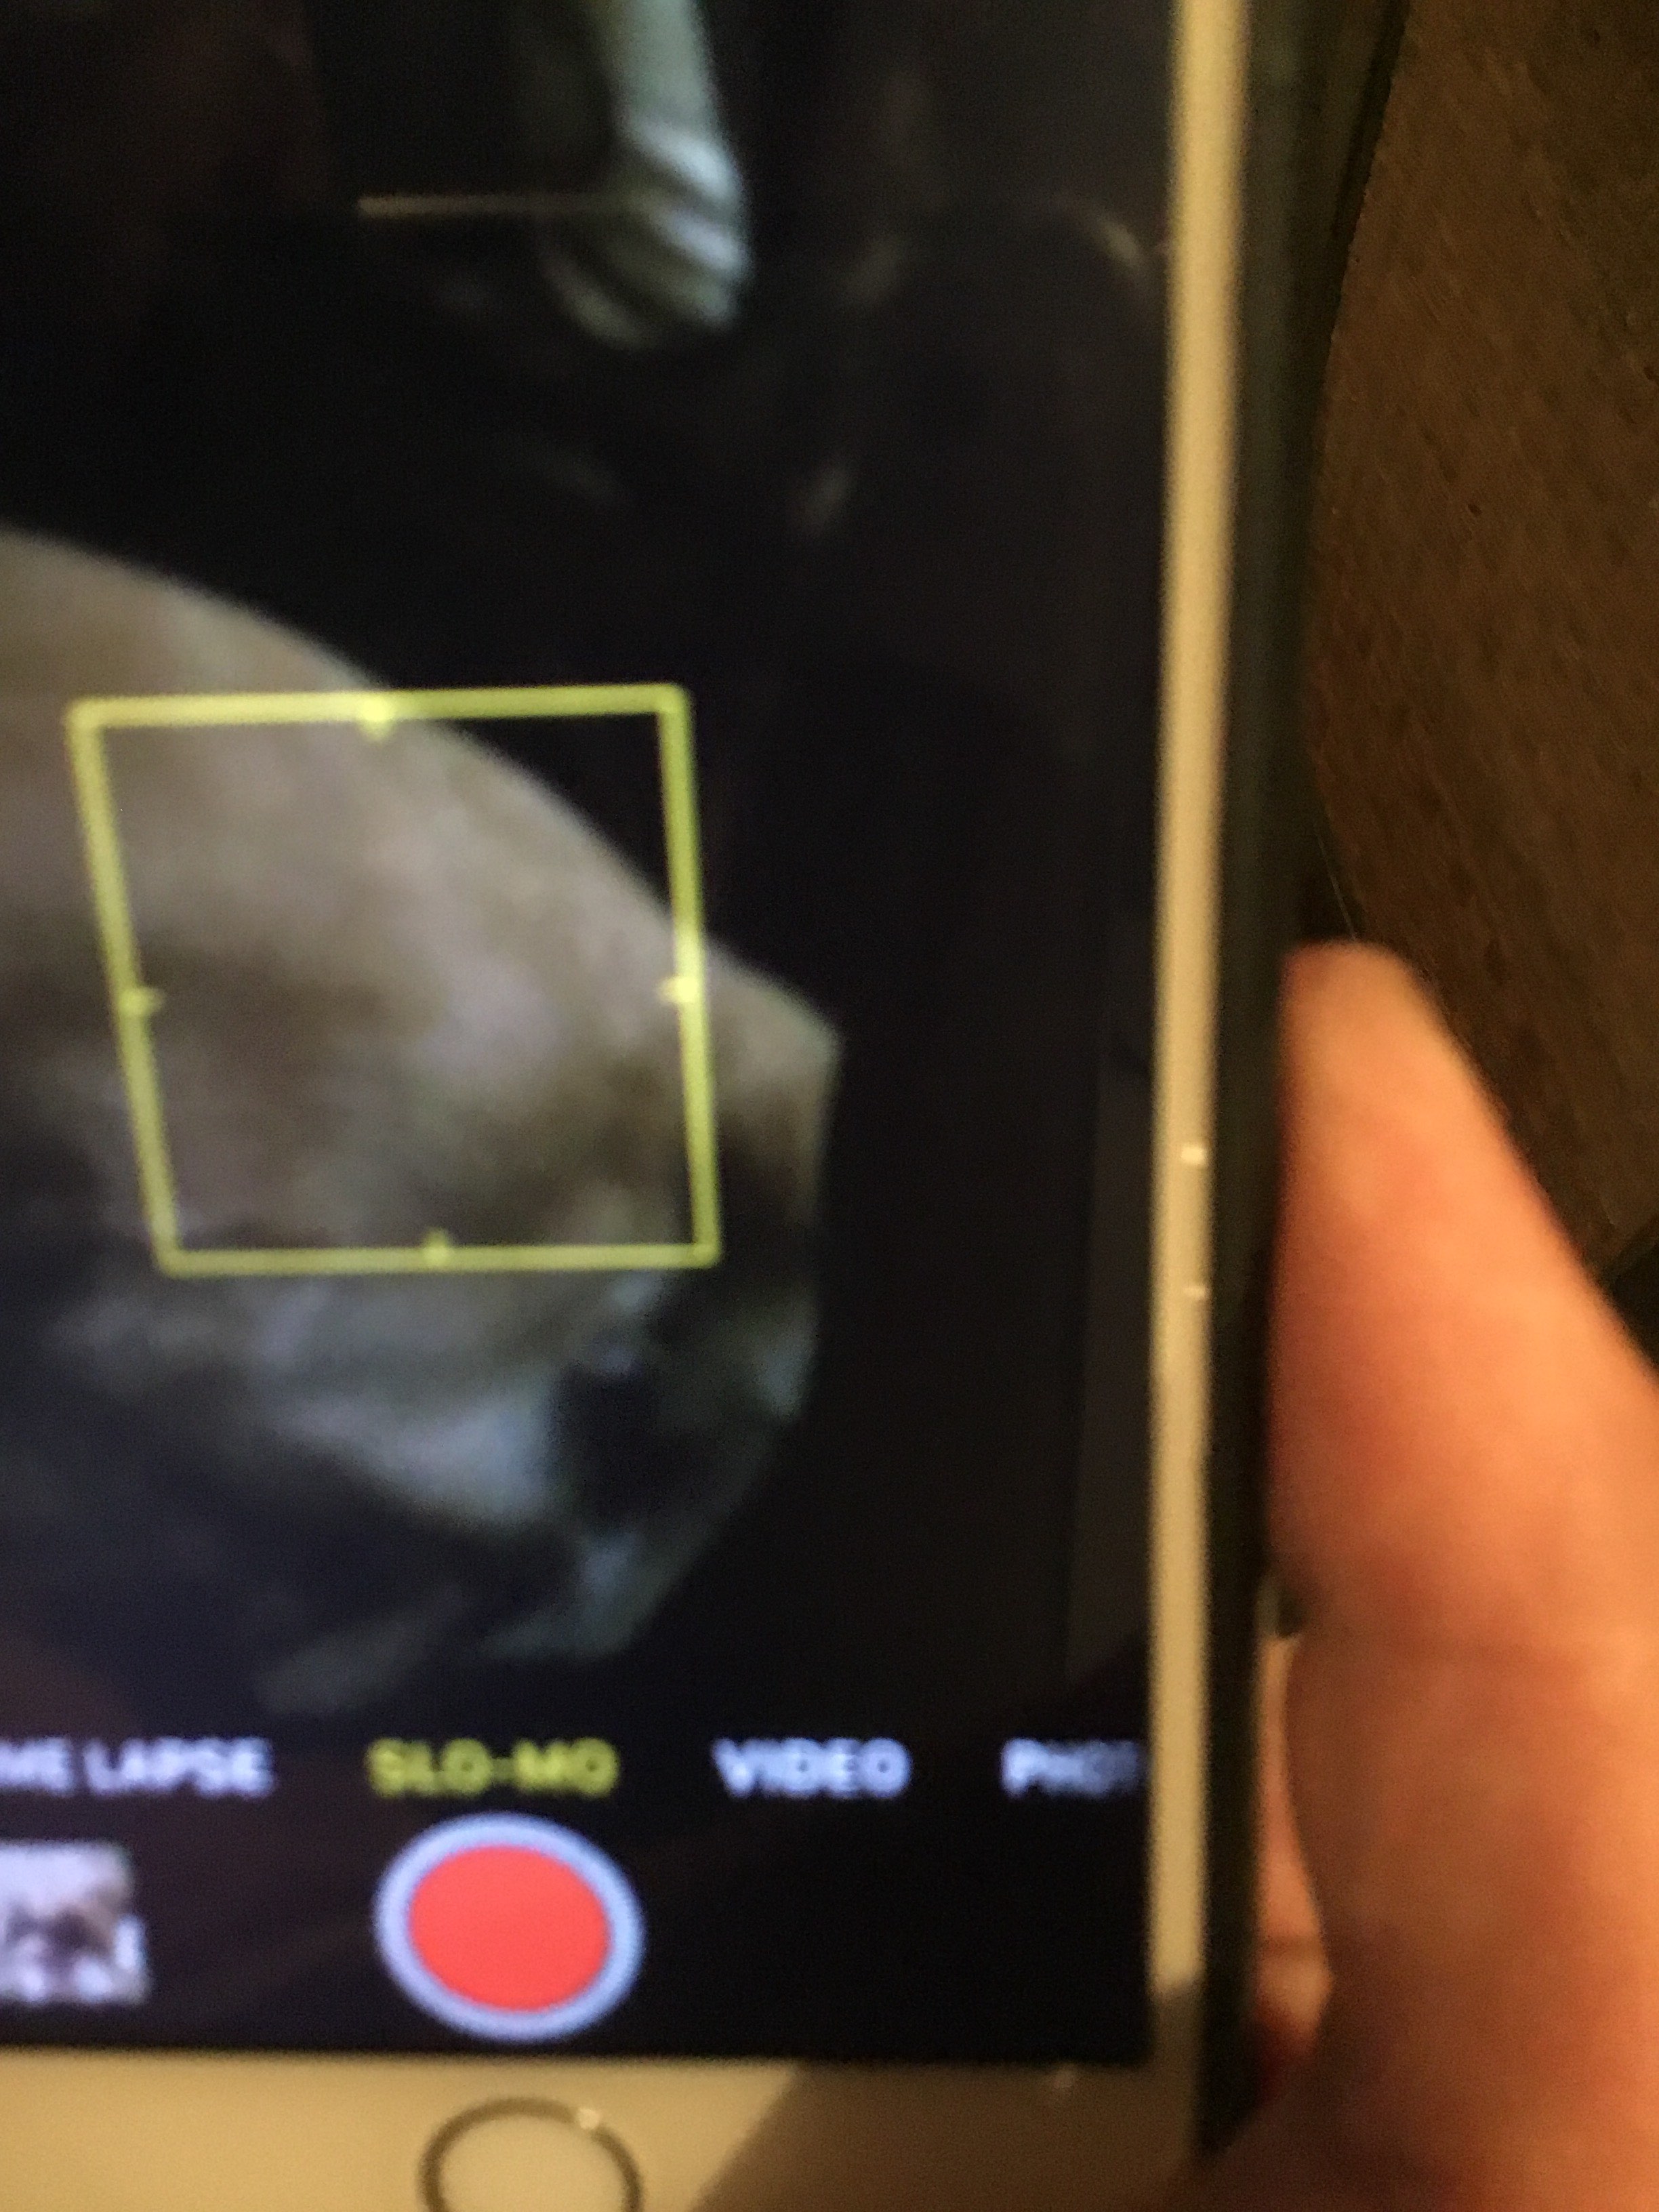
Continuing the video theme of yesterday’s QuickTime Player Mov Video Conversion Tutorial today we try out the iPhone (ie. iOS) Camera app’s Video mode’s Slo-Mo mode of use.
Get ready for longer but attention grabbing videos straight from the source …
No doubt many of you out there have been trying this feature out yourselves?!
Previous relevant QuickTime Player Mov Video Conversion Tutorial is shown below.
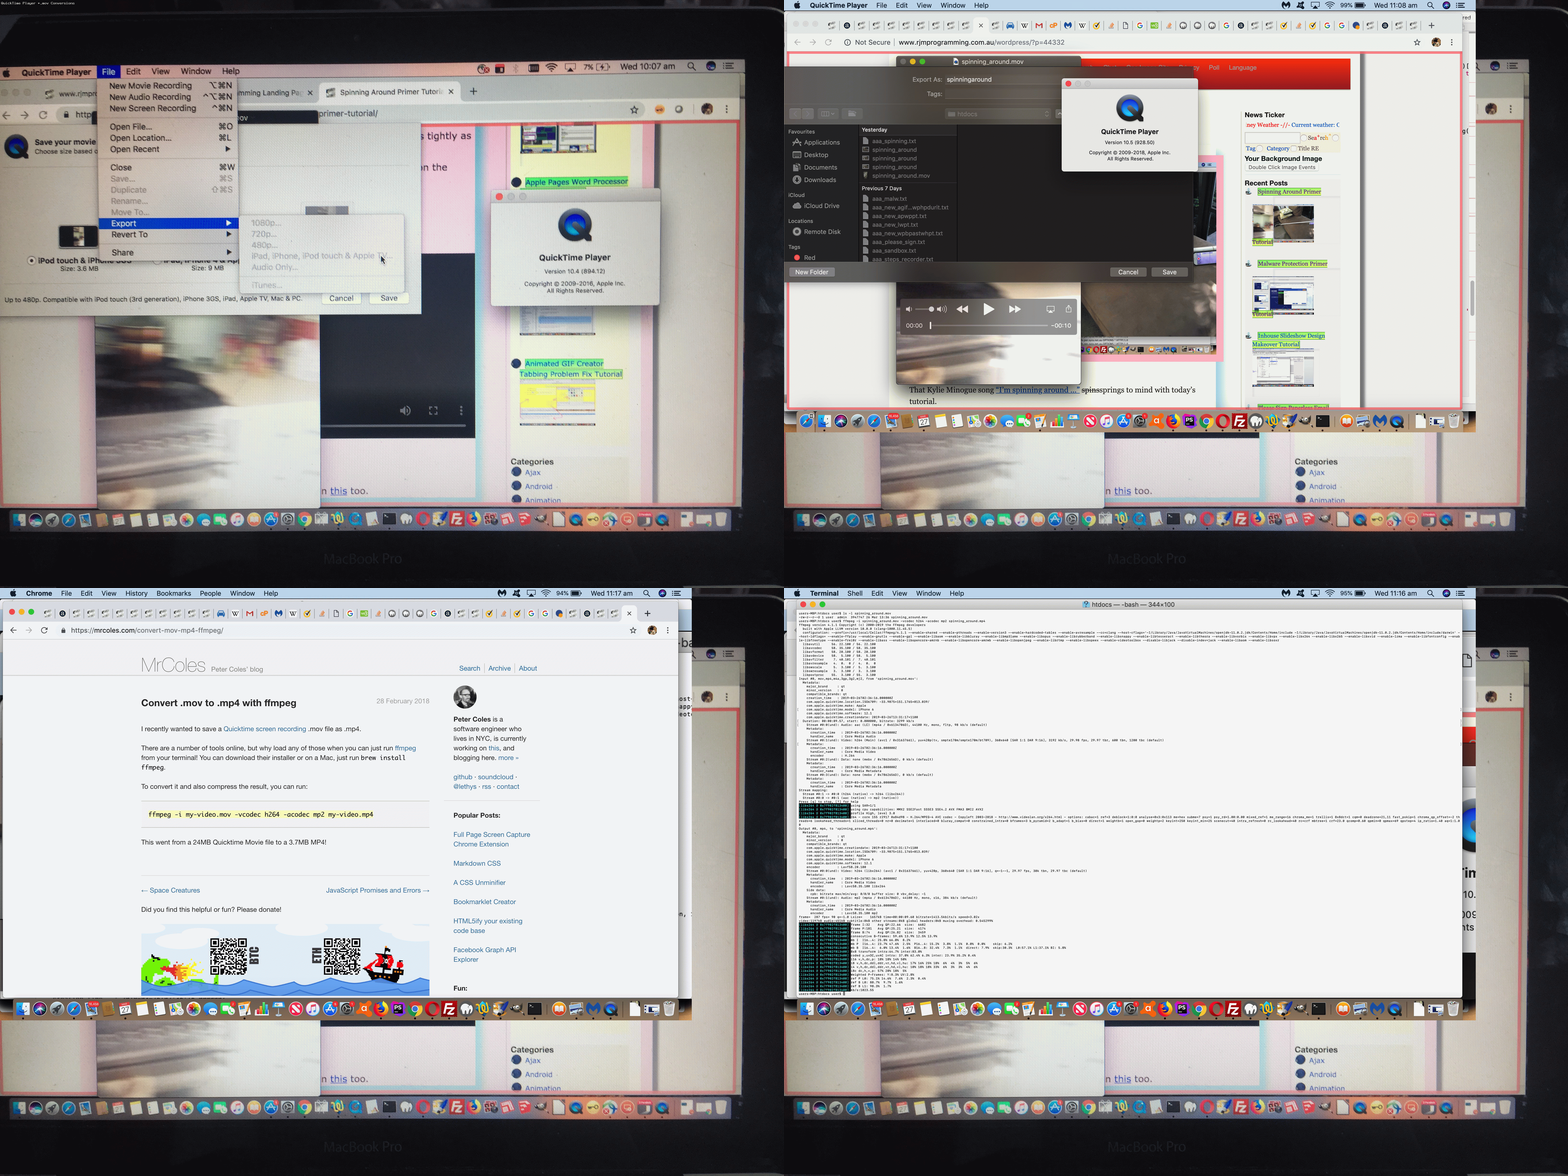
Yesterday’s Spinning Around Primer Tutorial changed quite a bit between 27th March 2019 06:00 and 11:20 AEST. Why? Well, our iPhone6 saves its videos (from the Camera iOS application) in *.mov format. This *.mov has an associated mimetype video/quicktime and as you may surmise from that mimetype it’s success as a video playing format depends quite a bit on the user having access to the QuickTime Player application. We say quite a bit here because you can sometimes open an *.mov based URL in a web browser of a computer without QuickTime Player installed, and believe I’ve seen the video be played that way, but with yesterday’s tutorial, we were asking the *.mov be played within an HTML video element (albeit one with no cross-domain issues). The problem here even for computers with QuickTime Player installed …
- you see a blank black video screen (with controls (because we specified that with our …
<video style='width:100%;' controlshttp://www.rjmprogramming.com.au/wordpress/wp-admin/post.php?post=44345&action=editsource type='video/quicktime' src='http://www.rjmprogramming.com.au/Mac/iPhone/spinning_around.mov'http://www.rjmprogramming.com.au/wordpress/wp-admin/post.php?post=44345&action=edit/source></video>
… video element HTML above) - you click the play button and nothing happens
All a bit disappointing, but please read on.
Then we set out thinking about conversion from …
- *.mov to *.m4v via older QuickTime Player Version 10.4 (894.12) (no longer available as of Version 10.5 (928.50)) … which we associated with its video element in Spinning Around Primer Tutorial
- *.mov to *.mp4 via ffmpeg and help from this great link, thanks, to use on a MacBook Pro (Terminal application) command line, the command …
ffmpeg -i spinning_around.mov -vcodec h264 -acodec mp2 spinning_around.mp4
… which we associated with clicking on the tutorial picture of yesterday’s Spinning Around Primer Tutorial
… and then reflecting, and thinking this cannot be so, we got to another great link, thanks, and realized that …
<video style='width:100%;' controls><source type='video/mp4' src='http://www.rjmprogramming.com.au/Mac/iPhone/spinning_around.mov'></source></video>
… could be played in the video element, as below …
You can also see this play out at WordPress 4.1.1’s QuickTime Player Mov Video Conversion Tutorial.
Previous relevant Spinning Around Primer Tutorial is shown below.
That Kylie Minogue song “I’m spinning around …” spinssprings to mind with today’s tutorial.
Have you ever wanted to made a video to try to make yourself, or someone else, dizzy? Well, we thought about this, and decided we’d …
- use an iPhone …
- start up its Camera app
- get it ready for (normal) Video mode
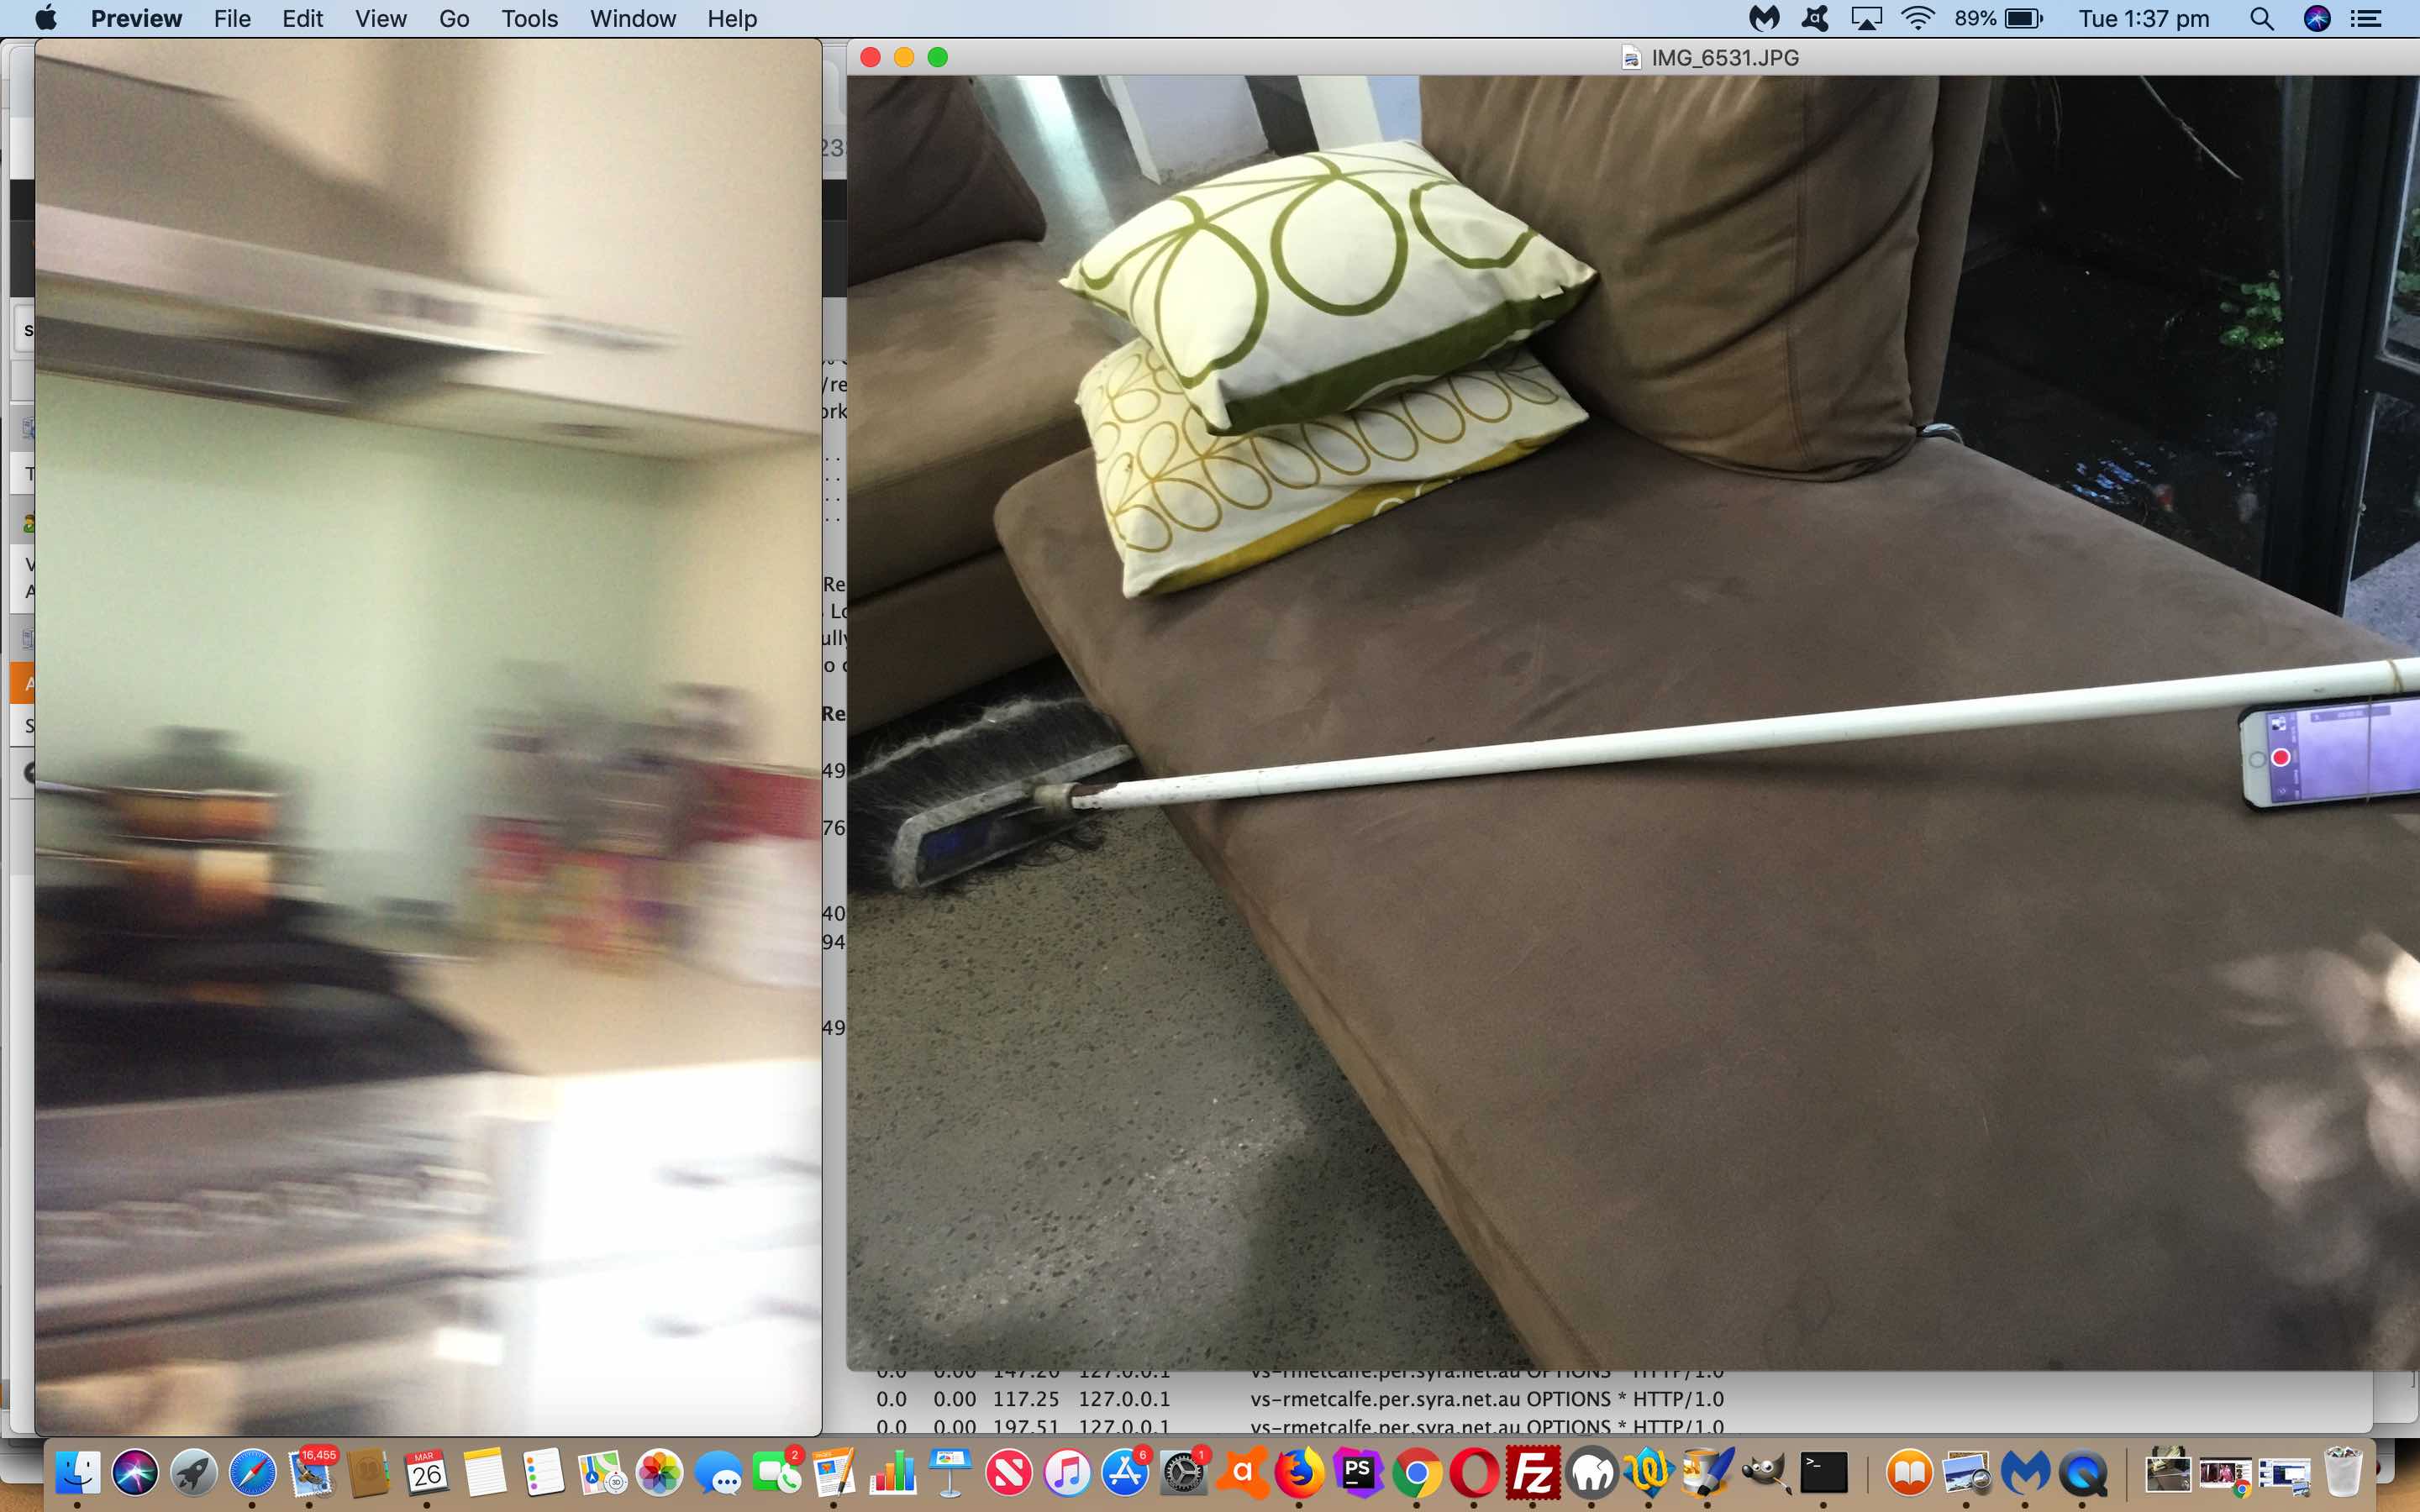
- grab a broom
- grab a rubber band, the thicker the safer for your iPhone … please be careful …
- bind the iPhone onto the broom handle via the rubber band, as tightly as you can
- tap the red button awaiting you starting the Video recording, on the iPhone … doh! …
- spin the broom handle for a while … we did about 10 seconds
- tap the red button to stop recording
- share the dizzifying Video, as we do here and below
Are you dizzy yet?
If this was interesting you may be interested in this too.
If this was interesting you may be interested in this too.
If this was interesting you may be interested in this too.
If this was interesting you may be interested in this too.
If this was interesting you may be interested in this too.
If this was interesting you may be interested in this too.

