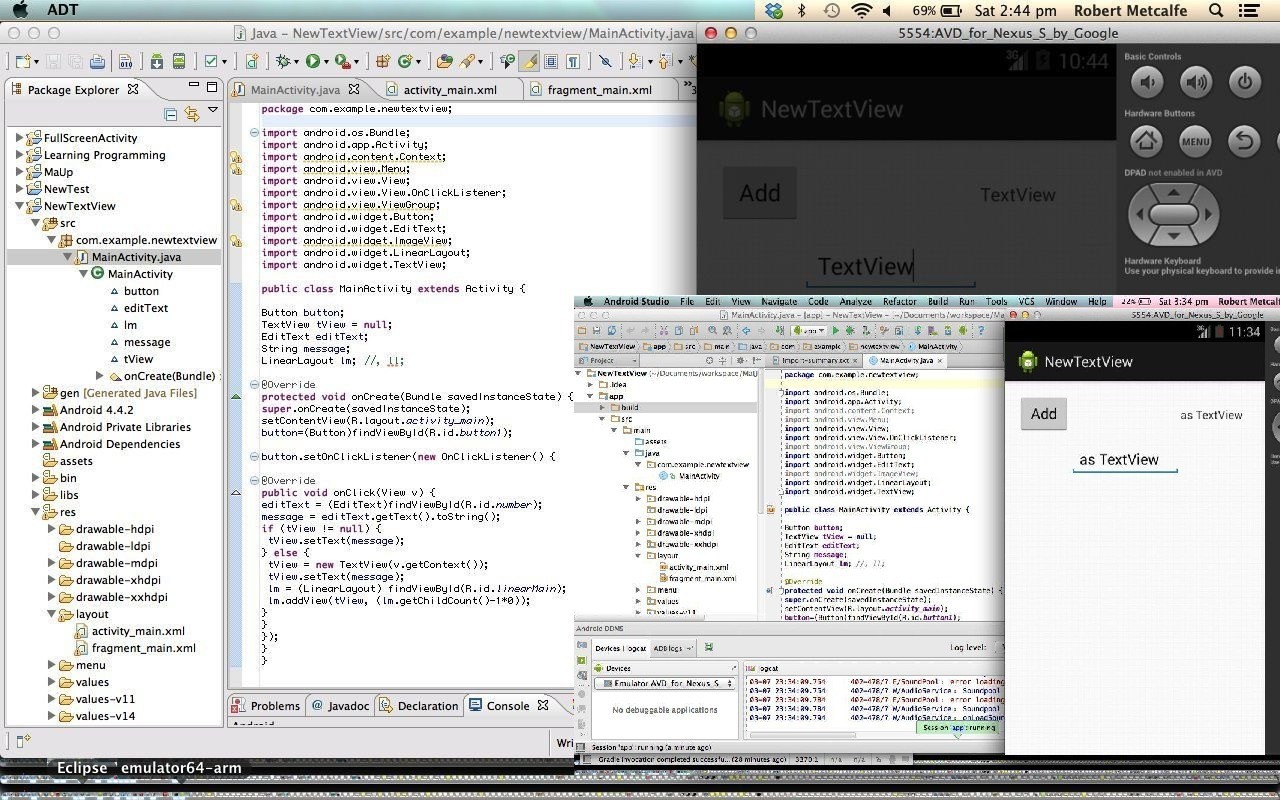
Our Android mobile app tutorial today uses Java and we use Eclipse IDE and Android Studio … golly … with the view to answering a Yahoo Answers question. Today we interface an Eclipse project with an Android Studio IDE project, but unlike with Android Studio Primer Tutorial, where we had some difficulty with automated import/export ideas, this time we were successful, and want to show you how easy it is to do. As advised at the Eclipse end of things just as you shape to export, the excellent Eclipse product informs that Android Studio has improved its interfacing “smarts” and says words to the effect that you should just import from Android Studio, pointing at the root directory of the Eclipse project … did this … and it was brilliant making it all happen. This project, to do with dynamically adding a TextView (regarding this, was helped out a lot … thanks … by this tutorial), was not involved enough to involve jar files, but the ease with which this all happened makes you feel as if all this would be worked out for you here should you have that complication. All that being said there are things Android Studio can’t do as easily as Eclipse … one is enctype mime multipart form data file postings, for example … though even as I write this somebody can probably dispute this.
Anyway …
Enjoy this tutorial.
Technologies of interest to Android Studio IDE, that allow it not to need the equivalent of Eclipse’s ADT Plugin, are:
Here are this project’s downloadable:
Happy Androiding now then, there then.
Previous relevant Android Studio Primer Tutorial is shown below.
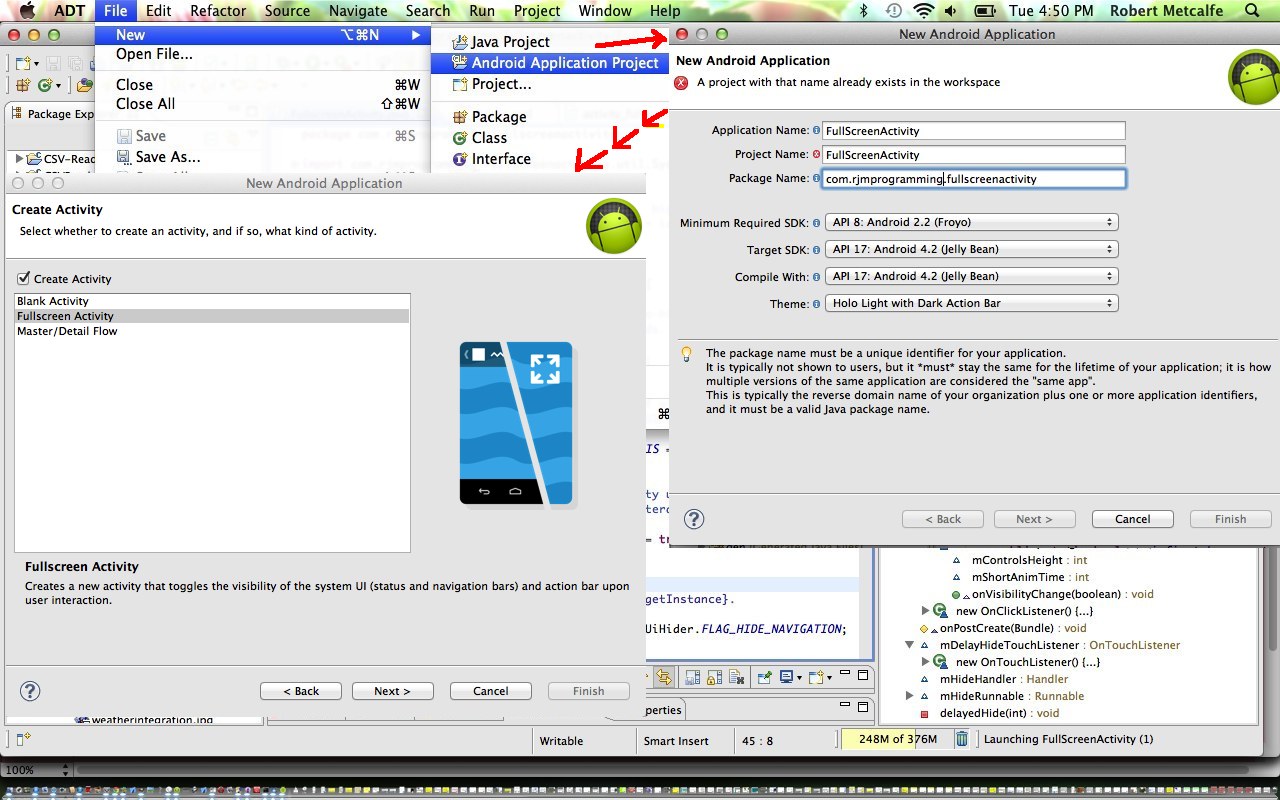
Our Android mobile app tutorial today uses Java but we do not use Eclipse IDE … gasp! Today we introduce Android Studio IDE (and we figure this is an opportunity to have a recap of Android Development, particularly past Eclipse tutorials, to help with the context of where Android Studio is coming from) by Google. Previous relevant Eclipse tutorials starting with Eclipse Fullscreen Activity Android App Primer Tutorial are built upon here, and are shown, being of interest to today’s tutorial.
Technologies of interest to Android Studio IDE, that allow it not to need the equivalent of Eclipse’s ADT Plugin, are:
With this tutorial we cover the install of Android Studio IDE to a Mac laptop (and it works fine on Windows laptops too), and import a project previously stored as an Eclipse IDE Android App Project (using Android SDK) … “Learning Programming”. We tried the simpler import principles outlined here and here but ran into problems, so the tutorial shows you the creation of a new Android Studio Android App project and brought in (the “usual” default suspects (for small projects)):
- MainActivity.java
- activity_main.xml
- strings.xml
- AndroidManifest.xml
… in a manual approach.
Good links for this tutorial are:
- Getting Started: WebView-based Applications for Web Developers
- Migrating from Eclipse
- New Mode for Apps on Large Screens at UnOfficial Android Developers Blog
- Supporting Different Screen Sizes | Android Developers
Must say that I like Android Studio a lot, and liked its AVD ( Android Virtual Device ) interface. Google warn that the product is still young, and under development, but didn’t find any deadends, myself, during this, albeit, primer, tutorial … ,,,,,, … okay, am, over, it, now. So we were able to emulate an Android tablet called 10.1″ WGXA Tablet.
Here is a download and informational link for Android Studio by Google.
Happy Android to you, and hope to see you again with more green round icons!
Previous relevant Eclipse tutorials starting with Eclipse Fullscreen Activity Android App Primer Tutorial are of interest, and are shown below.
Our mobile app tutorial today builds on Eclipse Android App Google Play Ready Primer Tutorial (the “end game”) as shown below, in attempting to kick start some of the ideas of what that tutorial calls the “middle game”, and then it would be good to also mention Android Application (on Windows) Primer Tutorial (the “start game” (presented way below)).
By the “middle game” we mean the fun bits (maybe?!) involving programming and coding, cocooned perhaps between design and testing. Everybody works out their own ways, but most time passes for me with testing, and can’t see that getting less with all the platforms and environments you’d like to try to cater for.
This tutorial is just a small example, and you could keep doing examples until you are blue in the face, but here we just show a Fullscreen Activity mode Android App Project from within the Eclipse (Java) IDE. Within the design we add our own ImageView which is initialized to contain a home-grown image, and this image is toggled with another home-grown image (both placed in the app’s res subdirectories (of various resolutions)) with changes of screen mode and for button press/touch events.
So got in a quiet room and did a podcast (is quite big, so may take a lot of time to download) to explain a few things, “few” being the operative word, as there is much more to say over time, sometimes in overtime (chortle, chortle).
So, let’s see some “as the project starts” versus “as we finished up” programming software code difference presentations (of the files that got changed to make this happen … believe AndroidManifest.xml didn’t change, but is important, so is included here) and you’ll both see how much the Eclipse IDE services you “out of the box”, and little bits of starting you into your own Java coding thoughts:
Happy Android to you!
Previous Eclipse Android App Google Play Ready Primer Tutorial is shown below.
Our tutorial today builds on Android Application (on Windows) Primer Tutorial (the “start game”), and represents the “end game” of creating an Android App (for a mobile phone), still on Windows, using Eclipse Java and the Android App SDK, but leaves out the creative bit in the middle, for which we will do tutorials into the future (ie. the app and its design, coding, unit testing etcetera, etcetera, etcetera) .
Now you may be disappointed but you should see this tutorial for the important thing it represents … selling your wares … if you are doing that, that is.
In our tutorial I am only showing you the bare bones, but you should feel free to add more sophistication to improve the presentation.
Okay, we have created our Android App … all that difficult design work and resource gathering is done … it Builds … it Works … you’ve tested it on some platforms … it makes toast (even if you don’t want it) for breakfast … yes, there are teething problems … but even the Walk on the Moon didn’t go without a hitch?! There is version control in Google Play, and people like to see your product improving or responding to user requests, or that call on the red phone. So, let’s:
- Export the build with a keystore creating a digitally signed .apk
- Go to the Google Apps Developer portal for the Developer Console … link here is to register (at time of writing, is a oneoff payment) … and here is a good link for training resources
- Upload the digitally signed .apk
- Fill in Store Listing requirements and other matters, then Publish it to Google Play online store
- See the Android App on Google Play … this tutorial’s Android App at Google Play … other personal experience
So, let’s go see how it’s done here with our tutorial, and if this means something to you, hope your app sells like hotcakes!
^
^
^
The “middle game” … the app and its design, coding, unit testing etcetera, etcetera, etcetera … for future tutorials … before … after.
^
^
^
^
^
^
Previous tutorial Android Application (on Windows) Primer Tutorial …
Android Applications run on many of today’s mobile (smart) phones. More and more the Internet traffic of the world arises because of mobile phone usage.
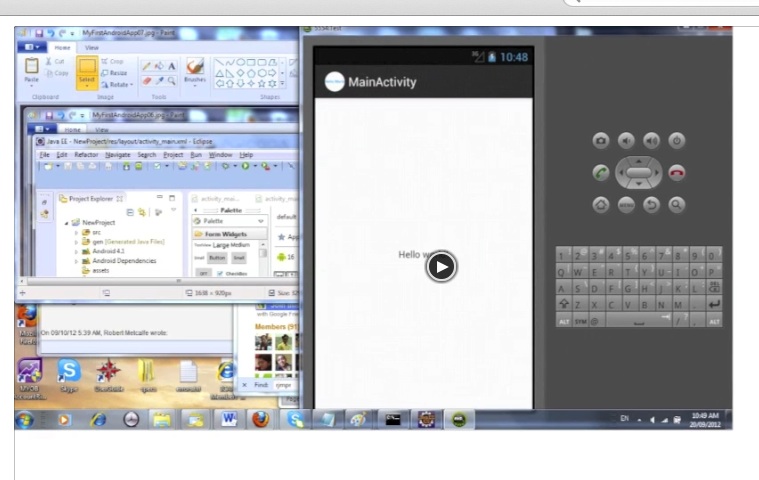
This video is a primer showing a “stream-of-consciousness” view of installing the necessary software components on a Windows laptop in order to create an Android Application that will run on many of today’s (smart) mobile phones. These components, for my setup, include:
- Java Runtime Environment
- Eclipse IDE
- Android SDK
- Android ADT Plugin
When doing your research and development on your favourite search engine enter
“Android SDK” “Eclipse” “Java”
to find out more. Here is one good relevant page.
Below is a summary of the “slides” of the video above (NB. as you install you may come across some/all of these scenarios, but it may or may not be in the order shown in this video):
- Download Java Runtime
- Eclipse Zip File
- Android SDK Manager
- Eclipse ADT Plugin
- Android App: Configure Laucher Icon
- Android App: activity_main.xml
- Android App: Run As – Android Application
- Android App: MainActivity.java
- Android App: Simulator Loading
- Android App: Uploading and Installing the .apk
- Android App: Hello World! on Simulator
Word of advice is that the simulator can be quite slow, and you may (really) need to wait for it!
If this was interesting you may be interested in this too.
If this was interesting you may be interested in this too.
If this was interesting you may be interested in this too.
If this was interesting you may be interested in this too.
If this was interesting you may be interested in this too.


