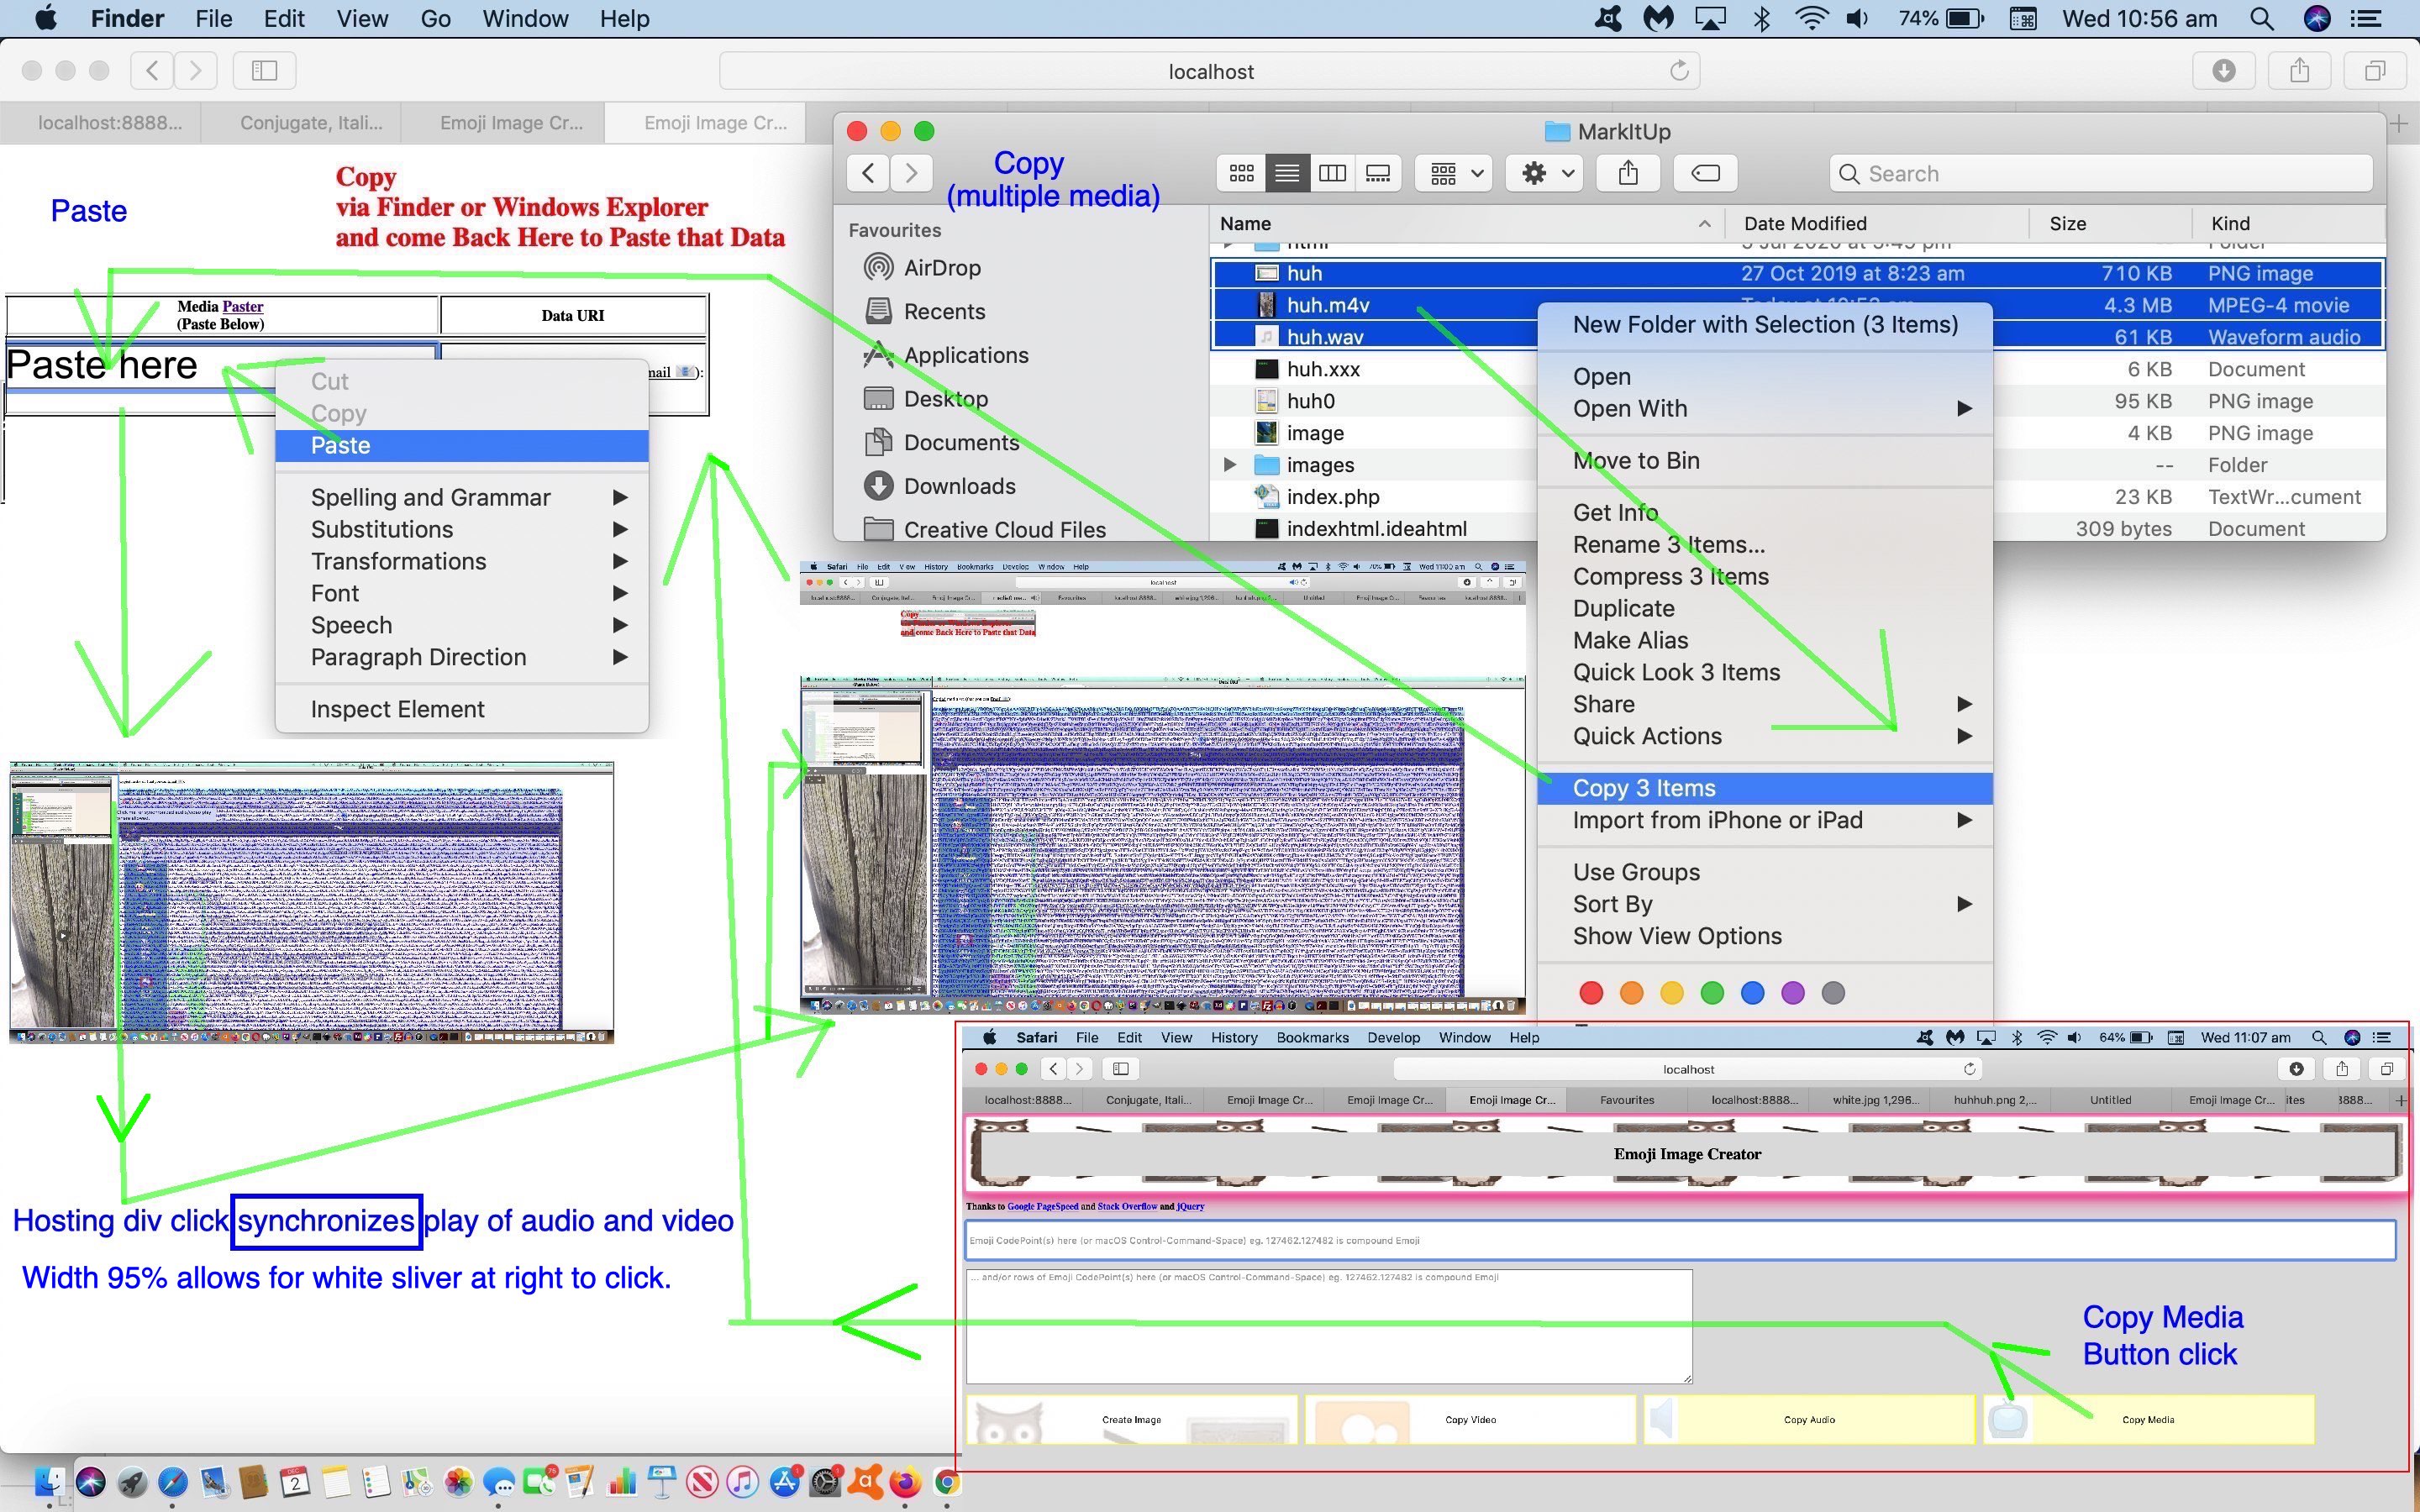
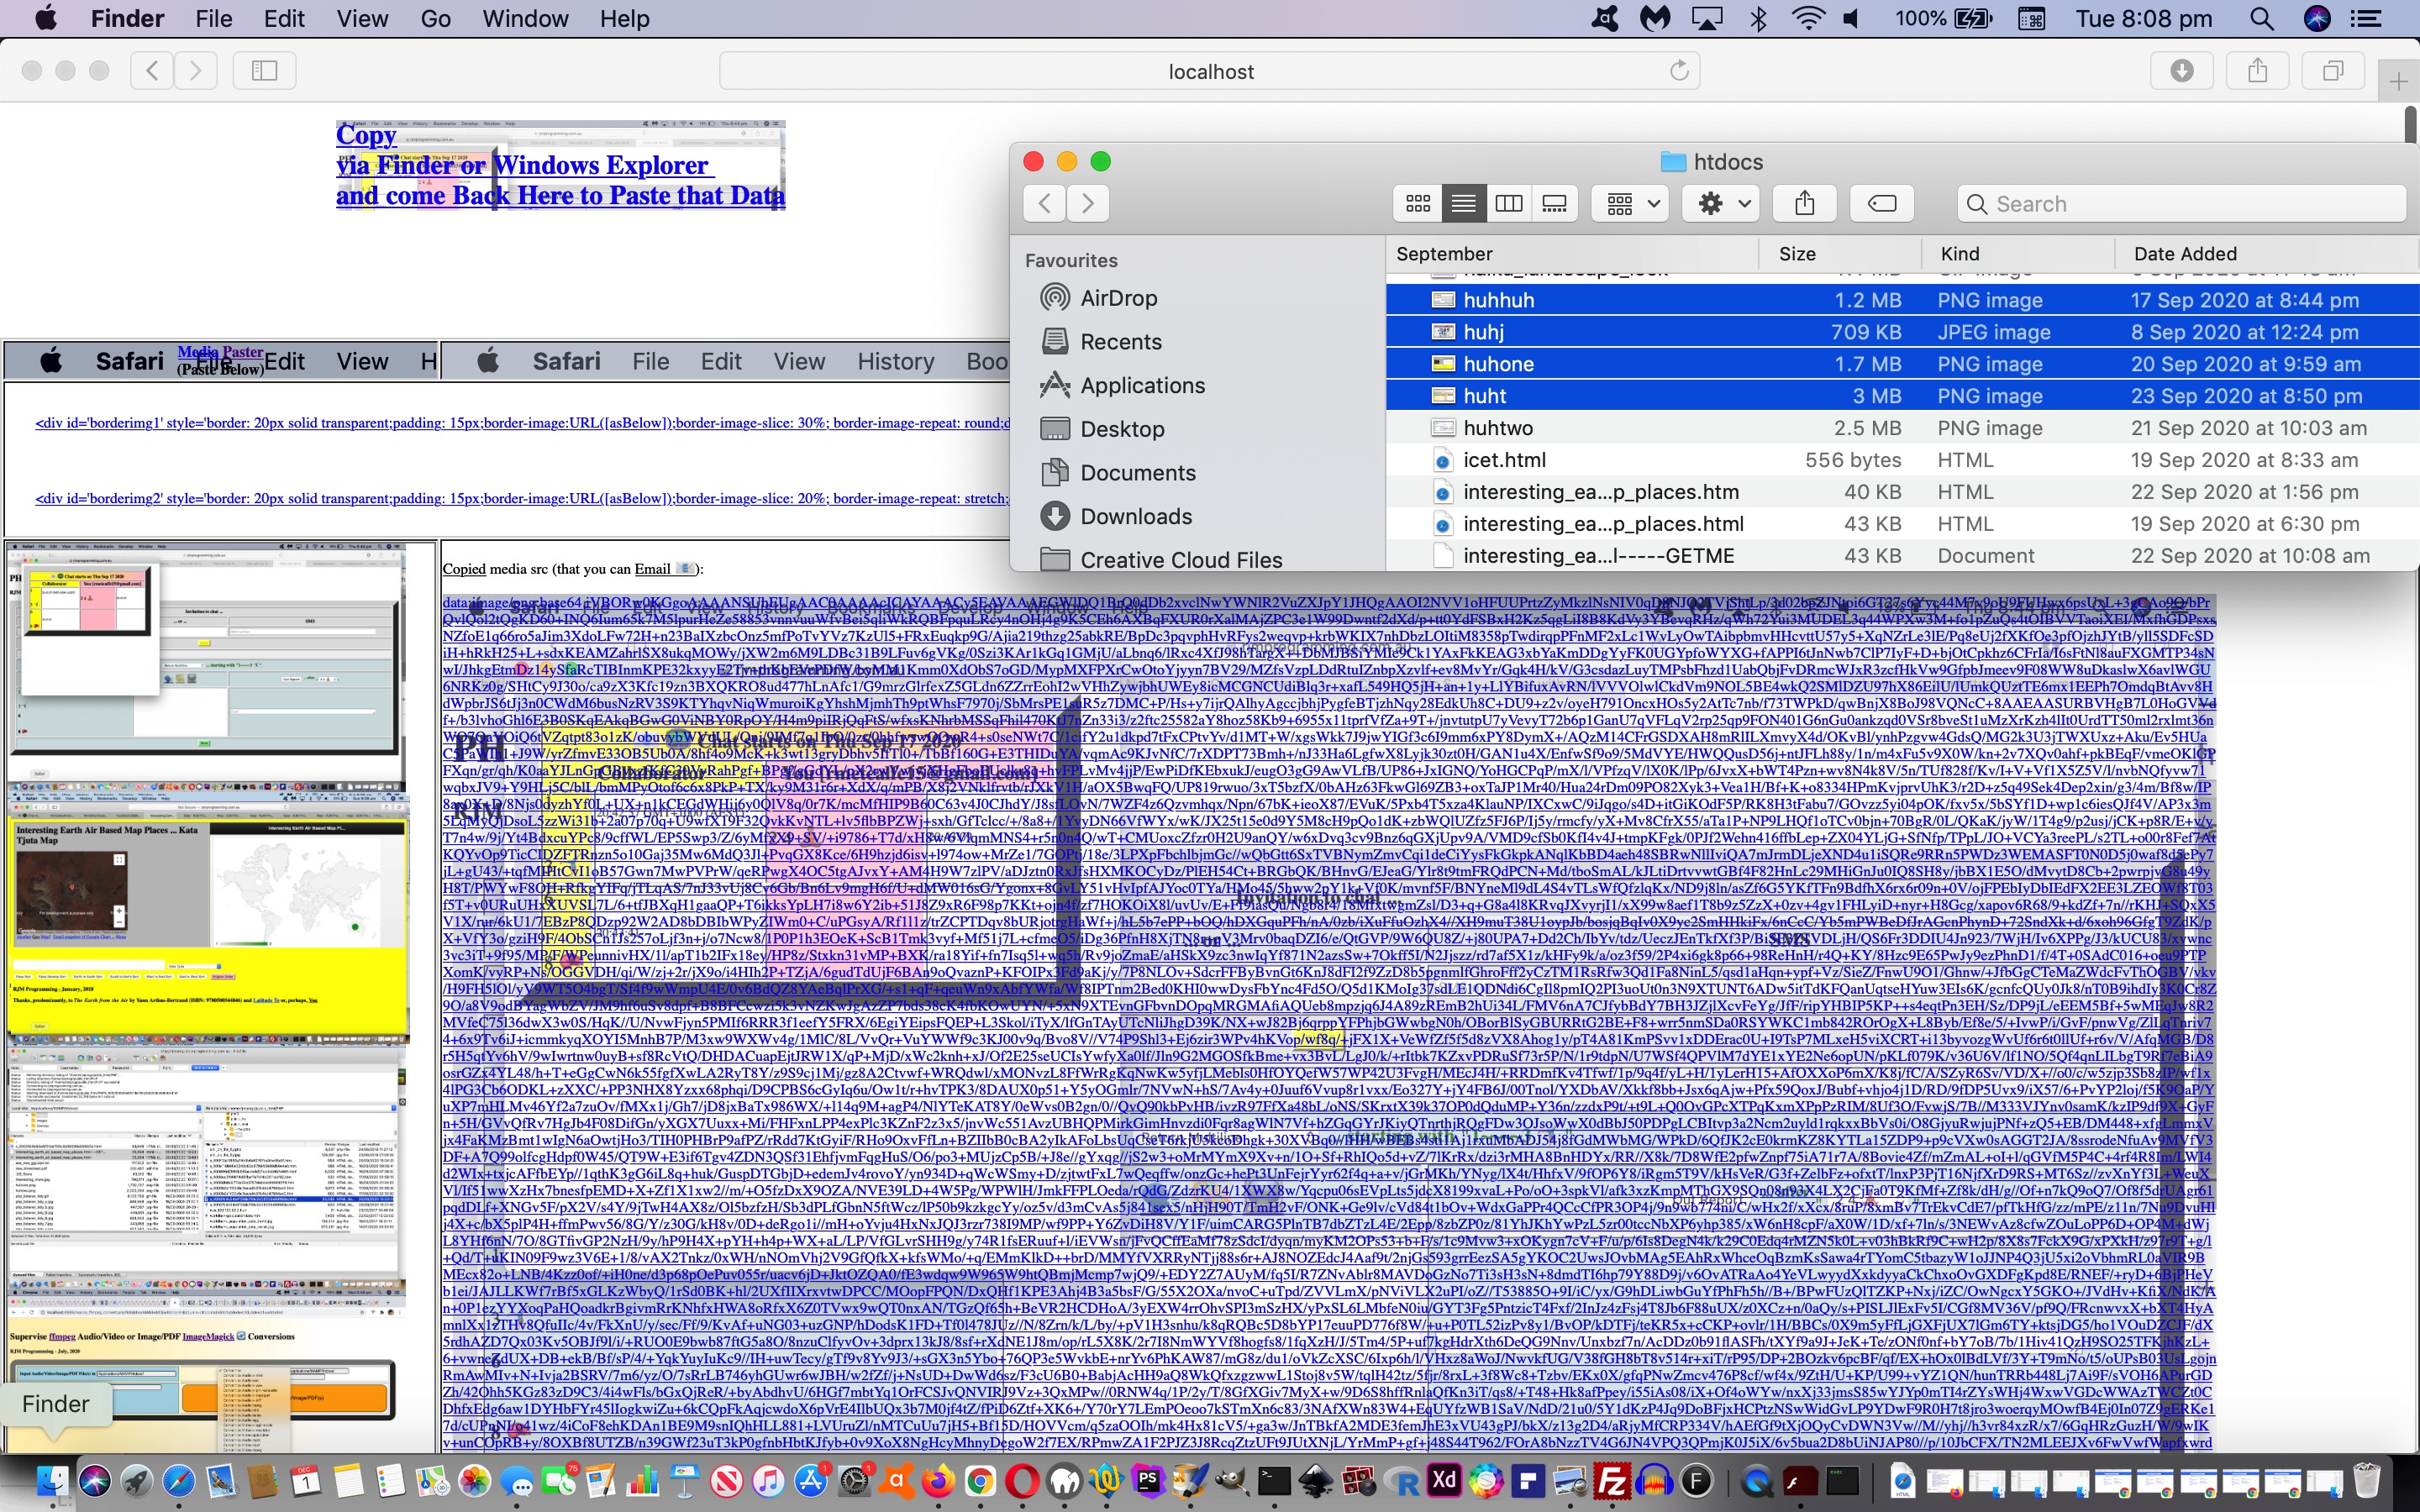
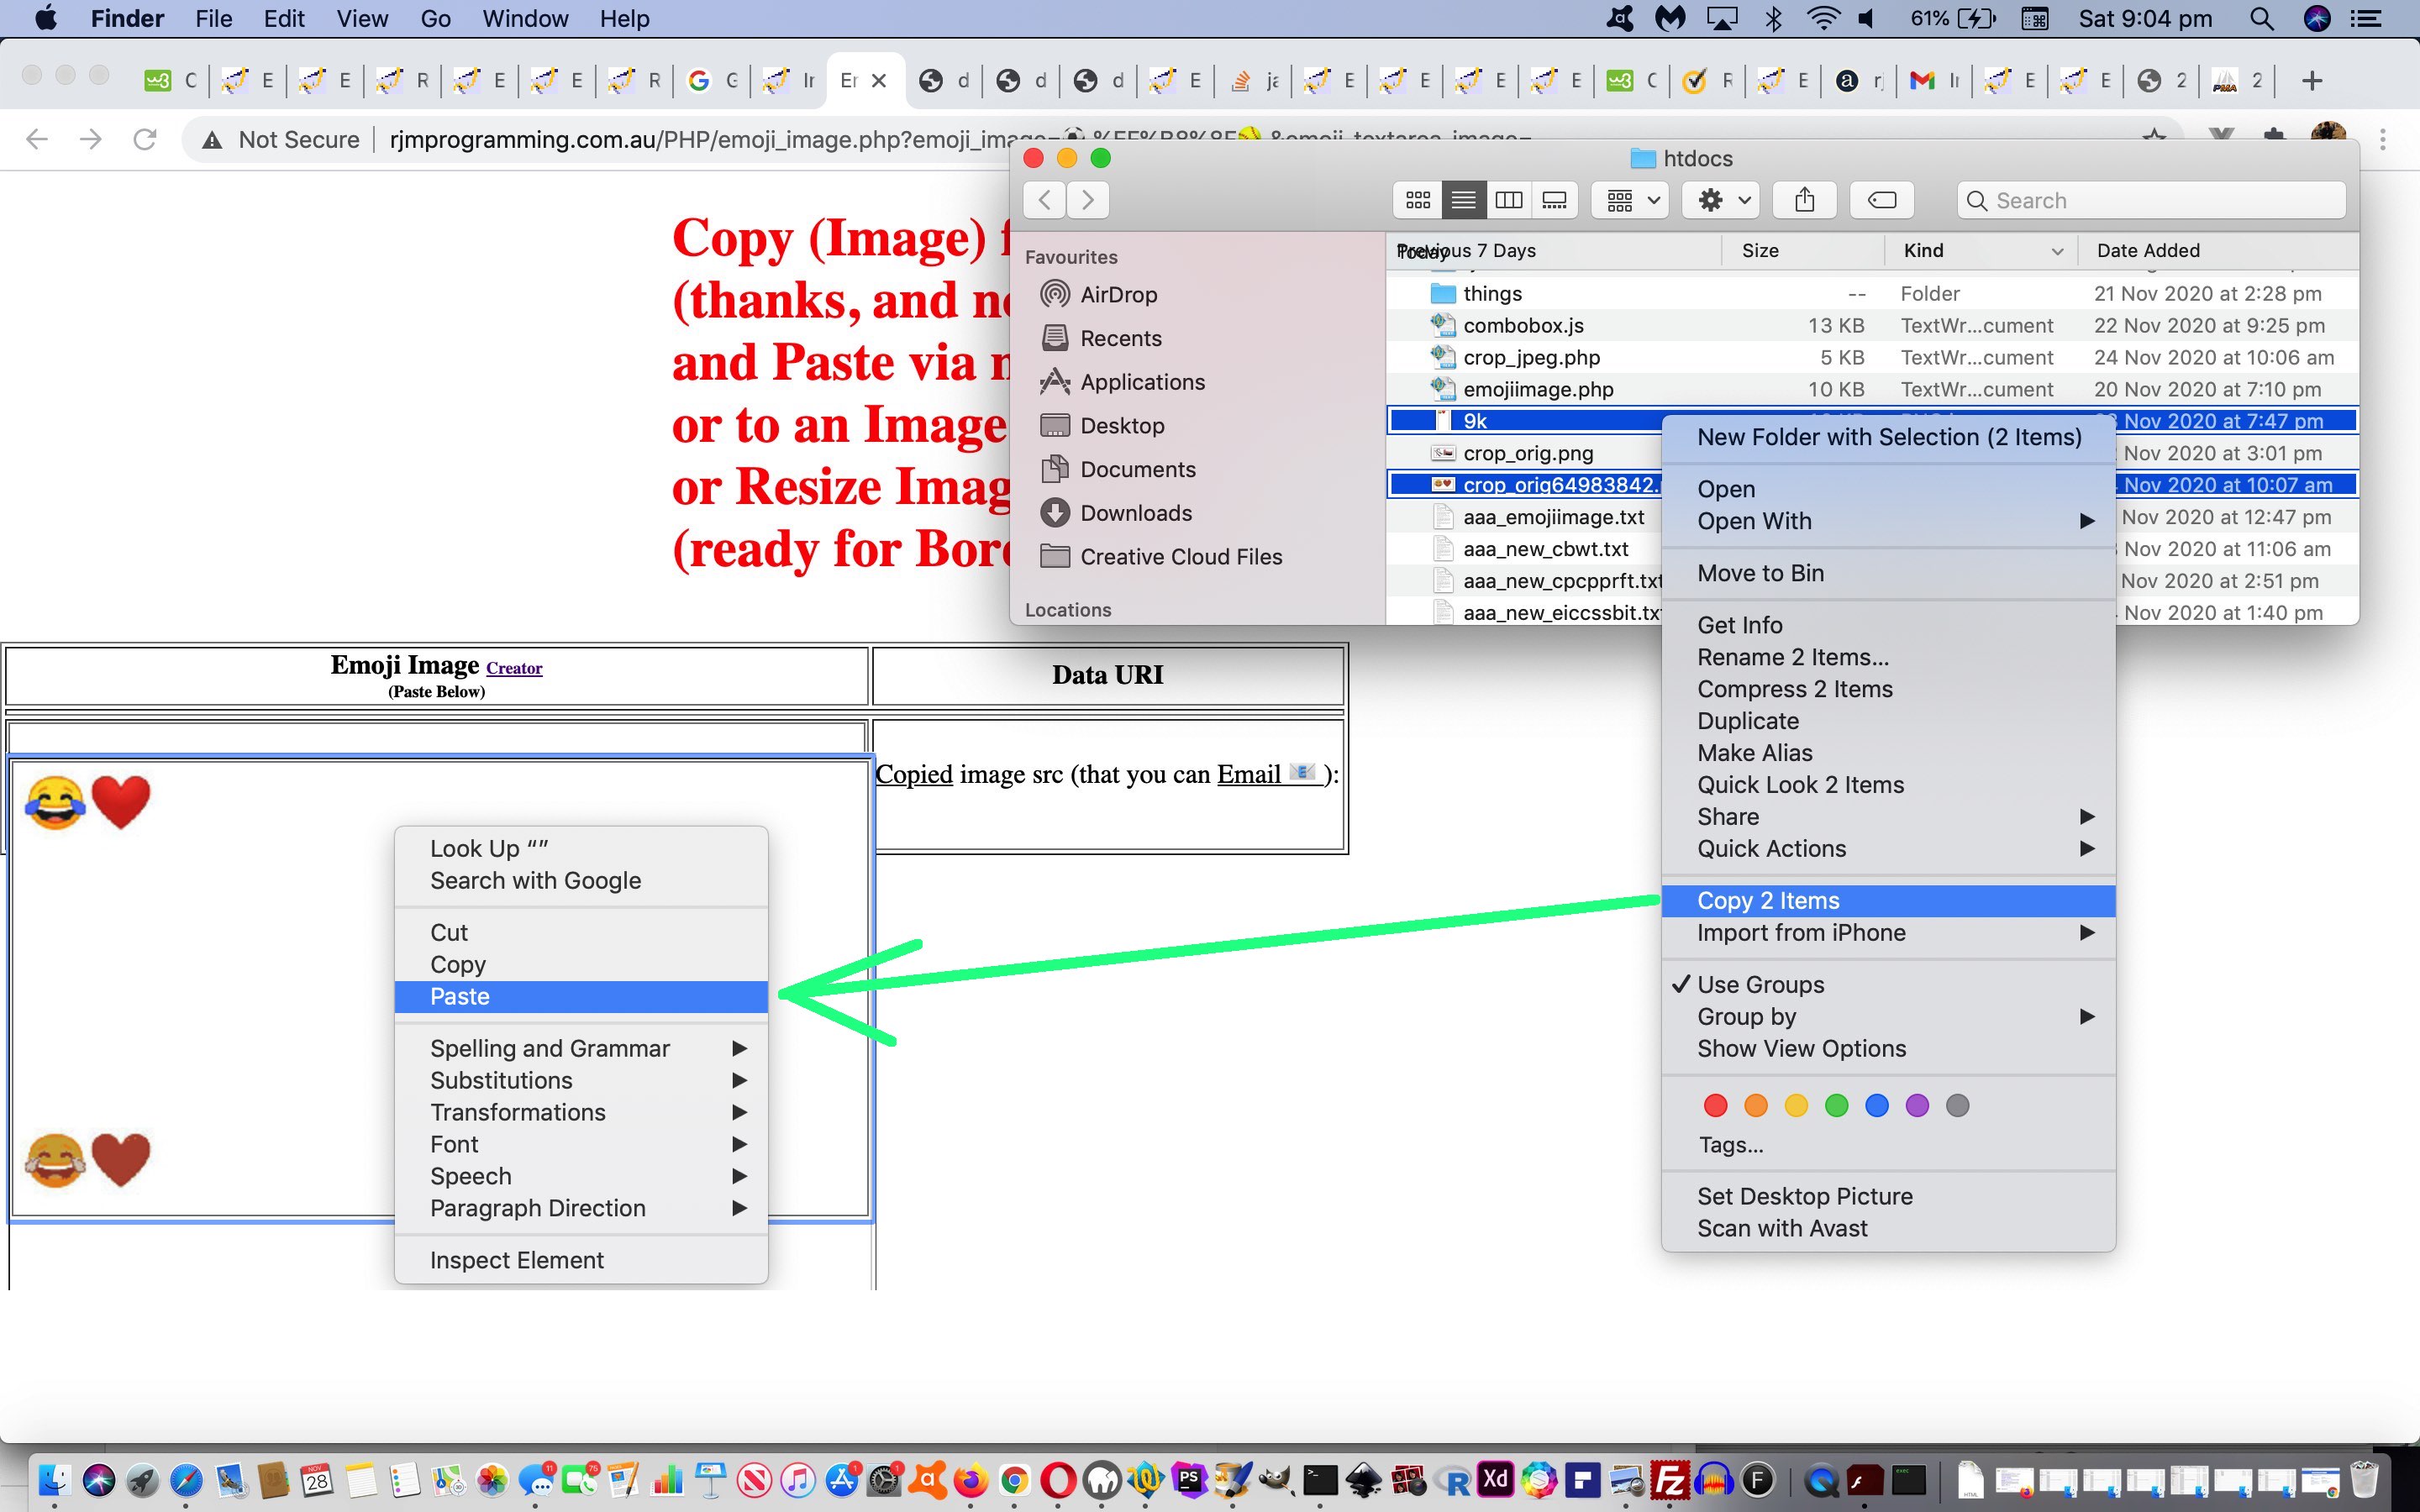
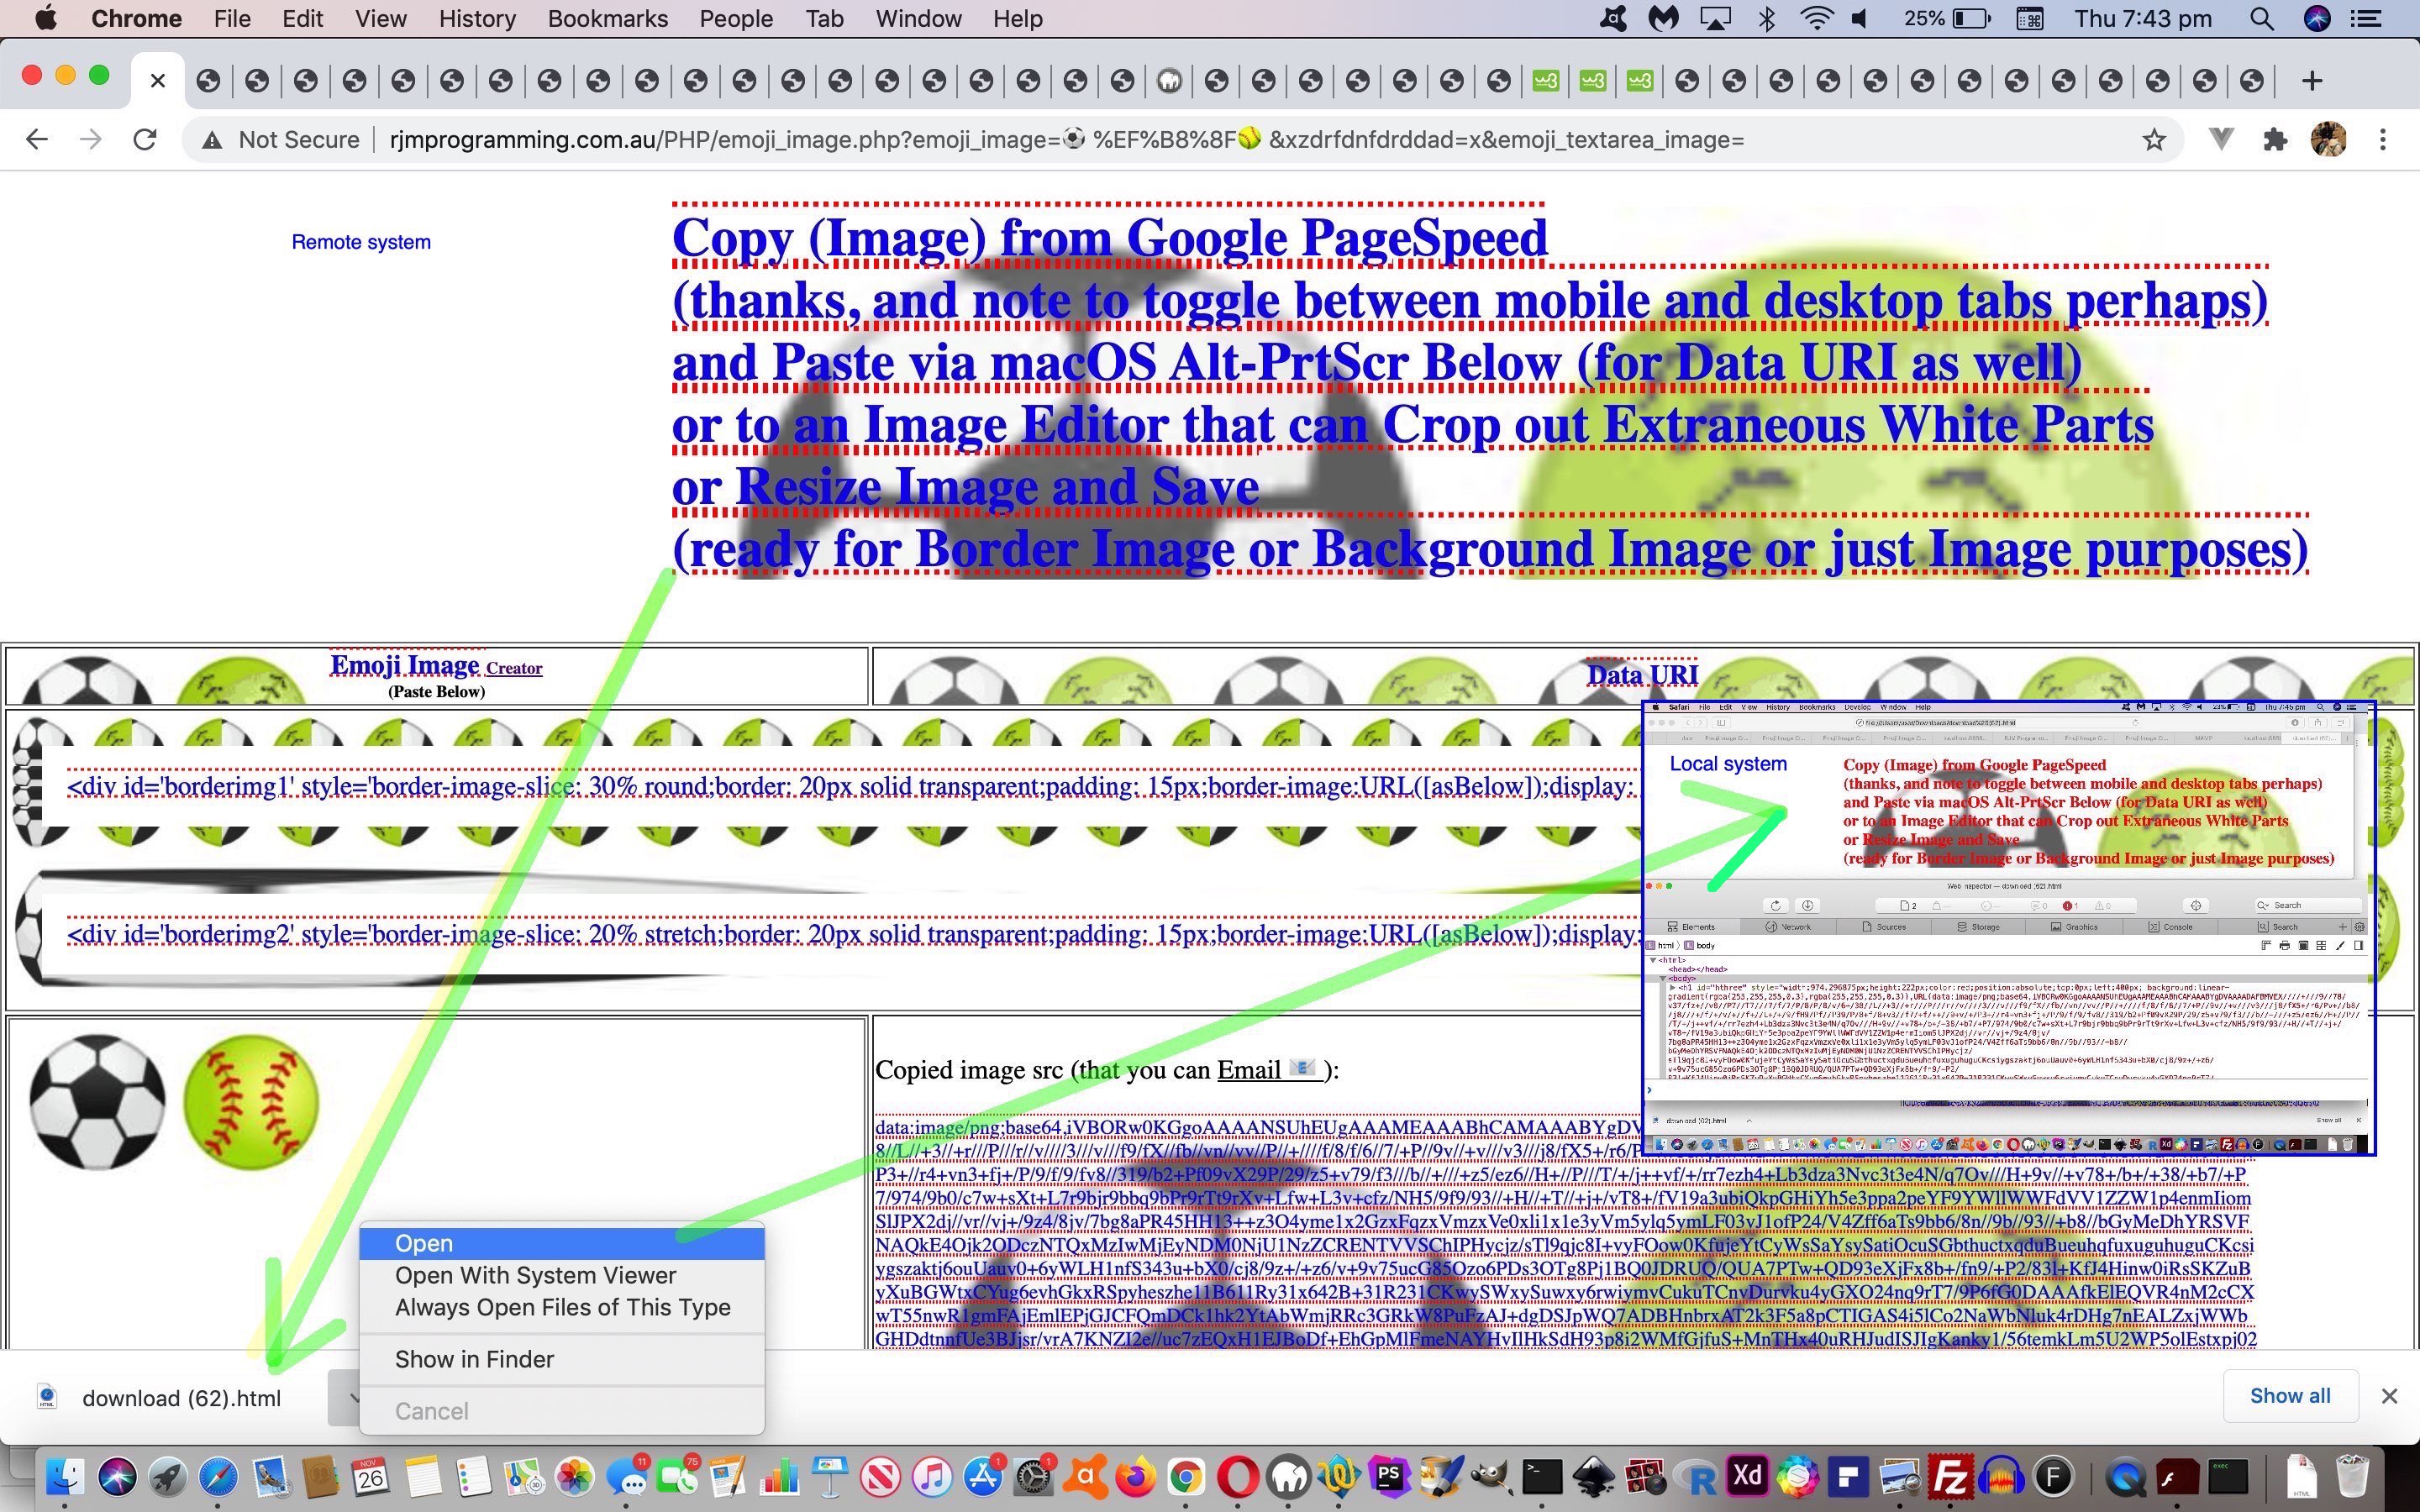
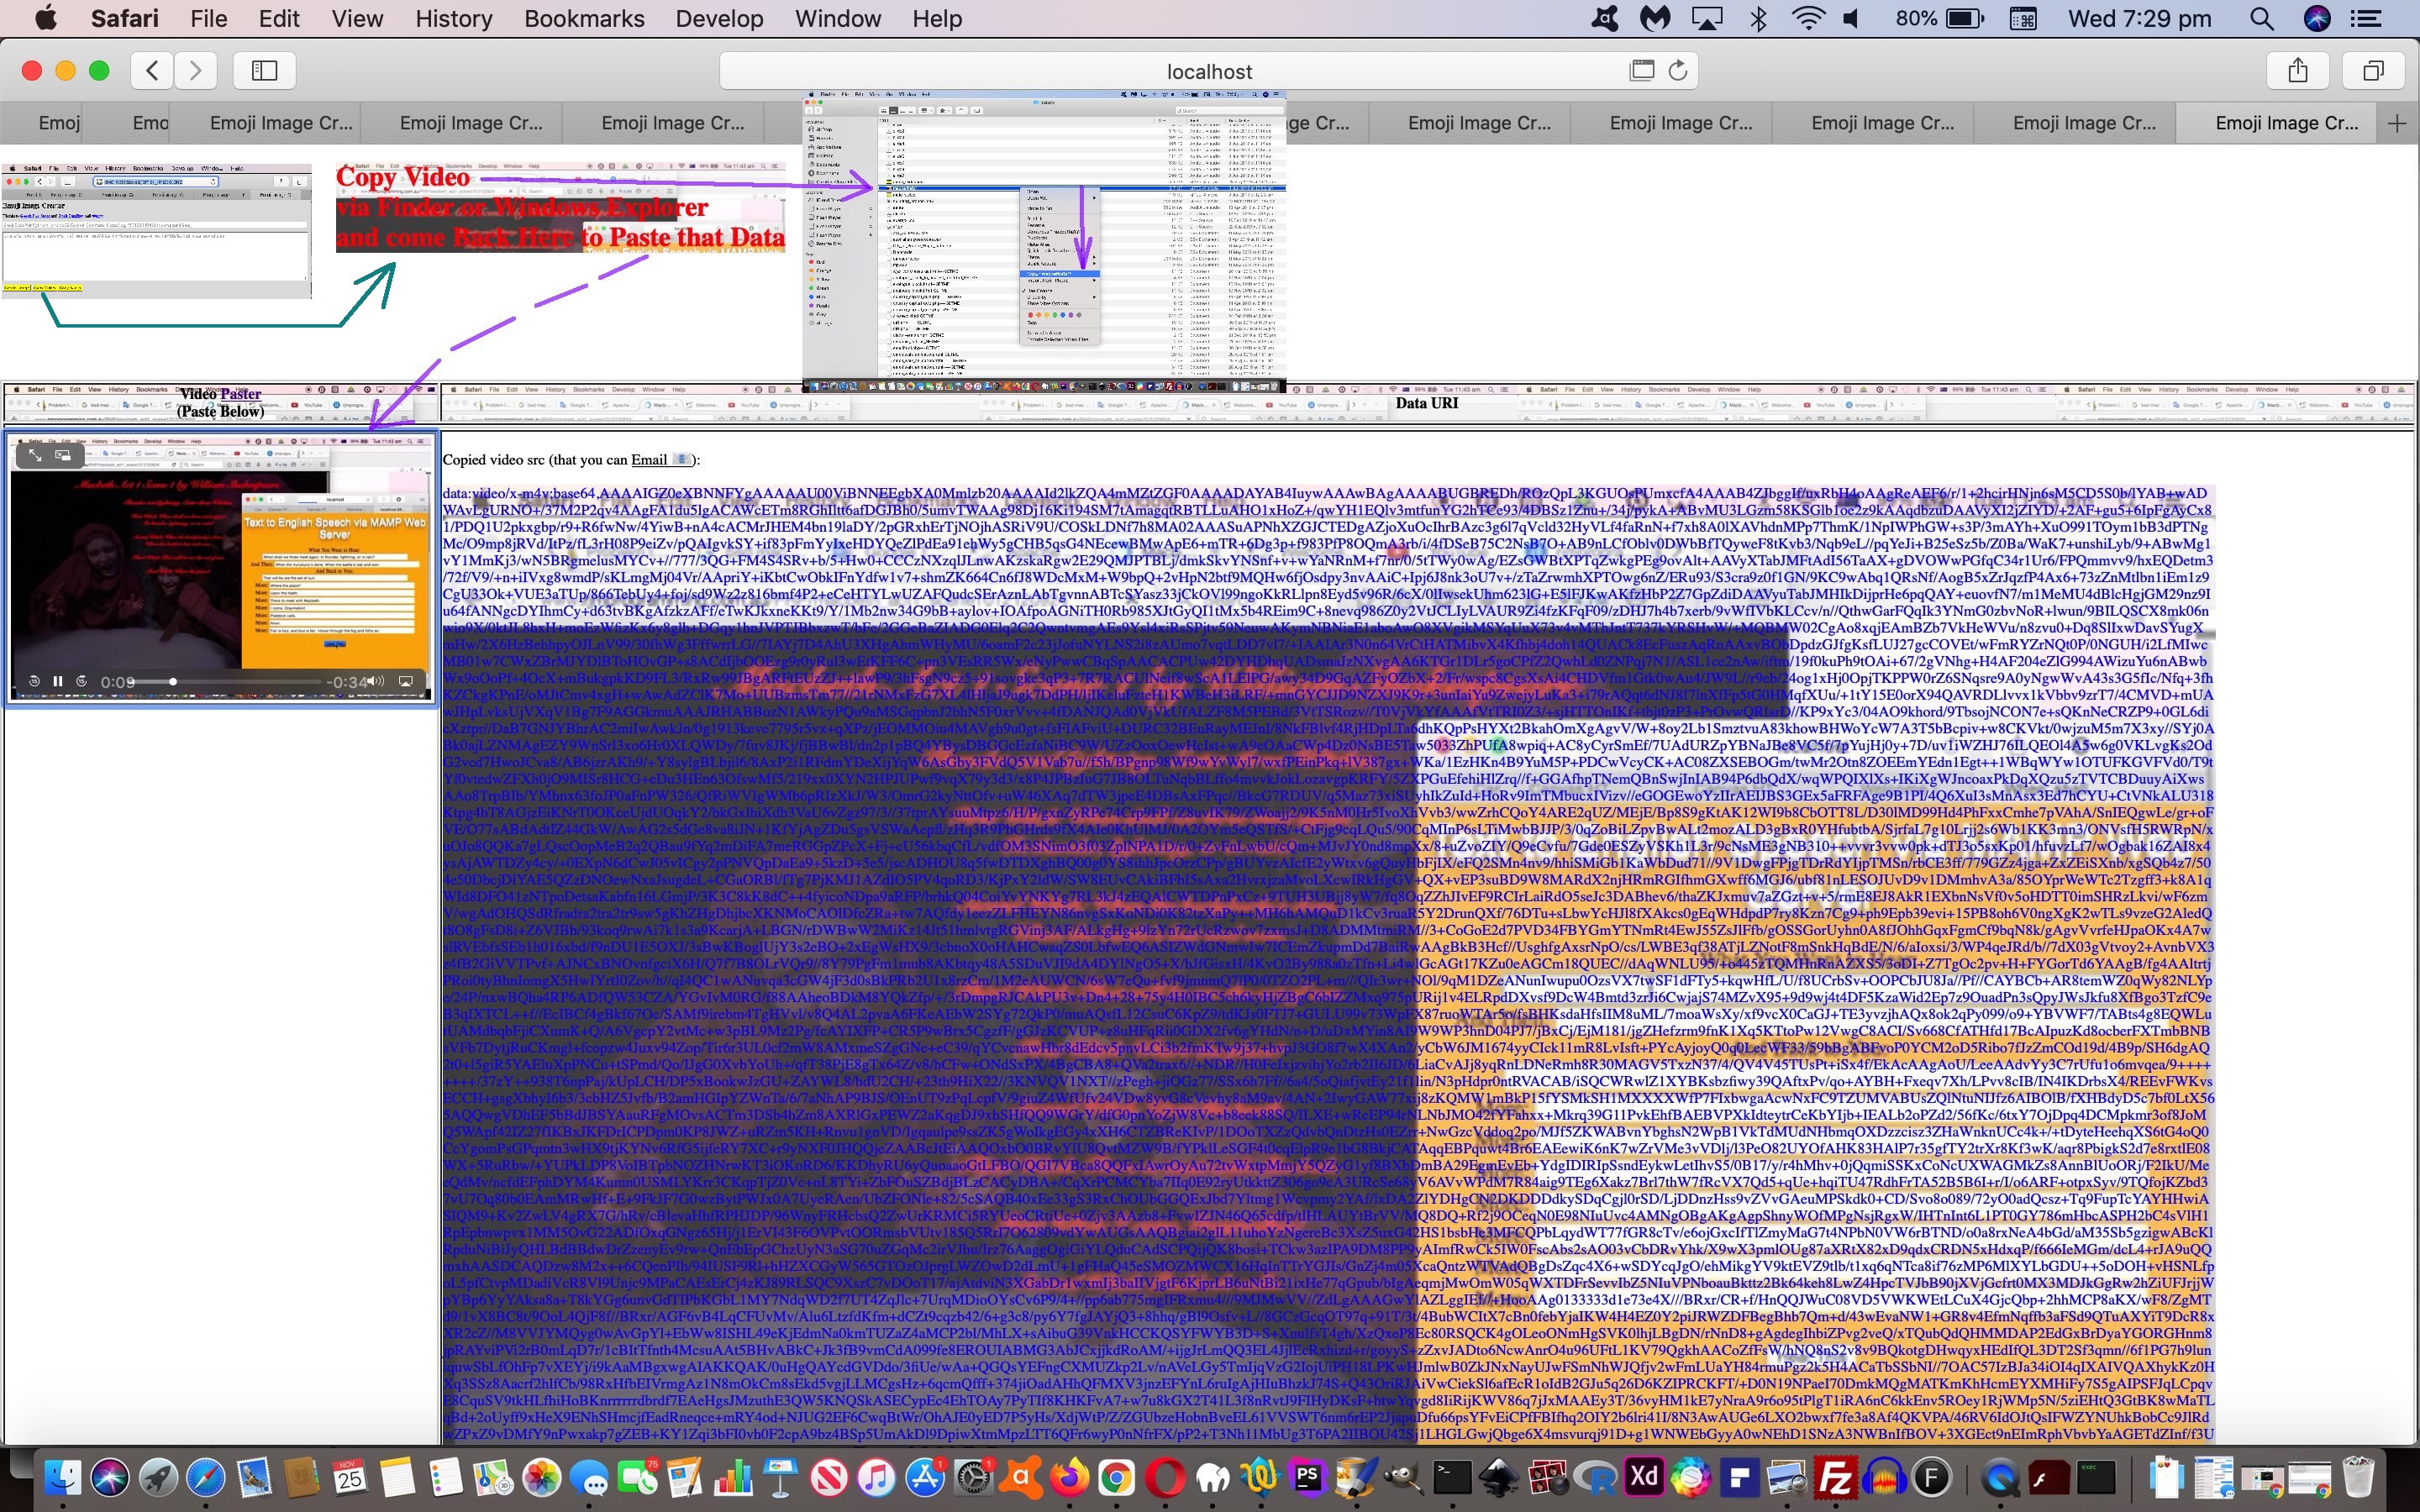
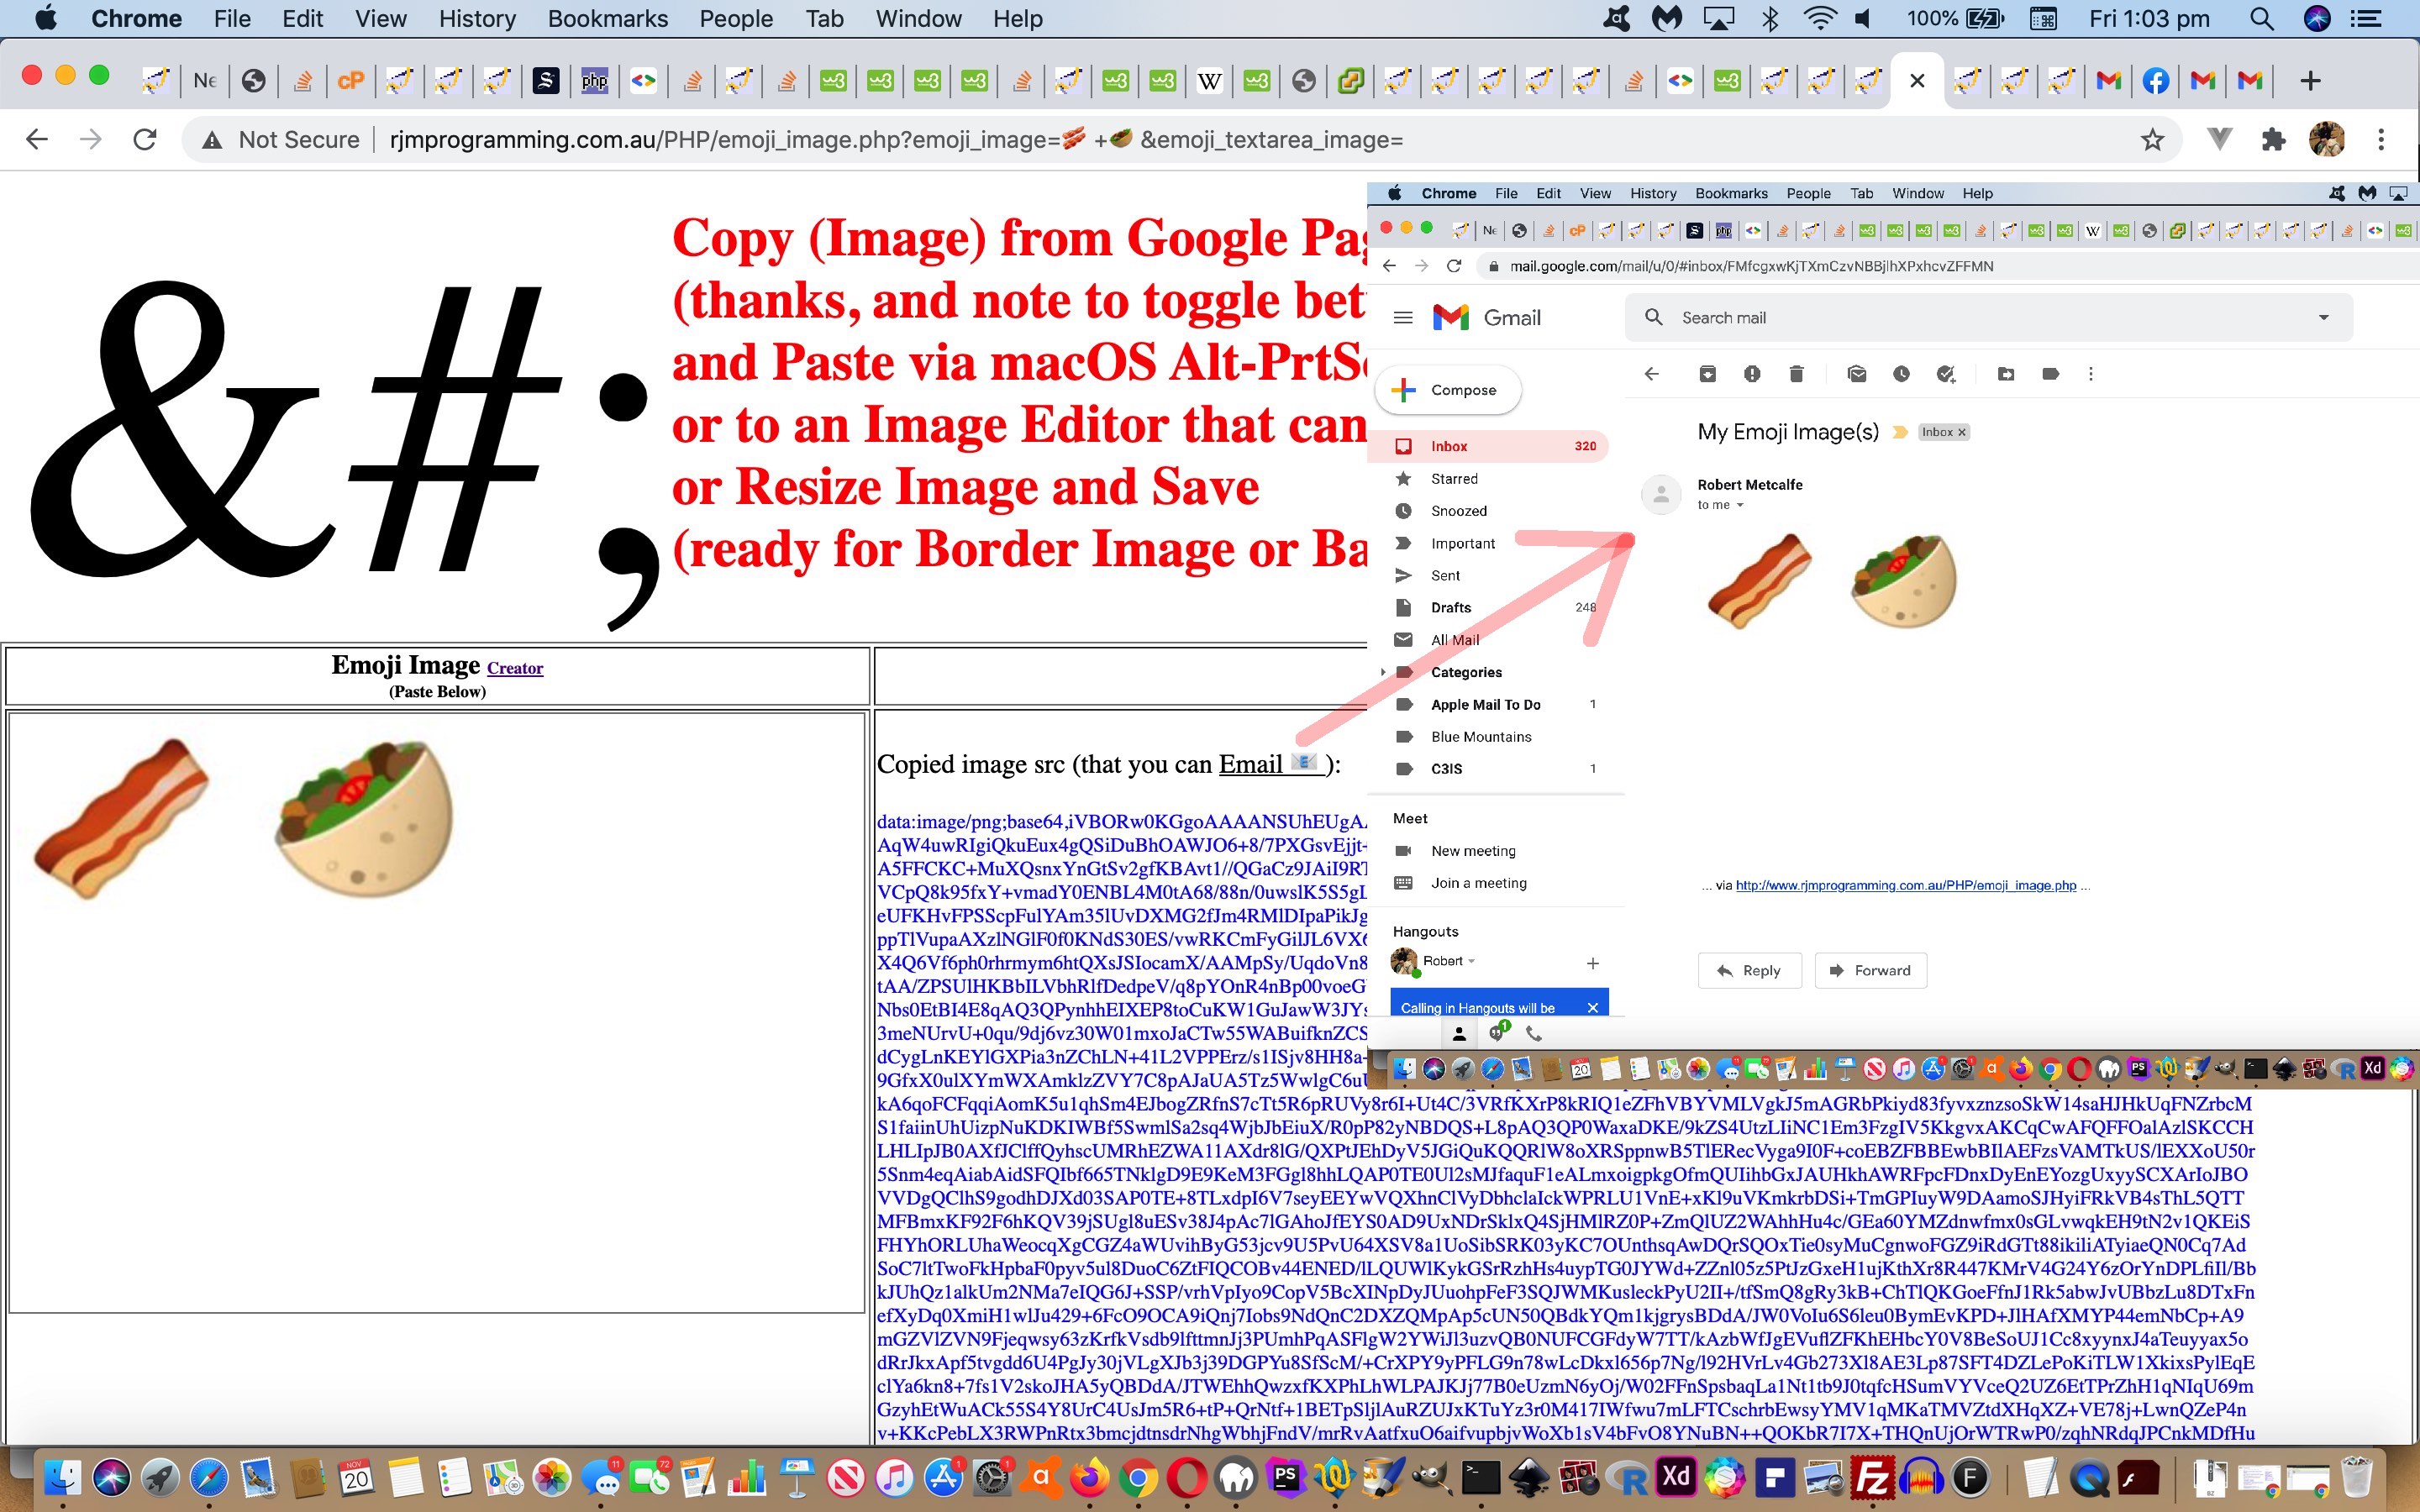
Adding onto yesterday’s Emoji Image Creator or Media Paster Multiple Copy Background Tutorial “Multiple Copy/Paste of Files” improvements, today we’re getting more into the head of a user of the “Copy Media” button encouraging the Copy of files over to the “Paste” area div element via macOS Finder or Windows Explorer, in the sense that …
- programmatically we’ve deemed it the web application’s role, if possible, to synchronize audio/video media “play” … if …
- the user has gone to the trouble to Copy over more than one audio/video file sets of data … presumably because (though we do not look into, or enforce, this) …
- video has just visuals and the audio could be a voiceover for that video, or perhaps two audios are two voices that sound good merged (ie. synchronized), or perhaps two videos played together synchronously make sense explaining an issue or product
… all evidential to your regular reader of this blog’s continuation with …
Media Synchronization
… that a lot of you readers out there will know is a near impossibility with mobile devices. Those readers who study “the masochism of RJM Programming regarding media synchronization” will be interested that we exhausted another avenue of thought. We played around (with some small proof of concept HTML) …
- nested an “audio” element within a “video” element …
<video id=myvideo controls><source type='video/mp4' src='ants.m4v'></source><audio id=myaudio controls><source type='audio/mp4' src='audiocapture.m4a'></source></audio></video>
… and then clicked “play” for either … no go regarding synchronization - nested a “video” element within a “audio” element and then clicked “play” for either … no go regarding synchronization
- nested an “audio” element’s “source” subelement within a “video” element and then clicked “play” for either … no go regarding synchronization
- nested a “video” element’s “source” subelement within an “audio” element and then clicked “play” for either … no go regarding synchronization
… at least also trying to see whether a click by a parent can flow through to a media element to perhaps satisfy the iOS need for a click to instigate (media) “play”. Ooooohhhh well!
But back in “non-mobile land” we change the code to entrench that hosting “div” element (of potential media elements) “onclick” logic to point to the changed Javascript “function predotogglei()” below …
var medialist=[];

var thismediaid='';


function divclick() {

  if (eval('' + medialist.length) > 1) {

    for (var iu=0; iu<medialist.length; iu++) {

      //document.title+=' ' + medialist[iu].id;

      if (eval(iu % 2) == 0 || 1 == 1) {

      medialist[iu].play();

      } else {

      medialist[iu].autoplay=true; //play();

      medialist[iu].load();

      }

    }

  }

}


function predotogglei() {

  var toti=0;

  var cumy=0;

  var ims=document.getElementsByTagName('img');

  var zrect=null;

  var yrect=document.getElementById('editor').getBoundingClientRect();

  divclick();

  bpos=''; //0px 0px';

  bsiz=''; //0px 0px';

  for (var jjims=0; jjims<ims.length; jjims++) {

    if (('' + ims[jjims].className) == 'togglei') {

      toti++;

    }

  }

  for (var jims=0; jims<ims.length; jims++) {

    if (('' + ims[jims].className) == 'togglei') {

      if (bpos == '') {

        bpos='0px 0px';

        zrect=ims[jims].getBoundingClientRect();

        cumy+=eval('' + zrect.height);

        bsiz='auto ' + zrect.height + 'px';

      } else {

        bpos+=',0px ' + cumy + 'px';

        zrect=ims[jims].getBoundingClientRect();

        cumy+=eval('' + zrect.height);

        bsiz+=',auto ' + zrect.height + 'px';

      }

    }

  }

  if (bpos != '') {

  document.getElementById('editor').style.backgroundPosition=bpos;

  document.getElementById('editor').style.backgroundSize=bsiz;

  }

}
… is made useful via changed “collection (of media) logic” Javascript as per (an “audio” element example) …
<?php echo ”
    thismediaid='media' + medialist.length;

    document.getElementById('editor').innerHTML+='<audio id=' + thismediaid + ' controls><source type=\"' + ('' + btypes[curnum]) + '\" src=\"' + duis + '\"></source></audio>';

    medialist.push(document.getElementById(thismediaid));

    if (eval('' + medialist.length) > 1) {  document.getElementById('editor').title='Click me for synchronized audio/video play where allowed.';  }
“; ?>
And so our changed PHP emoji_image.php live run chips away at the implications of “Multiple Copy/Paste media file sets” in terms of trying to synchronize the “play” of (albeit probably only non-mobile) media files that benefit from synchronization, because we have assumed our users know what they are doing?! And don’t they just!?
Previous relevant Emoji Image Creator or Media Paster Multiple Copy Background Tutorial is shown below.
With the recent Emoji Image Creator or Media Paster Multiple Copy Tutorial‘s introduction of …
- allow for Copy of multiple files in the jQuery logic … and today we …
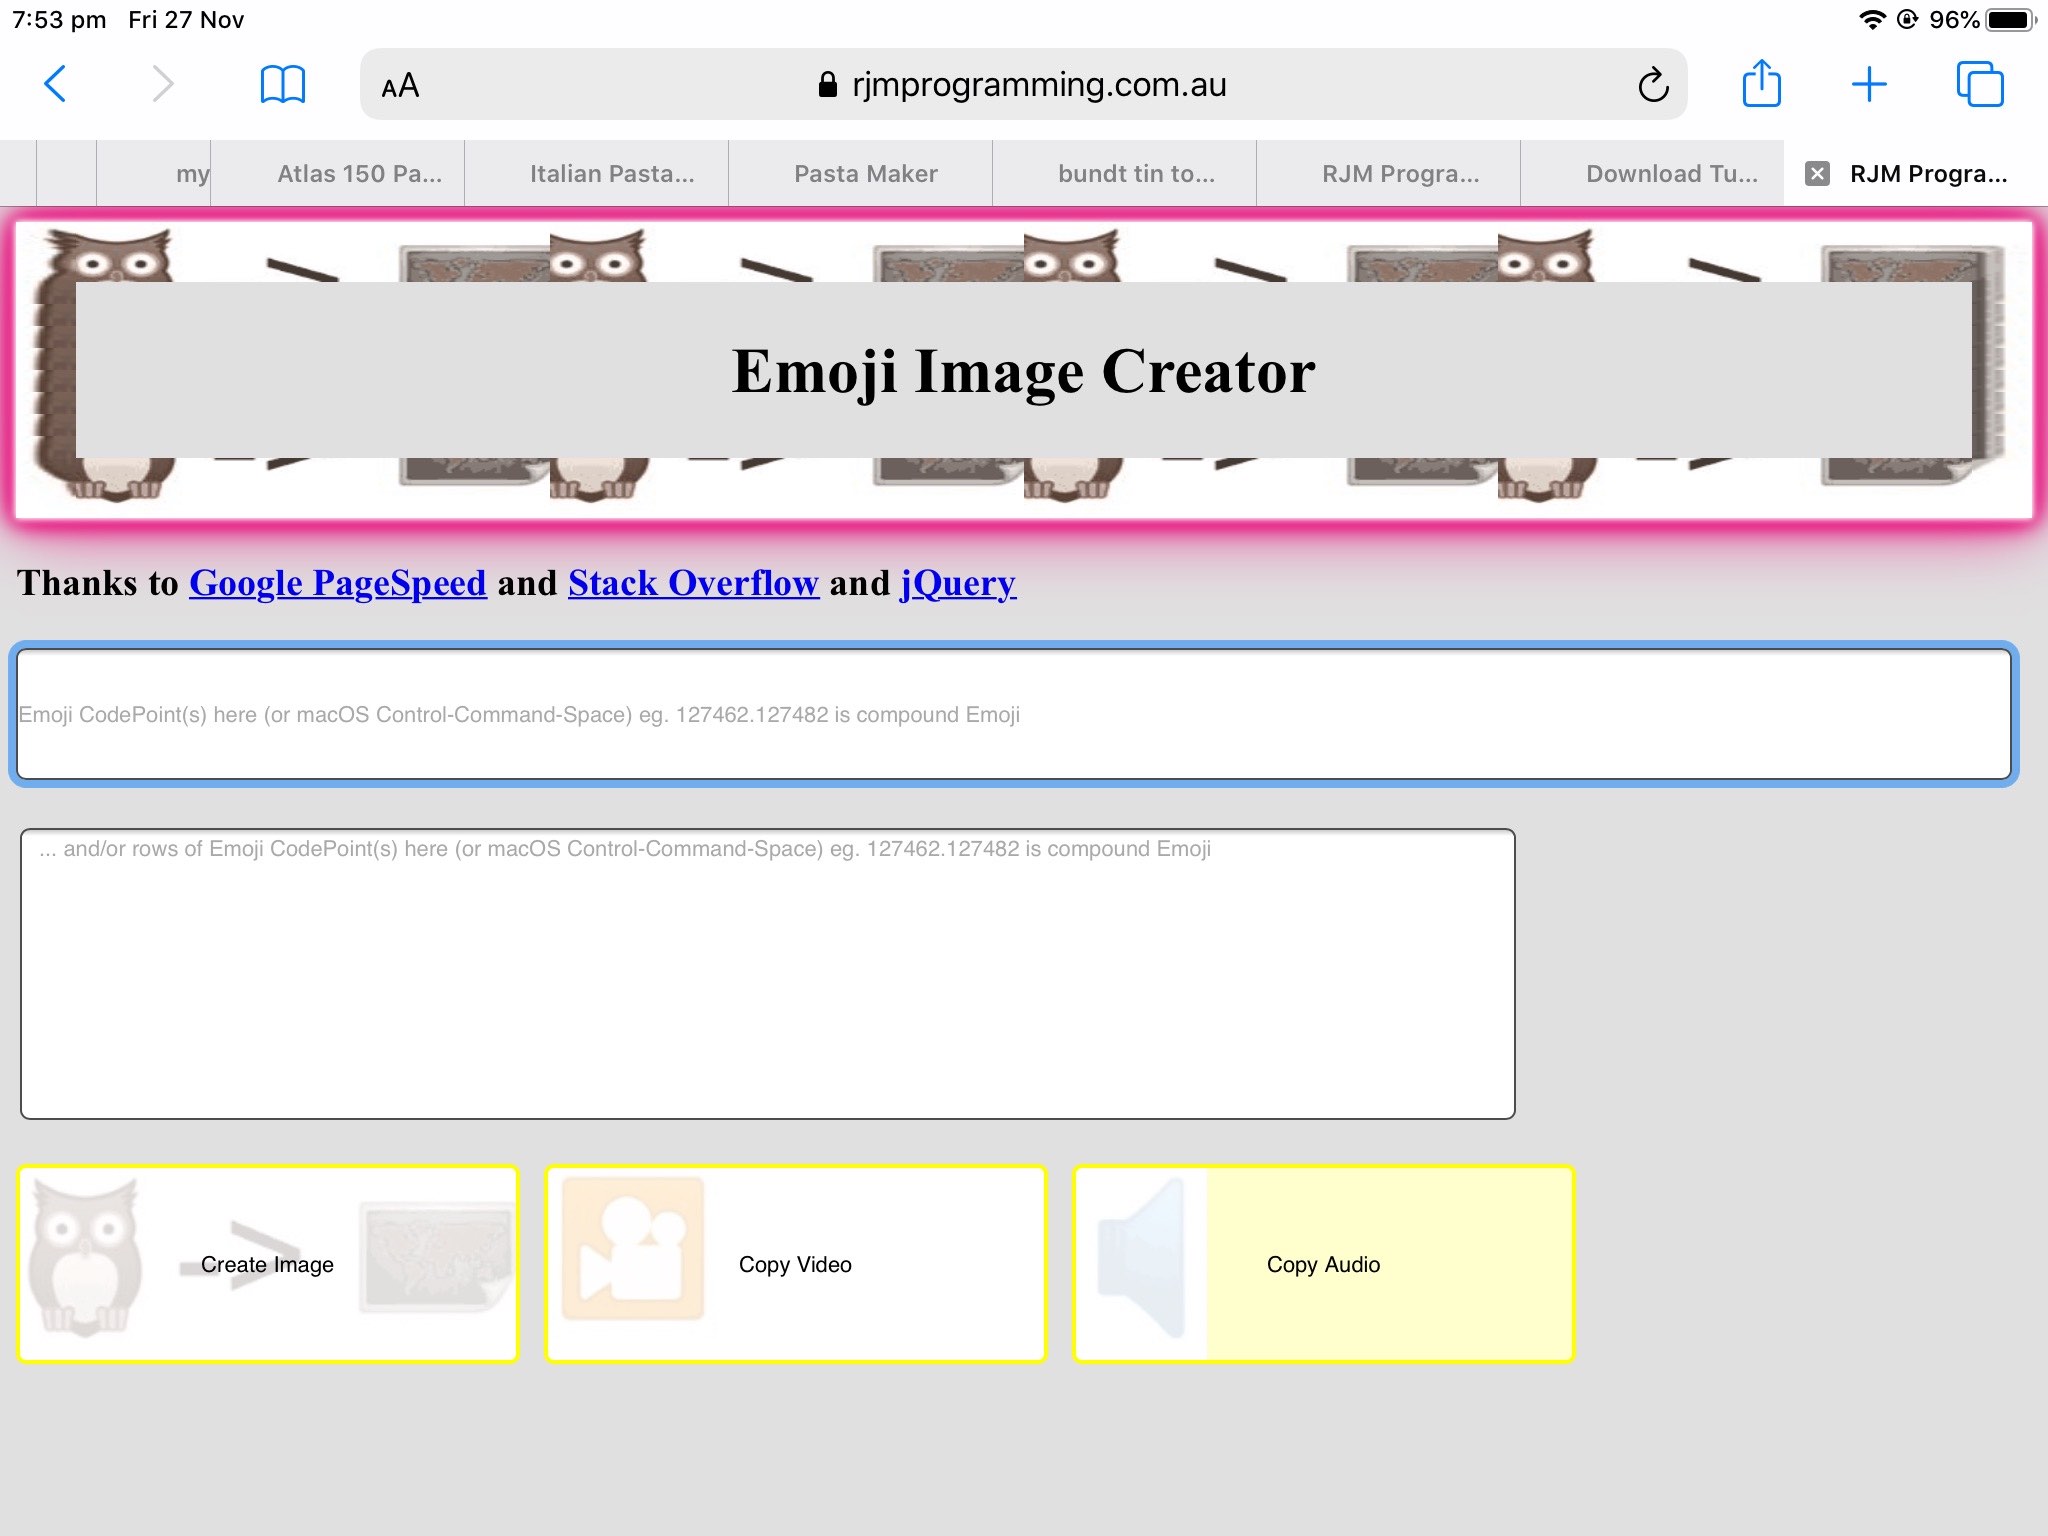
- add a new button “Copy Media” for the user who will Copy multiple image/audio/video media
- add “Paste here” to table cell’s div contenteditable=true element in which the user should Paste their data
- allow for background images to this Paste cell … whose …
- corresponding real img elements for each background image, when clicked, can download that image data for the user
Regarding the positioning of these multiple background images we need to reference those real img element coreespondents, as per the new Javascript function …
function predotogglei() {

  var toti=0;

  var cumy=0;

  var ims=document.getElementsByTagName('img');

  var zrect=null;

  var yrect=document.getElementById('editor').getBoundingClientRect();

  bpos=''; //0px 0px';

  bsiz=''; //0px 0px';

  for (var jjims=0; jjims<ims.length; jjims++) {

    if (('' + ims[jjims].className) == 'togglei') {

      toti++;

    }

  }

  for (var jims=0; jims<ims.length; jims++) {

    if (('' + ims[jims].className) == 'togglei') {

      if (bpos == '') {

        bpos='0px 0px';

        zrect=ims[jims].getBoundingClientRect();

        cumy+=eval('' + zrect.height);

        bsiz='auto ' + zrect.height + 'px';

      } else {

        bpos+=',0px ' + cumy + 'px';

        zrect=ims[jims].getBoundingClientRect();

        cumy+=eval('' + zrect.height);

        bsiz+=',auto ' + zrect.height + 'px';

      }

    }

  }

  document.getElementById('editor').style.backgroundPosition=bpos;

  document.getElementById('editor').style.backgroundSize=bsiz;

}
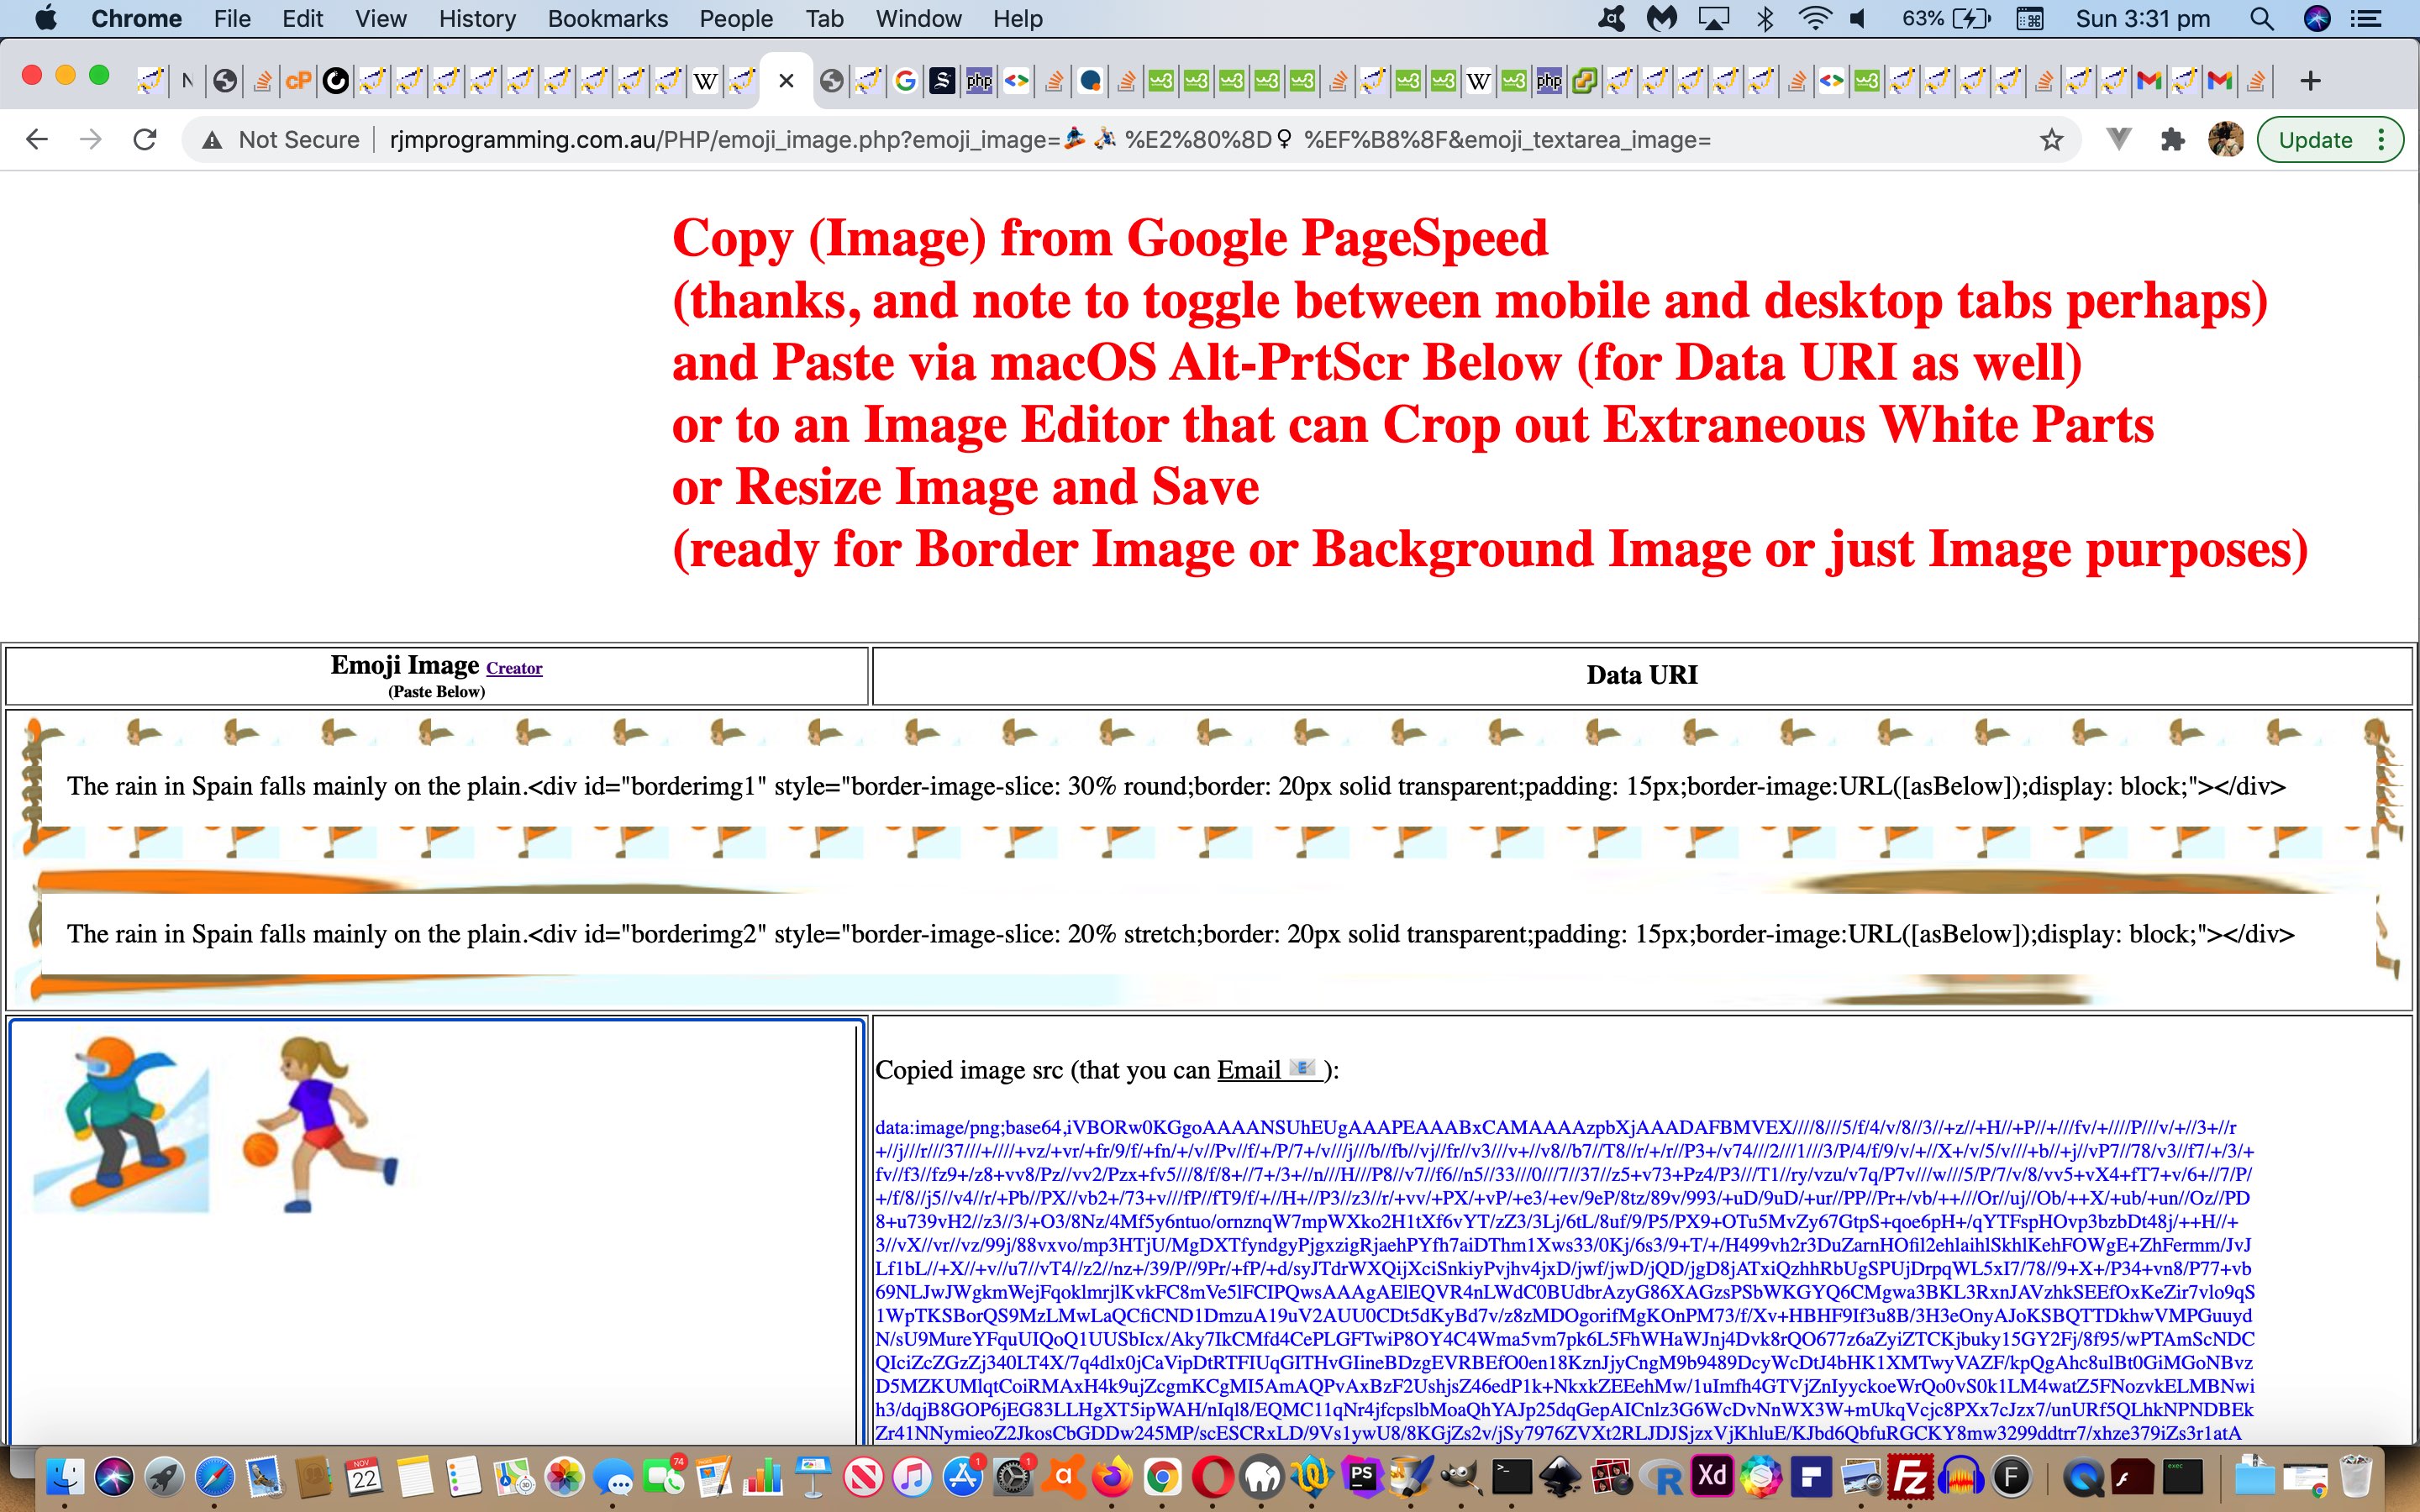
Yes, you guessed it. There’s still far more to what we might do regarding reading a user’s mind when they copy and paste multiple files over, and that is still a work in progress, along with cross-browser issues and how to handle multiple background or border image usage, but for now, feel free to try this new multiple copy/paste background image download functionality, which exists in our changed PHP emoji_image.php live run, for yourself, again, in your yurt.
Previous relevant Emoji Image Creator or Media Paster Multiple Copy Tutorial is shown below.
Could there be another “onions of the 4th dimension” amendment left that could help our project, the “Emoji Image (and media)” web application of yesterday’s Emoji Image Creator or Media Paster Aesthetics Tutorial? We think so.
You see, when we added that Audio and/or Video media functionality, did anything occur to you regarding …
- the procedure recommended to do Audio and/or Video data … or even …
- the very idea, anyway
? It’s pretty optimistic thinking users would just select a single Audio or Video file to copy over to our web application, and fit in with its (previous) “limited view”. Pretty obviously, we’d like to cater for multiple file selections both in the Audio or Video scenario there, plus the idea of a user ignoring Google Pagespeed (third party) help, and opting to use macOS Finder or Windows Explorer to select multiple image files, or various media mix combinations.
Do you see what a Pandora’s Box we are opening ourselves up to with this? Yes, it will take more than today to get this Multiple Copy (and Multiple Paste) functionality to be smoothly integrated. Our biggest start down that road, though, is that jQuery access of the HTML5 File API “onloadend” arrangements. If you just think the “one file” usage here will work for “multiple file” usage, the way it was, think again. We did, with the web application of Image/PDF and Audio/Video Supervised Rotation Tutorial, luckily, as a conduit to a reunderstanding of that more complex jQuery and File API Javascript required now, for this …
<?php echo “
var btype='';

var origdu='';

var origwo=null;

var origdus=[];

var btypes=[];

var curnum=0;

var curtot=0;

var fileReaders=[];

var imageFiles=[];

var curi=0;

var ii=0;


$(document).ready(function() {

  $('#editor').on('paste', function(e) {

    var i = 0;

    ii = -1;

    var fileReader = null;

    var imageFile = null;

    var orgEvent = e.originalEvent;

    curtot = eval('' + orgEvent.clipboardData.items.length);

    console.log('curtot=' + curtot);

    for (i = 0; i < orgEvent.clipboardData.items.length; i++) {

      console.log('i=' + i + ' of ' + curtot + ' and kind=' + orgEvent.clipboardData.items[i].kind);

      if (orgEvent.clipboardData.items[i].kind == \"file\" && (i > 0 || (('' + orgEvent.clipboardData.items[i].type).substring(0,6) == \"" . $iimage . "/\" || ('' + orgEvent.clipboardData.items[i].type).substring(0,6) == \"" . $iaudio . "/\" || ('' + orgEvent.clipboardData.items[i].type).substring(0,6) == \"" . $ivideo . "/\"))) {

        ii++;

        imageFile = orgEvent.clipboardData.items[i].getAsFile();

        imageFiles.push(imageFile);

        fileReader = new FileReader();

        fileReaders.push(fileReader);

        btype=('' + orgEvent.clipboardData.items[i].type);

        btypes.push(btype);

        curi=eval(-1 + fileReaders.length);


        if (eval('' + curtot) > 1) {


    fileReaders[ii].onloadend = (function(mfile) {

      return function(evt) {

      if (evt.target.readyState == FileReader.DONE) { // DONE == 2

          origdu=evt.target.result;

          origdus.push(origdu);

          $('#result').html(document.getElementById('result').innerHTML + evt.target.result);

          andthen(mfile.type);

      } };

    })(imageFiles[ii]);

        fileReaders[ii].readAsDataURL(imageFiles[ii]);

        if (eval(1 + i) == eval('' + curtot)) { break; }


        } else {


        fileReader.onloadend = function() {

          origdu=fileReader.result;

          origdus.push(origdu);

          $('#result').html(document.getElementById('result').innerHTML + fileReader.result);

          andthen(btypes[curi]);

        }


        fileReader.readAsDataURL(imageFile);

        if (eval(1 + i) == eval('' + curtot)) { break; }

        }

      } else if (orgEvent.clipboardData.items[i].kind == \"string\") { // && (('' + orgEvent.clipboardData.items[i].type).substring(0,6) == \"" . $iimage . "/\" || ('' + orgEvent.clipboardData.items[i].type).substring(0,6) == \"" . $iaudio . "/\" || ('' + orgEvent.clipboardData.items[i].type).substring(0,6) == \"" . $ivideo . "/\")) {

        btype=('' + orgEvent.clipboardData.items[i].type);

        btypes.push(btype);

        setTimeout(prethen, 2000);

      }

    }

  });

});
“; ?>
Now there’s far more to what we might do regarding reading a user’s mind when they copy and paste multiple files over, and that will be a work in progress, along with cross-browser issues and how to handle multiple background or border image usage, but for now, feel free to try this new multiple copy/paste functionality, which exists in our changed PHP emoji_image.php live run, for yourself, again, in your yurt.
Previous relevant Emoji Image Creator or Media Paster Aesthetics Tutorial is shown below.
If you have been following our latest “Emoji Image (and other media)” project of yesterday’s Emoji Image Creator or Media Paster Download Tutorial you will know we have two (publicly displaying) “incarnations” of the inhouse bit of the PHP webpage …
- first incarnation asks for user input via user interaction … including storming out …
- second incarnation shows results and now allows for downloading results as HTML snippets
… and today we try to minimize the numbers of people storming out we hope. This is something running in our favour here, as these changes concern the first incarnation above.
- if you have a webpage waiting for user interactivity it doesn’t matter …
- if you load it with display intensive CSS (such as our “glow” animations) … it doesn’t matter … you’re waiting there anyway … plus you are self-explaining
And there is not much better, to our mind, for “self-explaining” and helping that little bit with internationalization, of your web application than to …
- use emojis … and fortunately for us with this web application here …
- involve “end results” of what your web application might achieve … and fortunately for us with this web application that is emoji image border images and background images
A new block of CSS for that first incarnation is our progress, today, then (where data uri have been [nicknamed] below) …
<?php echo ”
<style>


.cglow {

  box-shadow-bottom-right-radius: 50%; // thanks to https://stackoverflow.com/questions/2714765/using-border-radius-and-box-shadow-together-css

  box-shadow-bottom-left-radius: 50%;

  box-shadow-top-right-radius: 50%;

  box-shadow-top-left-radius: 50%;

  -webkit-animation: cglow 1s ease-in-out infinite alternate;

  -moz-animation: cglow 1s ease-in-out infinite alternate;

  animation: cglow 1s ease-in-out infinite alternate;

  -webkit-border-radius: 50%;

  border-radius: 50%;

}


.glow {

  -webkit-animation: glow 1s ease-in-out infinite alternate;

  -moz-animation: glow 1s ease-in-out infinite alternate;

  animation: glow 1s ease-in-out infinite alternate;

  border: 30px solid white;

  padding: 25px;

  border-image:URL([owlToImageEmojiDataUri]);

  border-image-slice: 45% 5%;

  border-image-repeat: round;

  text-align: center;

}


/* Thanks to https://www.w3schools.com/howto/tryit.asp?filename=tryhow_css_glowing_text */


@-webkit-keyframes cglow {

  from {

    box-shadow: 0 0 3px #fff, 0 0 5px #fff, 0 0 37px #e60073, 0 0 9px #e60073, 0 0 11px #e60073, 0 0 13px #e60073, 0 0 15px #e60073;

  box-shadow-bottom-right-radius: 50%; // thanks to https://stackoverflow.com/questions/2714765/using-border-radius-and-box-shadow-together-css

  box-shadow-bottom-left-radius: 50%;

  box-shadow-top-right-radius: 50%;

  box-shadow-top-left-radius: 50%;

  }


  to {

    box-shadow: 0 0 24px #fff, 0 0 6px #ff4da6, 0 0 8px #ff4da6, 0 0 10px #ff4da6, 0 0 12px #ff4da6, 0 0 14px #ff4da6, 0 0 16px #ff4da6;

  box-shadow-bottom-right-radius: 50%; // thanks to https://stackoverflow.com/questions/2714765/using-border-radius-and-box-shadow-together-css

  box-shadow-bottom-left-radius: 50%;

  box-shadow-top-right-radius: 50%;

  box-shadow-top-left-radius: 50%;

  }

}


@-webkit-keyframes glow {

  from {

    box-shadow: 0 0 3px #fff, 0 0 5px #fff, 0 0 37px #e60073, 0 0 9px #e60073, 0 0 11px #e60073, 0 0 13px #e60073, 0 0 15px #e60073;

  }


  to {

    box-shadow: 0 0 24px #fff, 0 0 6px #ff4da6, 0 0 8px #ff4da6, 0 0 10px #ff4da6, 0 0 12px #ff4da6, 0 0 14px #ff4da6, 0 0 16px #ff4da6;

  }

}


input[type=text] {

  padding: 25px 0;

}


input[type=submit] {

  padding: 10px 10px 10px 10px;

  width: 25%;

  height: 100px;

  background:linear-gradient(rgba(255,255,255,0.8),rgba(255,255,255,0.8)),URL([owlToImageEmojiDataUri]);

  background-size: cover;

  background-repeat: no-repeat;

  border: 2px solid yellow;

}


input[type=button] {

  padding: 10px 10px 10px 10px;

  width: 25%;

  height: 100px;

}


#video {

  background:linear-gradient(rgba(255,255,255,0.8),rgba(255,255,255,0.8)),URL([videoEmojiDataUri]);

  background-size: cover;

  background-repeat: no-repeat;

  border: 2px solid yellow;

}


#audio {

  background:linear-gradient(rgba(255,255,255,0.8),rgba(255,255,255,0.8)),URL([audioEmojiDataUri]);

  background-size: contain;

  background-repeat: no-repeat;

  border: 2px solid yellow;

}


</style>
“; ?>
Try this new look functionality which exists in our changed PHP emoji_image.php live run, for you to try all this for yourself, yet again.
Previous relevant Emoji Image Creator or Media Paster Download Tutorial is shown below.
Yesterday’s Emoji Image Creator or Media Paster Tutorial continued our “Emoji Image (and media)” web application project’s progress, that we see in the analogous terms below …
| Project | Analogy |
|---|---|
| First webpage incarnation with textbox and textarea and buttons is displayed. | The user is shown the menu for goods creation. |
| On first webpage incarnation user assembles emojis and/or text into textbox and textarea and clicks appropriate button, as required. | Goods are imagined by prospective user to their requirements. |
| User copies from third party resource and pastes (that copy) into second webpage incarnation table cell. | Goods are created by prospective user to their requirements with help of third party resources. |
| Web application reworks media into border and background element enhancements on second webpage incarnation. | Goods are packed into containers and shipped to user port. |
| ? | User gets goods off ship in port ready for personal use. |
What ? (dare we say) “onions of the 4th dimension” amendment could help our project? Anyone, anyone? Yes, Tomas Norström to get data from “remote woooooorrrrrrllllld” to “local woooooorrrrrrllllld” you …
And in order for this to “value add” let’s arrange for the user to be able to “download” second webpage incarnation elements of interest, by clicking them, after initially (just) displaying them. We do this for an “existent element content of interest” called [contentOfInterest] via the nesting of that [contentOfInterest] as per …
<a download style="cursor:pointer;text-decoration: underline overline dotted red;" target=_blank href="data:text/html,[htmlWorkedContentOfInterest]">[contentOfInterest]</a>
… as the concept we match to the new Javascript function “actuality” …
<?php echo ”
function downloaditize(ois) {

  var xrect=ois.getBoundingClientRect();

  var fromc=\" style='\";

  var toc=\" style='width:\" + xrect.width + \"px;height:\" + xrect.height + \"px;\";

  var ihis='', stys=[];

  var wasihis=ois.innerHTML;

  if (wasihis.indexOf(' download') == -1) {

  if (('' + ois.id).indexOf('borderimg') == 0) {

  ihis='<html><body' + toc + \"'\" + '>' + ois.innerHTML.replace('[asBelow]', ('data:' + document.getElementById('result').innerHTML.split('data:')[1].split('</')[0].split(')')[0])).replace(' transparent',' white') + '</body></html>';

  while (ihis.indexOf(String.fromCharCode(34)) != -1) {

    ihis=ihis.replace(String.fromCharCode(34),String.fromCharCode(39));

  }

  while (wasihis.indexOf(String.fromCharCode(34)) != -1) {

    wasihis=wasihis.replace(String.fromCharCode(34),String.fromCharCode(39));

  }

  //console.log(wasihis);

  //console.log('<a download style=\"cursor:pointer;text-decoration: underline overline dotted red;\" target=_blank href=\"data:text/html,' + wasihis.replace(/\<\;/g,'<').replace(/\>\;/g,'>').replace('[asBelow]', document.getElementById('result').innerHTML).replace(' transparent',' white') + '\" title=\"Download here\">' + wasihis + '</a>');

  ois.innerHTML='<a download style=\"cursor:pointer;text-decoration: underline overline dotted red;\" target=_blank href=\"data:text/html,' + wasihis.replace(/\<\;/g,'<').replace(/\>\;/g,'>').replace('[asBelow]', document.getElementById('result').innerHTML).replace(' transparent',' white') + '\" title=\"Download here\">' + wasihis + '</a>';

  } else {

  if (('' + ois.id) == 'result') {

  ihis='<html><body>' + ois.outerHTML.replace('[asBelow]', ('data:' + document.getElementById('result').innerHTML.split('data:')[1].split('</')[0].split(')')[0])).replace(' transparent',' white').replace(' title=', ' style=').replace('{',' ').replace('}',' ').replace('#' + ('' + ois.id),' ') + '</body></html>';

  } else {

  ihis='<html><body><table><tr>' + ois.outerHTML.replace('[asBelow]', document.getElementById('result').innerHTML).replace(' transparent',' white').replace(' title=', ' style=').replace('{',' ').replace('}',' ').replace('#' + ('' + ois.id),' ') + '</tr></table></body></html>';

  }

  while (ihis.indexOf(String.fromCharCode(34)) != -1) {

    ihis=ihis.replace(String.fromCharCode(34),String.fromCharCode(39));

  }

  stys=ihis.split(\"' style='\");

  if (stys.length == 3) {

    ihis=ihis.replace(\"' style='\" + stys[2], \" \" + stys[2]);

  }

  if (('' + ois.id) != 'result') {

  console.log('<a download style=\"cursor:pointer;text-decoration: underline overline dotted red;\" target=_blank href=\"data:text/html,' + ihis.replace(fromc,toc) + '\" title=\"Download here\">' + wasihis + '</a>');

  }

  ois.innerHTML='<a download style=\"cursor:pointer;text-decoration: underline overline dotted red;\" target=_blank href=\"data:text/html,' + ihis.replace(fromc,toc) + '\" title=\"Download here\">' + wasihis + '</a>';

  }

  }

}
“; ?>
… making use of the “text/html” mime type data uri alternative means of expressing HTML content (in special scenarios). Once in the “local woooooorrrrrrllllld” opportunities exist to play around with downloaded files and involve a local web server system such as the MAMP Apache/PHP/MySql local web server we cannot speak too highly, regarding.
This new downloading functionality exists in our changed PHP emoji_image.php live run for you to try all this for yourself, again.
Previous relevant Emoji Image Creator or Media Paster Tutorial is shown below.
Thinking about yesterday’s Emoji Image Creator CSS Background Image Tutorial‘s …
- existent Emoji Image creation functionality … the next “onions of the 4th dimension” amendment could involve …
- add Audio Copier and Paster functionality … and …
- add Video Copier and Paster functionality … to round out what a lot of us see as the “media set” in the online woooooorrrrrllllld
With these last two, we pare down the workings and leave it up to the user to copy these Audio and/or Video media data via Finder (in macOS) or Windows Explorer (in Windows) as a “replacement widget” for the “Google Pagespeed” widget we’ve coded for regarding (Emnoji) Image media work.
Most crucial in these changes were the Javascript jQuery (and PHP helping out) code changes …
<?php
$ei=”Emoji Image”;
$cr=”Creator”;
$imgw=”image”;
$iimage=”image”;
$iaudio=”ywnft”;
$ivideo=”ywnft”;
$gps=”window.open(\”https://developers.google.com/speed/pagespeed/insights/?url=http%3A%2F%2Fwww.rjmprogramming.com.au%2FPHP%2Femoji_image.php&tab=mobile\”,\”_blank\”,\”top=50,left=50,height=900,width=1300\”);”;
$hblurb=”Copy (Image) from Google PageSpeed
(thanks, and note to toggle between mobile and desktop tabs perhaps)
and Paste via macOS Alt-PrtScr Below (for Data URI as well)
or to an Image Editor that can Crop out Extraneous White Parts
or Resize Image and Save
(ready for Border Image or Background Image or just Image purposes)”;
if (isset($_GET[‘audio’])) {
$hblurb=”Copy Audio
via Finder or Windows Explorer
and come Back Here to Paste that Data”;
$ei=”Audio”;
$cr=”Paster”;
$imgw=”audio”;
$iaudio=”audio”;
$iimage=”ywnft”;
$ivideo=”ywnft”;
$gps=””;
} else if (isset($_GET[‘video’])) {
$hblurb=”Copy Video
via Finder or Windows Explorer
and come Back Here to Paste that Data”;
$ei=”Video”;
$cr=”Paster”;
$imgw=”video”;
$ivideo=”video”;
$iaudio=”ywnft”;
$iimage=”ywnft”;
$gps=””;
}
echo “
<script type='text/javascript'>


var done=false;

var btype='';


$(document).ready(function() {

  $('#editor').on('paste', function(e) {

    var orgEvent = e.originalEvent;

    for (var i = 0; i < orgEvent.clipboardData.items.length; i++) {

      if (orgEvent.clipboardData.items[i].kind == \"file\" && (('' + orgEvent.clipboardData.items[i].type).substring(0,6) == \"" . $iimage . "/\" || ('' + orgEvent.clipboardData.items[i].type).substring(0,6) == \"" . $iaudio . "/\" || ('' + orgEvent.clipboardData.items[i].type).substring(0,6) == \"" . $ivideo . "/\")) {

        var imageFile = orgEvent.clipboardData.items[i].getAsFile();

        var fileReader = new FileReader();

        btype=('' + orgEvent.clipboardData.items[i].type);

        fileReader.onloadend = function() {

          $('#result').html(fileReader.result);

          andthen(btype);

        }

        fileReader.readAsDataURL(imageFile);

        break;

      }

    }

  });

});


// lots more Javascript follows

</script>
“; ?>
This new audio and/or video media functionality exists in our changed PHP emoji_image.php live run for you to try all this for yourself.
Previous relevant Emoji Image Creator CSS Background Image Tutorial is shown below.
The recent …
- Emoji Image Creator CSS Border Image Tutorial … is being followed up today by …
- Emoji Image Creator CSS Background Image Tutorial
… before we say “BIye” to the Emoji Image themed blog postings here.
As many users will know, emojis can be the graphically-challenged user’s ticket to …
- personalization
- graphical and aesthetic appeal of webpages
- attracting attention to your content
… that is much easier than learning the graphical expertise Photoshop and Gimp usage encourages. But too much emoji usage can look a bit predictable too, so we are not discouraging you from learning any of those graphical expertise skills.
Emojis are limited from a lot of CSS styling border and background image usage, but we can convert those Emojis into images here, which is the gist of what we are on about here on this blog posting thread.
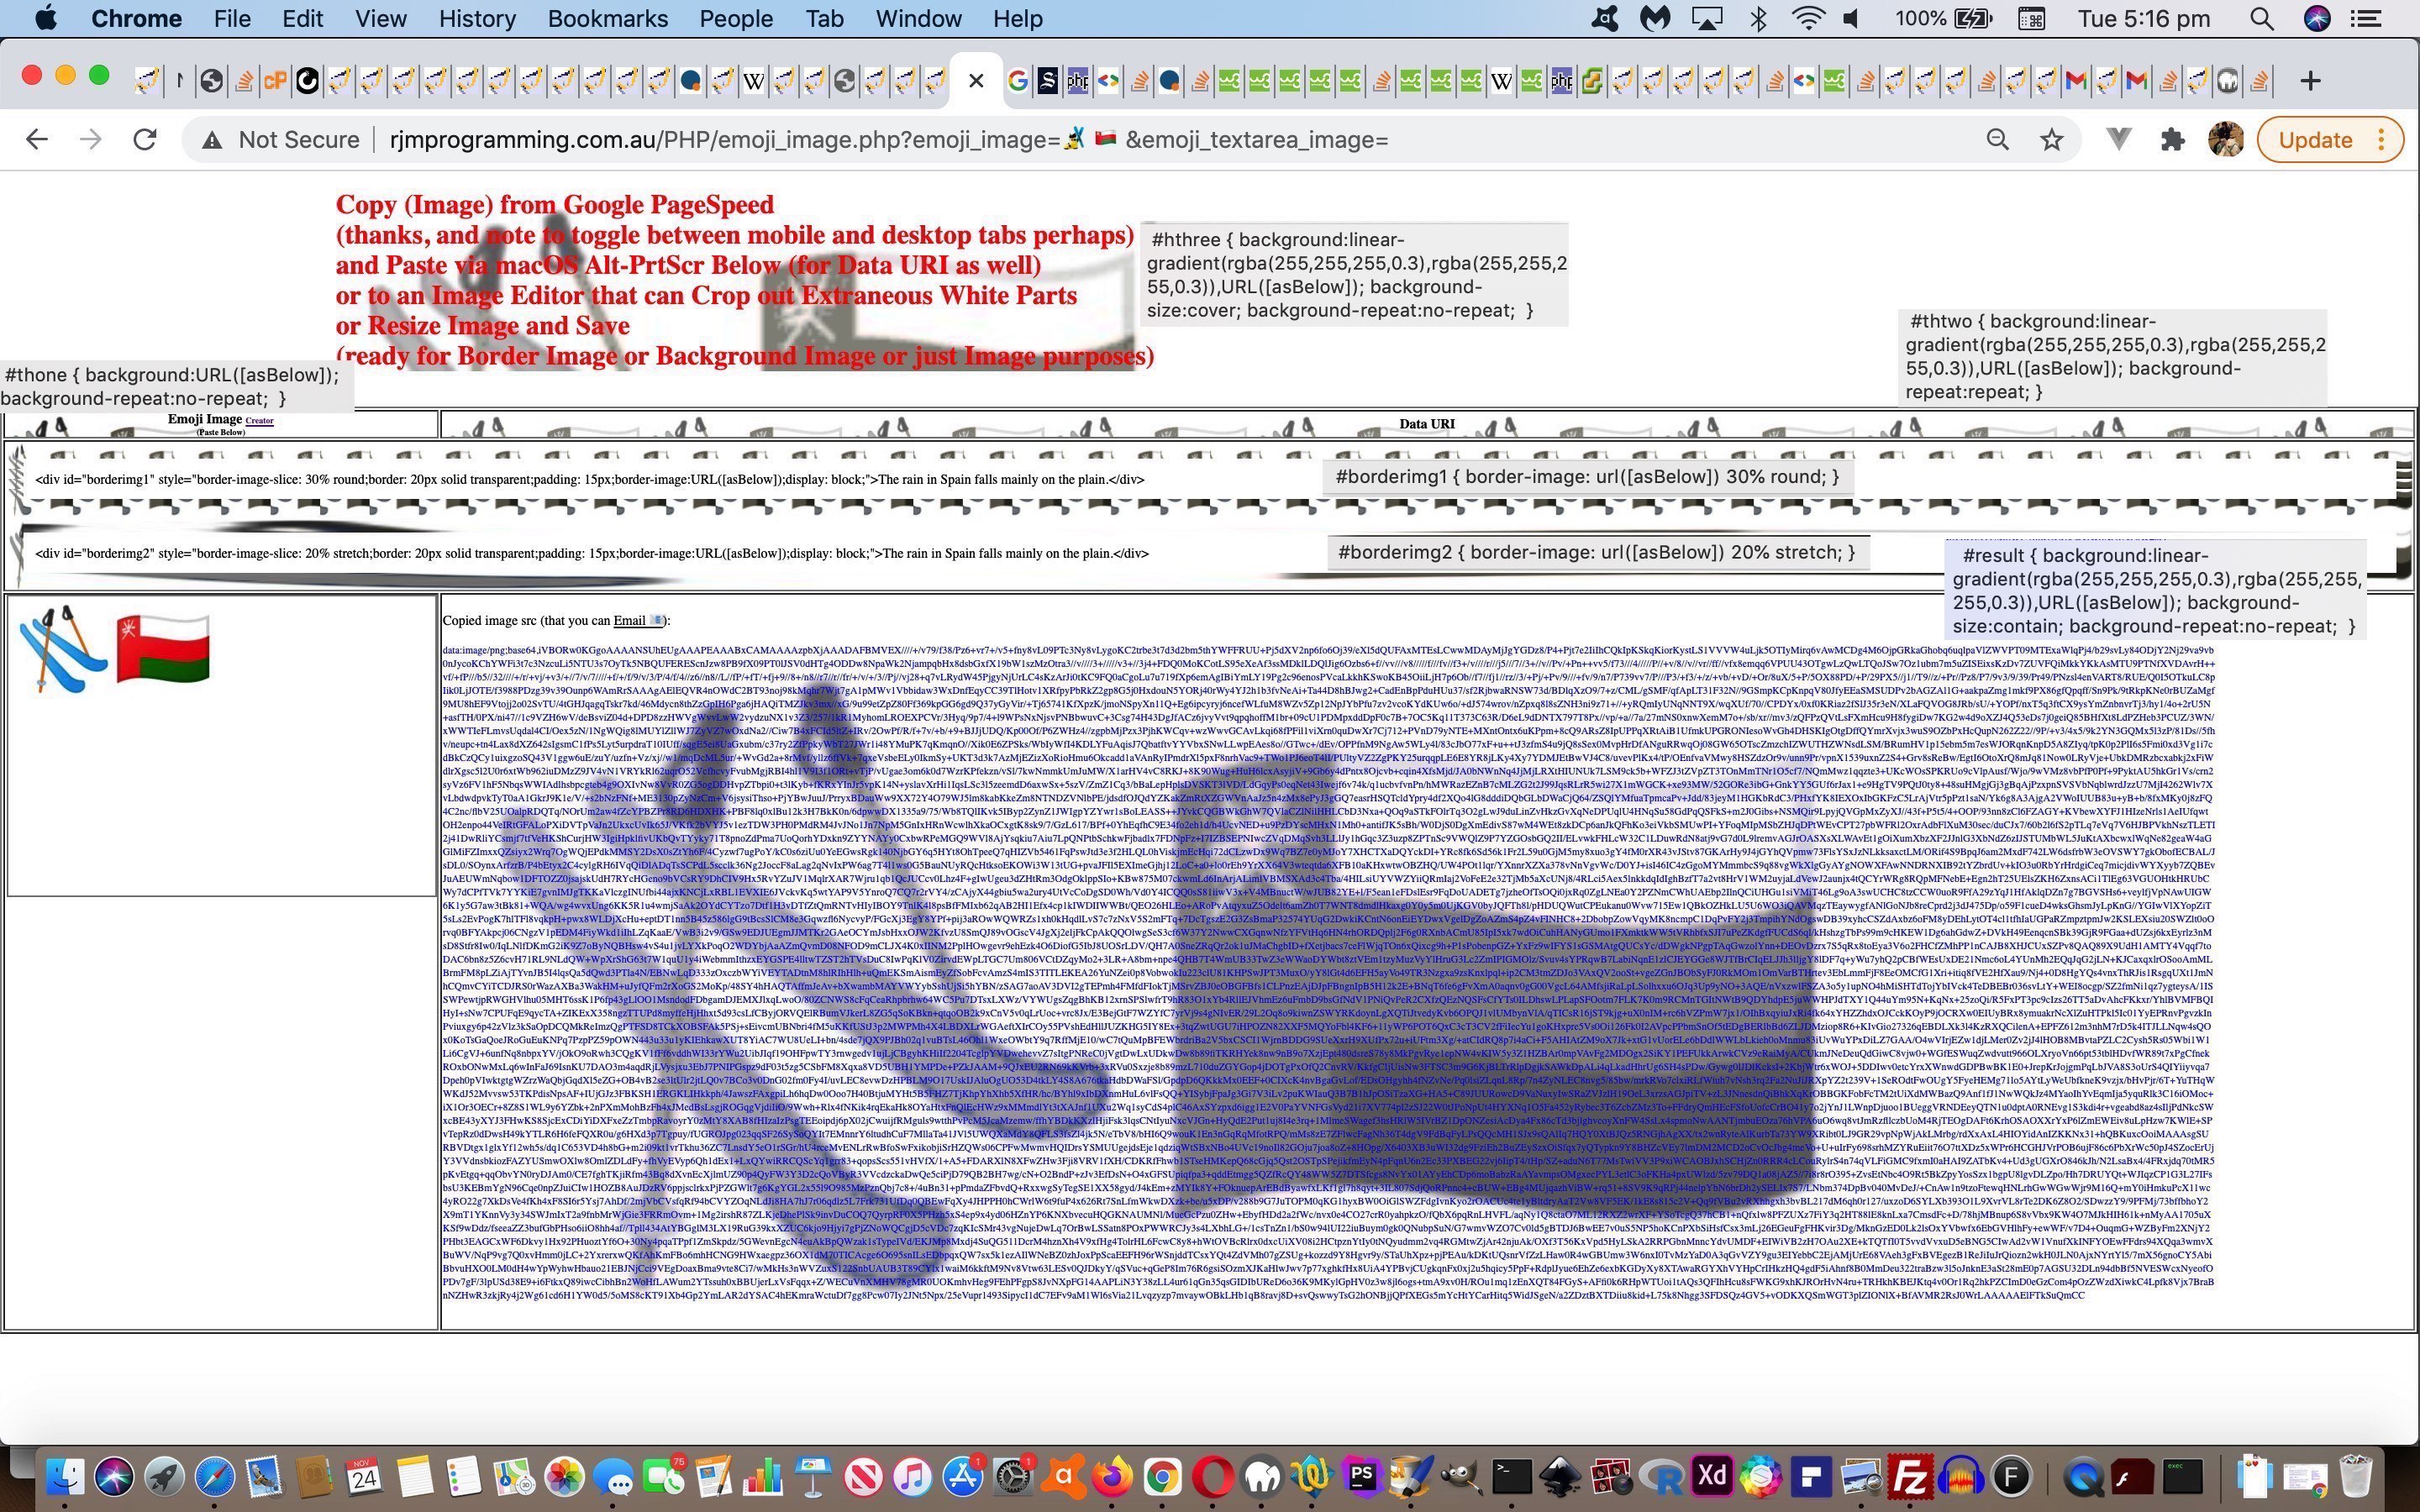
In order to show a bit of background image work we sprinkle the webpage with four CSS styling examples of usage (ordered from the top to bottom and left to right) …
<style>
- #hthree { background:linear-gradient(rgba(255,255,255,0.3),rgba(255,255,255,0.3)),URL([asBelow]); background-size:cover; background-repeat:no-repeat; }
- #thone { background:URL([asBelow]); background-repeat:no-repeat; }
- #thtwo { background:linear-gradient(rgba(255,255,255,0.3),rgba(255,255,255,0.3)),URL([asBelow]); background-repeat:repeat; }
- #result { background:linear-gradient(rgba(255,255,255,0.3),rgba(255,255,255,0.3)),URL([asBelow]); background-size:contain; background-repeat:no-repeat; }
</style>
… and added dynamically because …
- <style> CSS </style> is not restricted to just <head></head> but can also work within <body></body> … and …
- for that <body>[document.body.innerHTML]</body> usage Javascript (DOM, within document.body.innerHTML) can dynamically add the CSS styling at a time of the programmer’s choosing
And so yet again, here is our changed PHP emoji_image.php live run for you to take up both the Border Emoji Image CSS Challenge and, now, Background Emoji Image CSS Challenge!
Did you know?
Thanks to this wonderful link we were able to get around our “mobile platforms not showing our (independently tested that whitespace cropping was occurring whether in png format or in jpeg format) image CSS border image applications” issue by changing the CSS …
| From (suits non-mobile) | To (better suiting mobile) |
|---|---|
| #borderimg1 { border: 20px solid transparent; } |
#borderimg1 { border: 20px solid white; } |
| #borderimg2 { border: 20px solid transparent; } |
#borderimg2 { border: 20px solid white; } |
Previous relevant Emoji Image Creator CSS Border Image Tutorial is shown below.
Before building on the recent Emoji Image Creator Share Tutorial with progress (of a meaningful quality) regarding …
- CSS Border Images (made from data-uri data of these recent Emoji Images) … we had to “crack” “the ol'” …
- automating the cropping of bottom and right whitespace
… because you will find only the top border image bits “filled out” if the imagery in the CSS “border-image:URL([data-uri data of these recent Emoji Images]);” has a lopsided whitespace feel to it. PHP can easily do this out of the box from PHP 5.5 onwards via its GD library imagecropauto function. Alas, up at the RJM Programming domain we are on PHP 5.4 and so ended up being helped out enormously by the brilliant ideas on this wonderful link, thanks.
Okay, so we can arrive at a whitespace cropped Emoji Image data uri, what then? Well, we recommend you read …
- border image … and off that, most importantly, perhaps …
- border-image-slice property
… and we display a couple of examples of uses of Border Images using the resultant Emoji Image data uri you create.
So, are you ready for the challenge? Yet again, here is our changed PHP emoji_image.php live run for you to take up that Border Emoji Image CSS Challenge!
Previous relevant Emoji Image Creator Share Tutorial is shown below.
We have a couple of “onions of the 4th dimension” amendments to yesterday’s Emoji Image Creator Primer Tutorial …
- the display format scope of the Emoji Image Creator “palette” (“shall we say now … eh wot ‘guv”) extends from single line of entry to be able to handle multiple lines of entry … and Emojis being text that means either …
- div contenteditable=true … but we have plumped for …
- textarea
… means by which to make this
thangthing happenmanperson - the sharing scope of the Emoji Image Creator goes from “keeping everything to yourself” to “sharing via Email (email client or Inline HTML Email) or SMS”
… your Emoji Image creations. And …
… here? … or am I missing something? Can’t be … I’m writing this.
Glad that’s over!
And back to matters at hand, how do we handle that “require” attribute we’d placed on yesterday’s lonesome textbox? Well, we get around that by setting an empty textbox to a space should the user only enter Emoji data in that new textarea (that circumvents the “require” attribute validation restriction), and deploy logic that takes into account PHP variables where …
<?php
$gei="";

if (isset($_GET['emoji_textarea_image'])) {

    $gei=str_replace("+"," ",urldecode($_GET['emoji_textarea_image']));

}


if (trim($gei) != "" || isset($_GET['emoji_image'])) {

  if (trim($gei) == "") {

    $gei=str_replace("+"," ",urldecode($_GET['emoji_image']));

  } else if (isset($_GET['emoji_image'])) {

    $pregei=str_replace("+"," ",urldecode($_GET['emoji_image']));

    if (trim($pregei) != "") {

      $pregei.="\n\n" . $gei;

      $gei=$pregei;

    }

  }

  file_put_contents('emoji_image.txt',  str_replace(";","",str_replace("&#","",str_replace(";&#",".",$gei)))  );

  // more logic follows to continue the work below ...

}
?>
… PHP function trim comes to our aid, as it so often does in “PHP land” (or as String.trim() does in “Javascript land”) with backward compatibility for dual purpose scenarios.
And again, here is our changed PHP emoji_image.php live run for you to retry, and perhaps, share!
Previous relevant Emoji Image Creator Primer Tutorial is shown below.
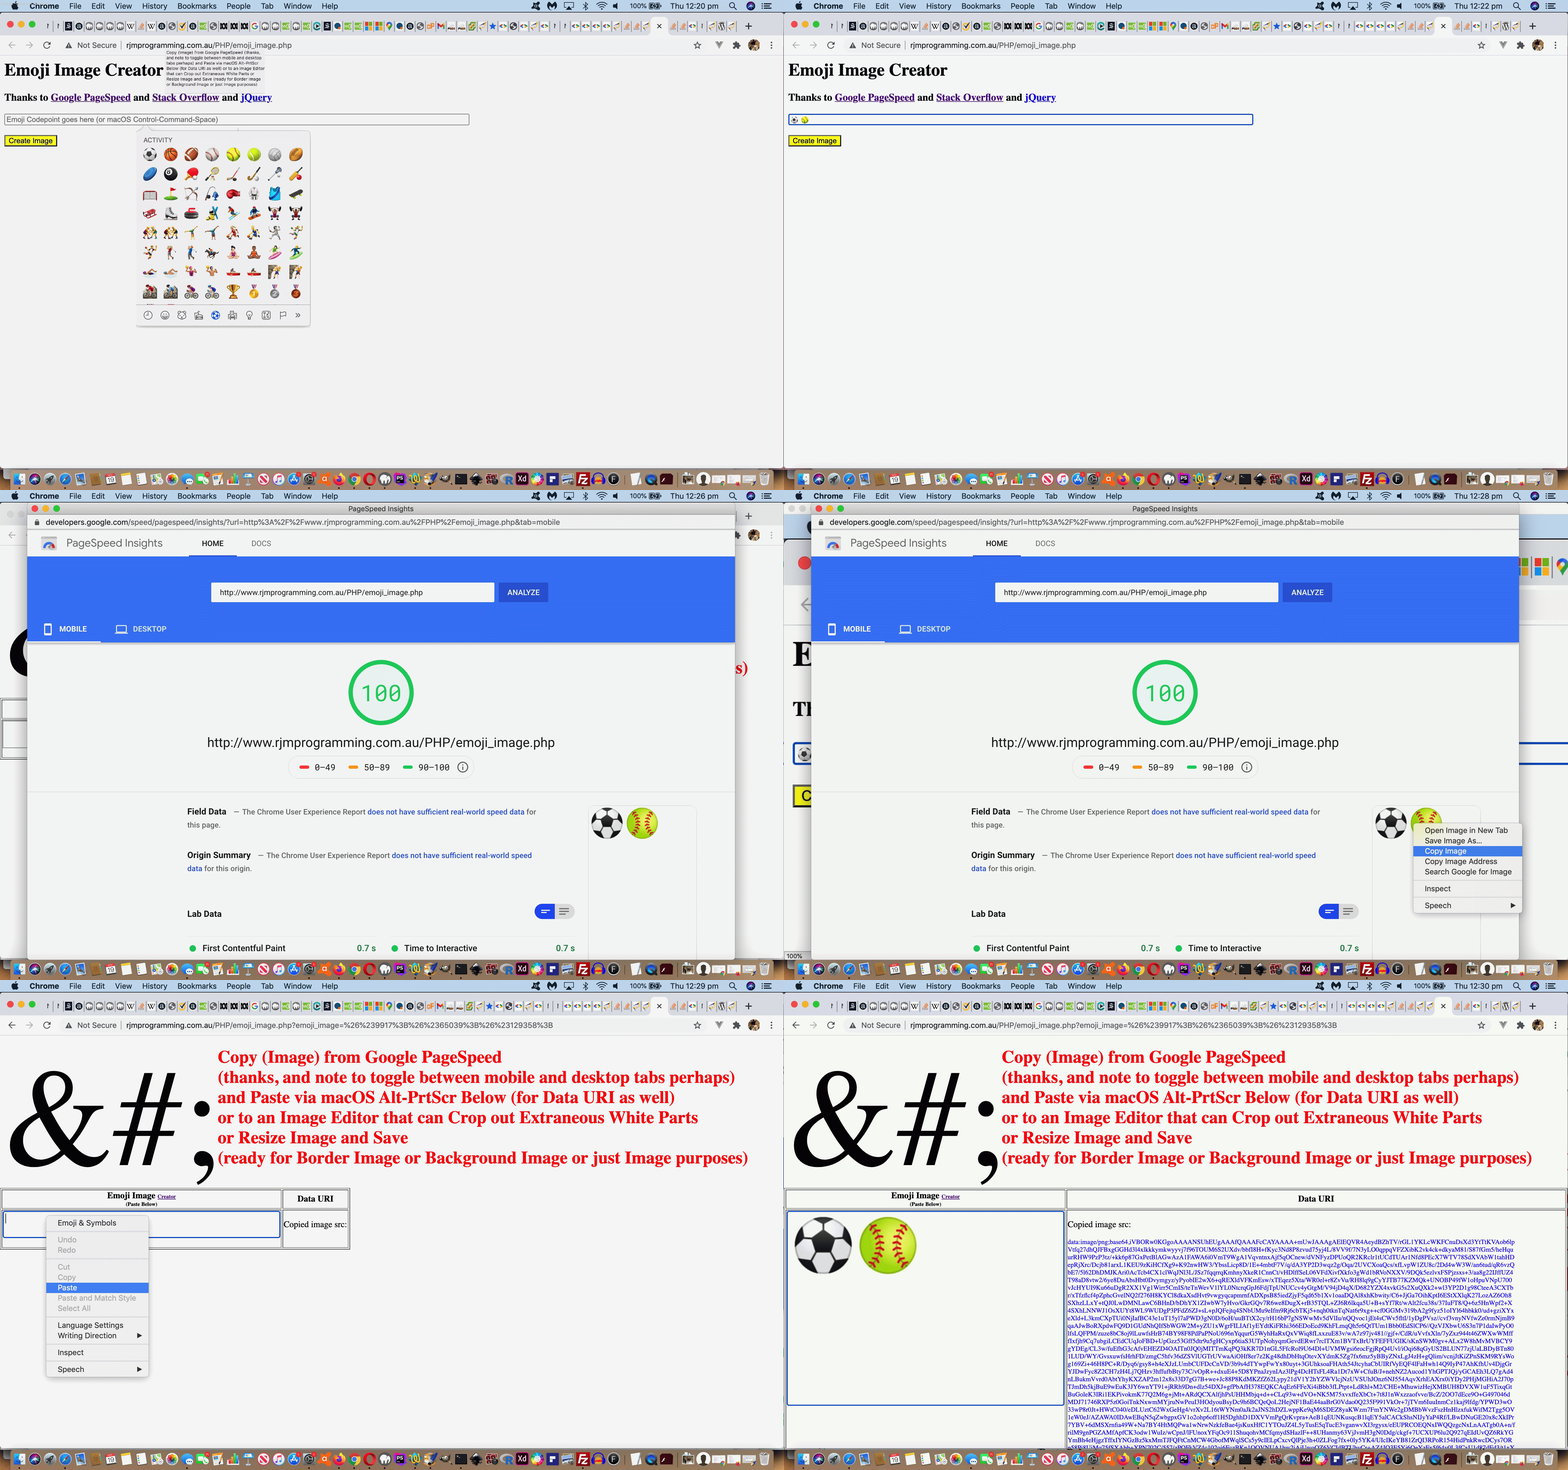
We’ve long eyed up the wish to have emojis (which you need to know are text (and this very fact is the reason for this whole project)) be involved with a border image or background image or just with some image in work developing web applications. And so we joined forces with (and thanks to) …
… along with …
- textbox reachable “Emoji and Symbols” menu to include Emoji characters (though we also accept Emoji CodePoint(s) too)
- Copy and Paste technologies …
- Copy (Image) from Google PageSpeed
- Paste to HTML div contenteditable=true via Stack Overflow and jQuery
- your own desktop Image Editors … for example …
- Gimp can Crop and Resize and Select to new Image via Copy then Paste
- Preview and Paintbrush (here on macOS) can Resize and Select to new Image via Copy then Paste
… can help remove any extraneous whitespace coming off the Google PageSpeed Copy image
With all this help coming our way you’d think we might get away just using HTML and Javascript, but no, we need PHP, we figure, using a web browser file to toggle between web application executions that have no arguments as either …
- it means we display our inhouse interactive entry mode of use when that file does not exist … whereas …
- we arrange it so that it is a call from Google PageSpeed when that file exists (as we morph inhouse content into a single p element containing the Emojis in such a scenario) as Google PageSpeed takes its
screenwebpageshot
So here is our PHP emoji_image.php live run …
If this was interesting you may be interested in this too.
If this was interesting you may be interested in this too.
If this was interesting you may be interested in this too.
If this was interesting you may be interested in this too.
If this was interesting you may be interested in this too.
If this was interesting you may be interested in this too.
If this was interesting you may be interested in this too.
If this was interesting you may be interested in this too.
If this was interesting you may be interested in this too.
If this was interesting you may be interested in this too.

