We could spend a lifetime telling you about the functionality of various ImageMagick guises and usages, further to the recent Imagick PHP Class Primer Tutorial. We’ve decided to live a little separated from ImageMagick, or we just know we would have dreams about command line switches that turn into snakes or command lines turning into congo lines or command lines telling me about ten things I was never meant to do.
The other day, though, we stumbled upon a webpage rekindling interest, which is far easier these days, with ImageMagick installed on our AlmaLinux web server here at RJM Programming. Mind you, we also had it installed on the old CentOS web server, but it was as if, on CentOS, we had never …
Released the Kraken
… with the lack of diskspace there on CentOS, also causing us unrest?! No such problems on AlmaLinux, we give thanks for.

Anyway, that webpage link got us thinking about where …
- Ghostscript … a PDF conversion specialist suite of software, you’ll often associate with “hardcode” printout functionality … interplays with …
- ImageMagick
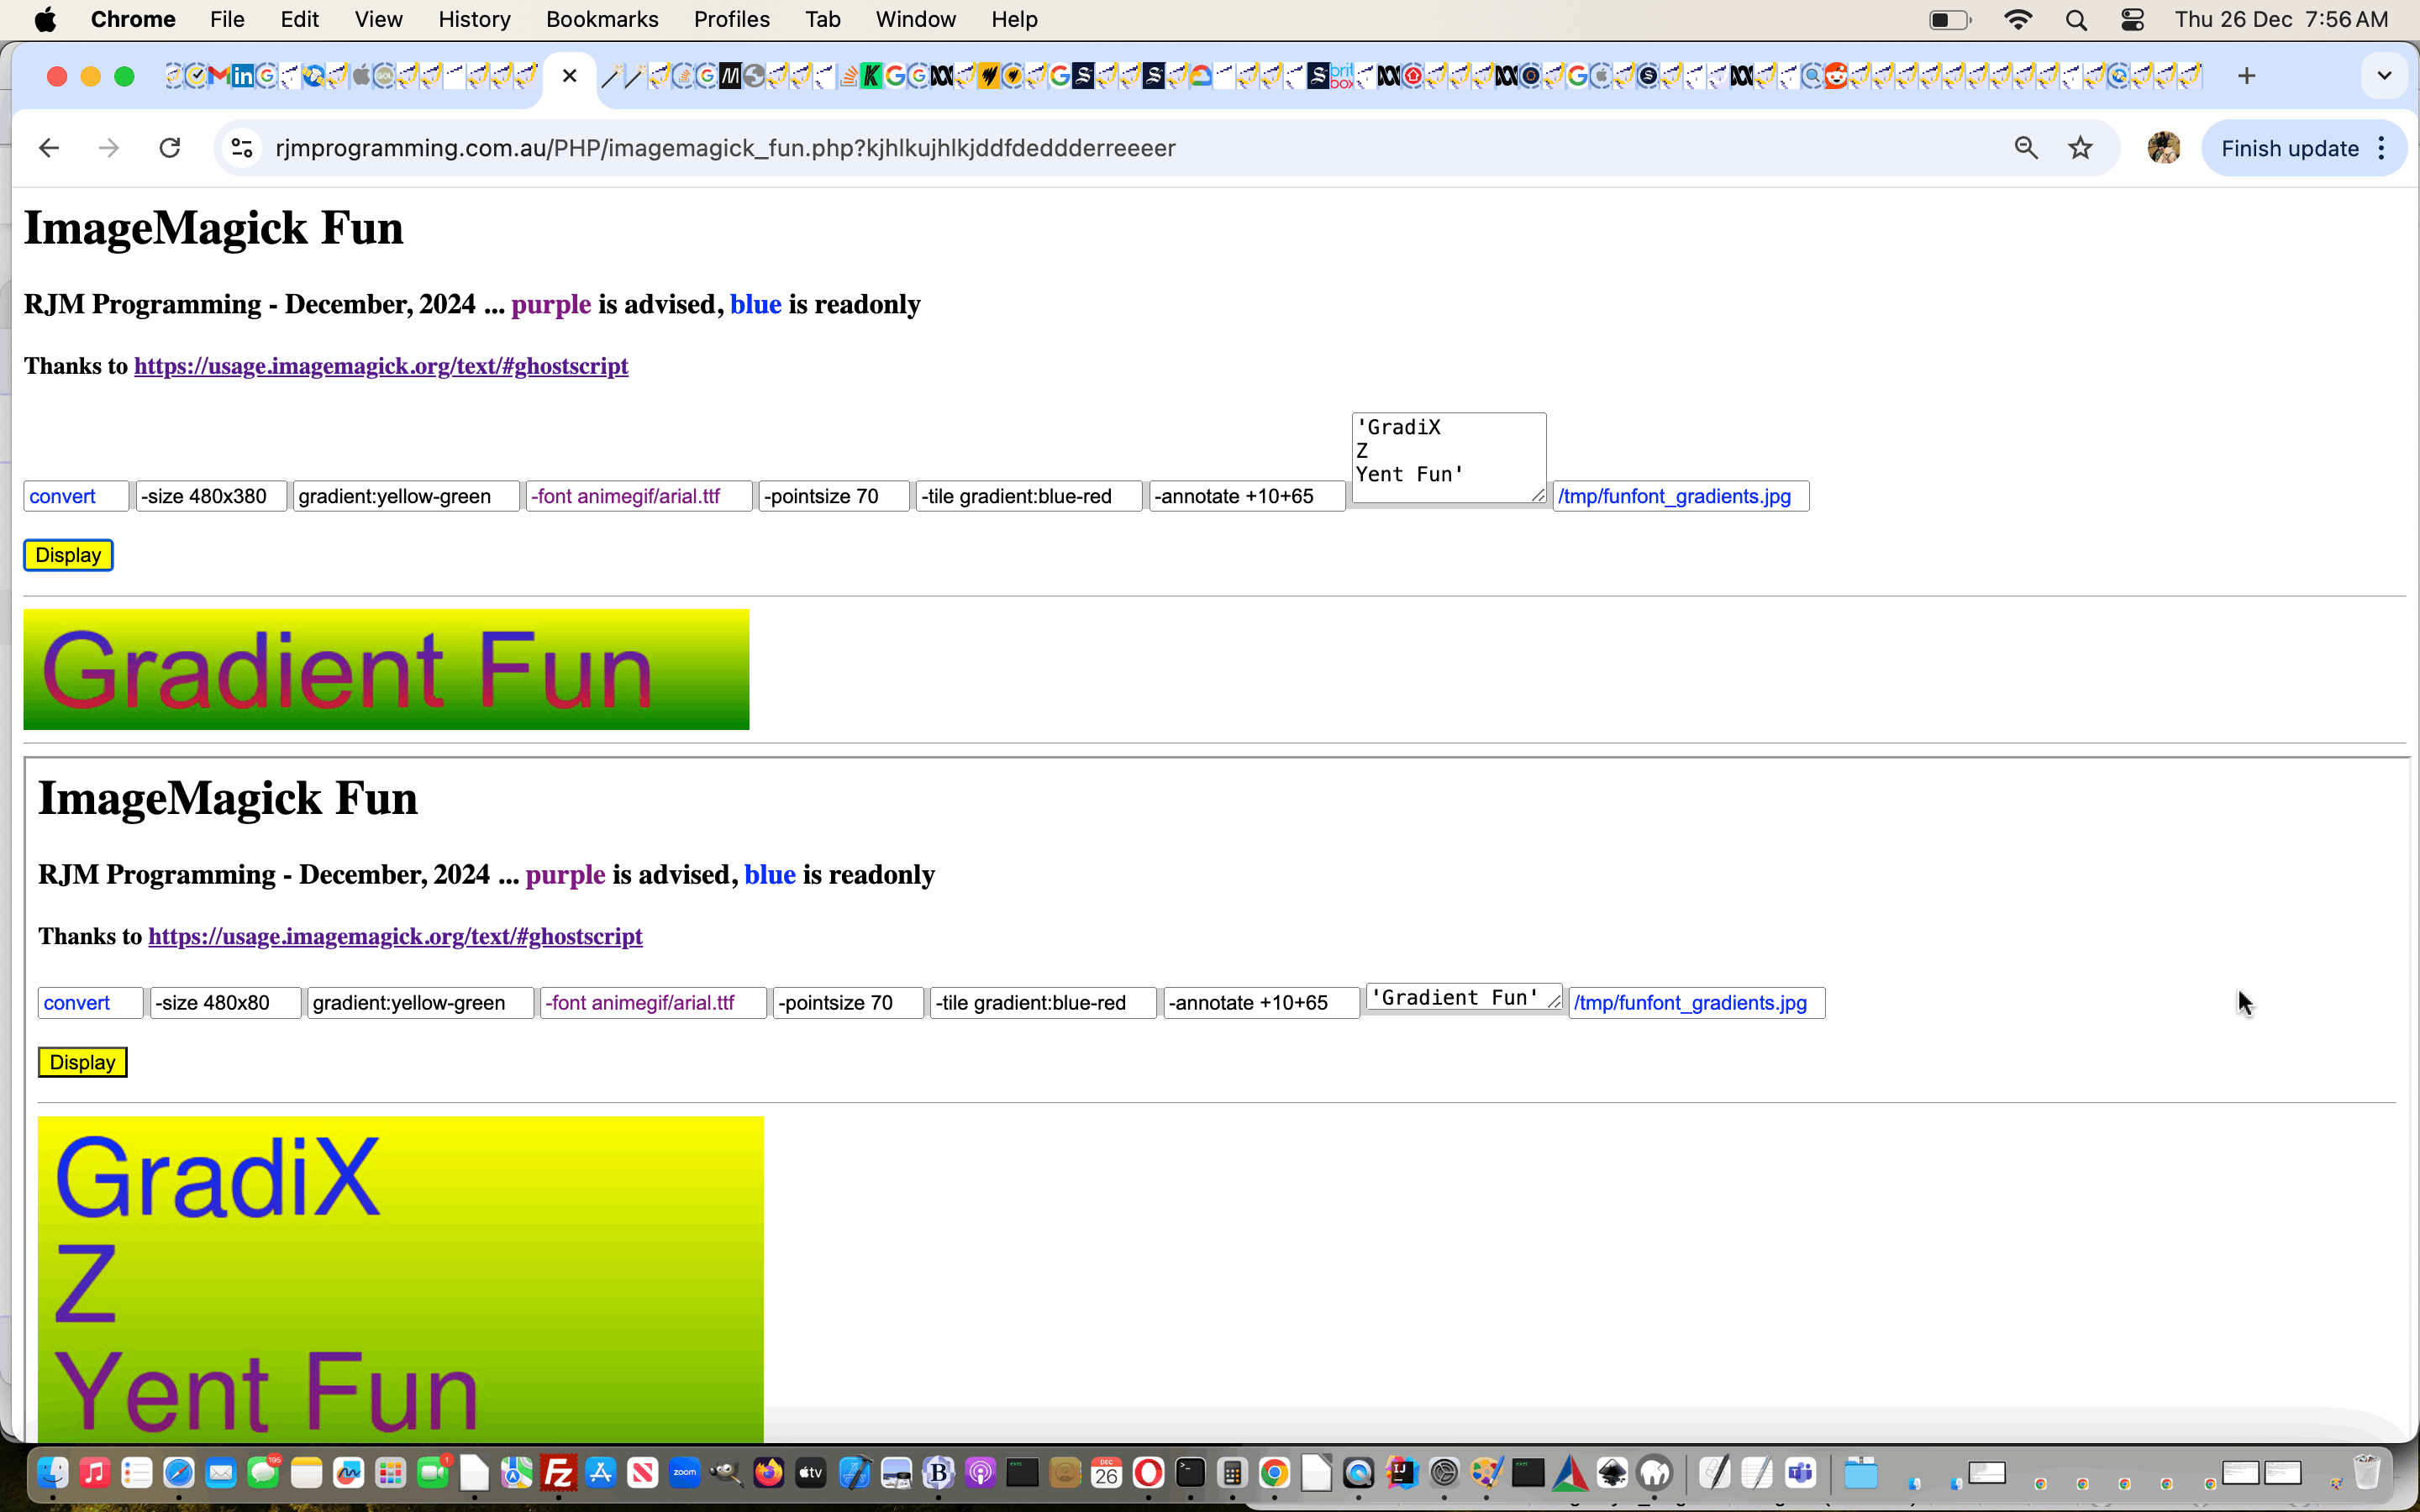
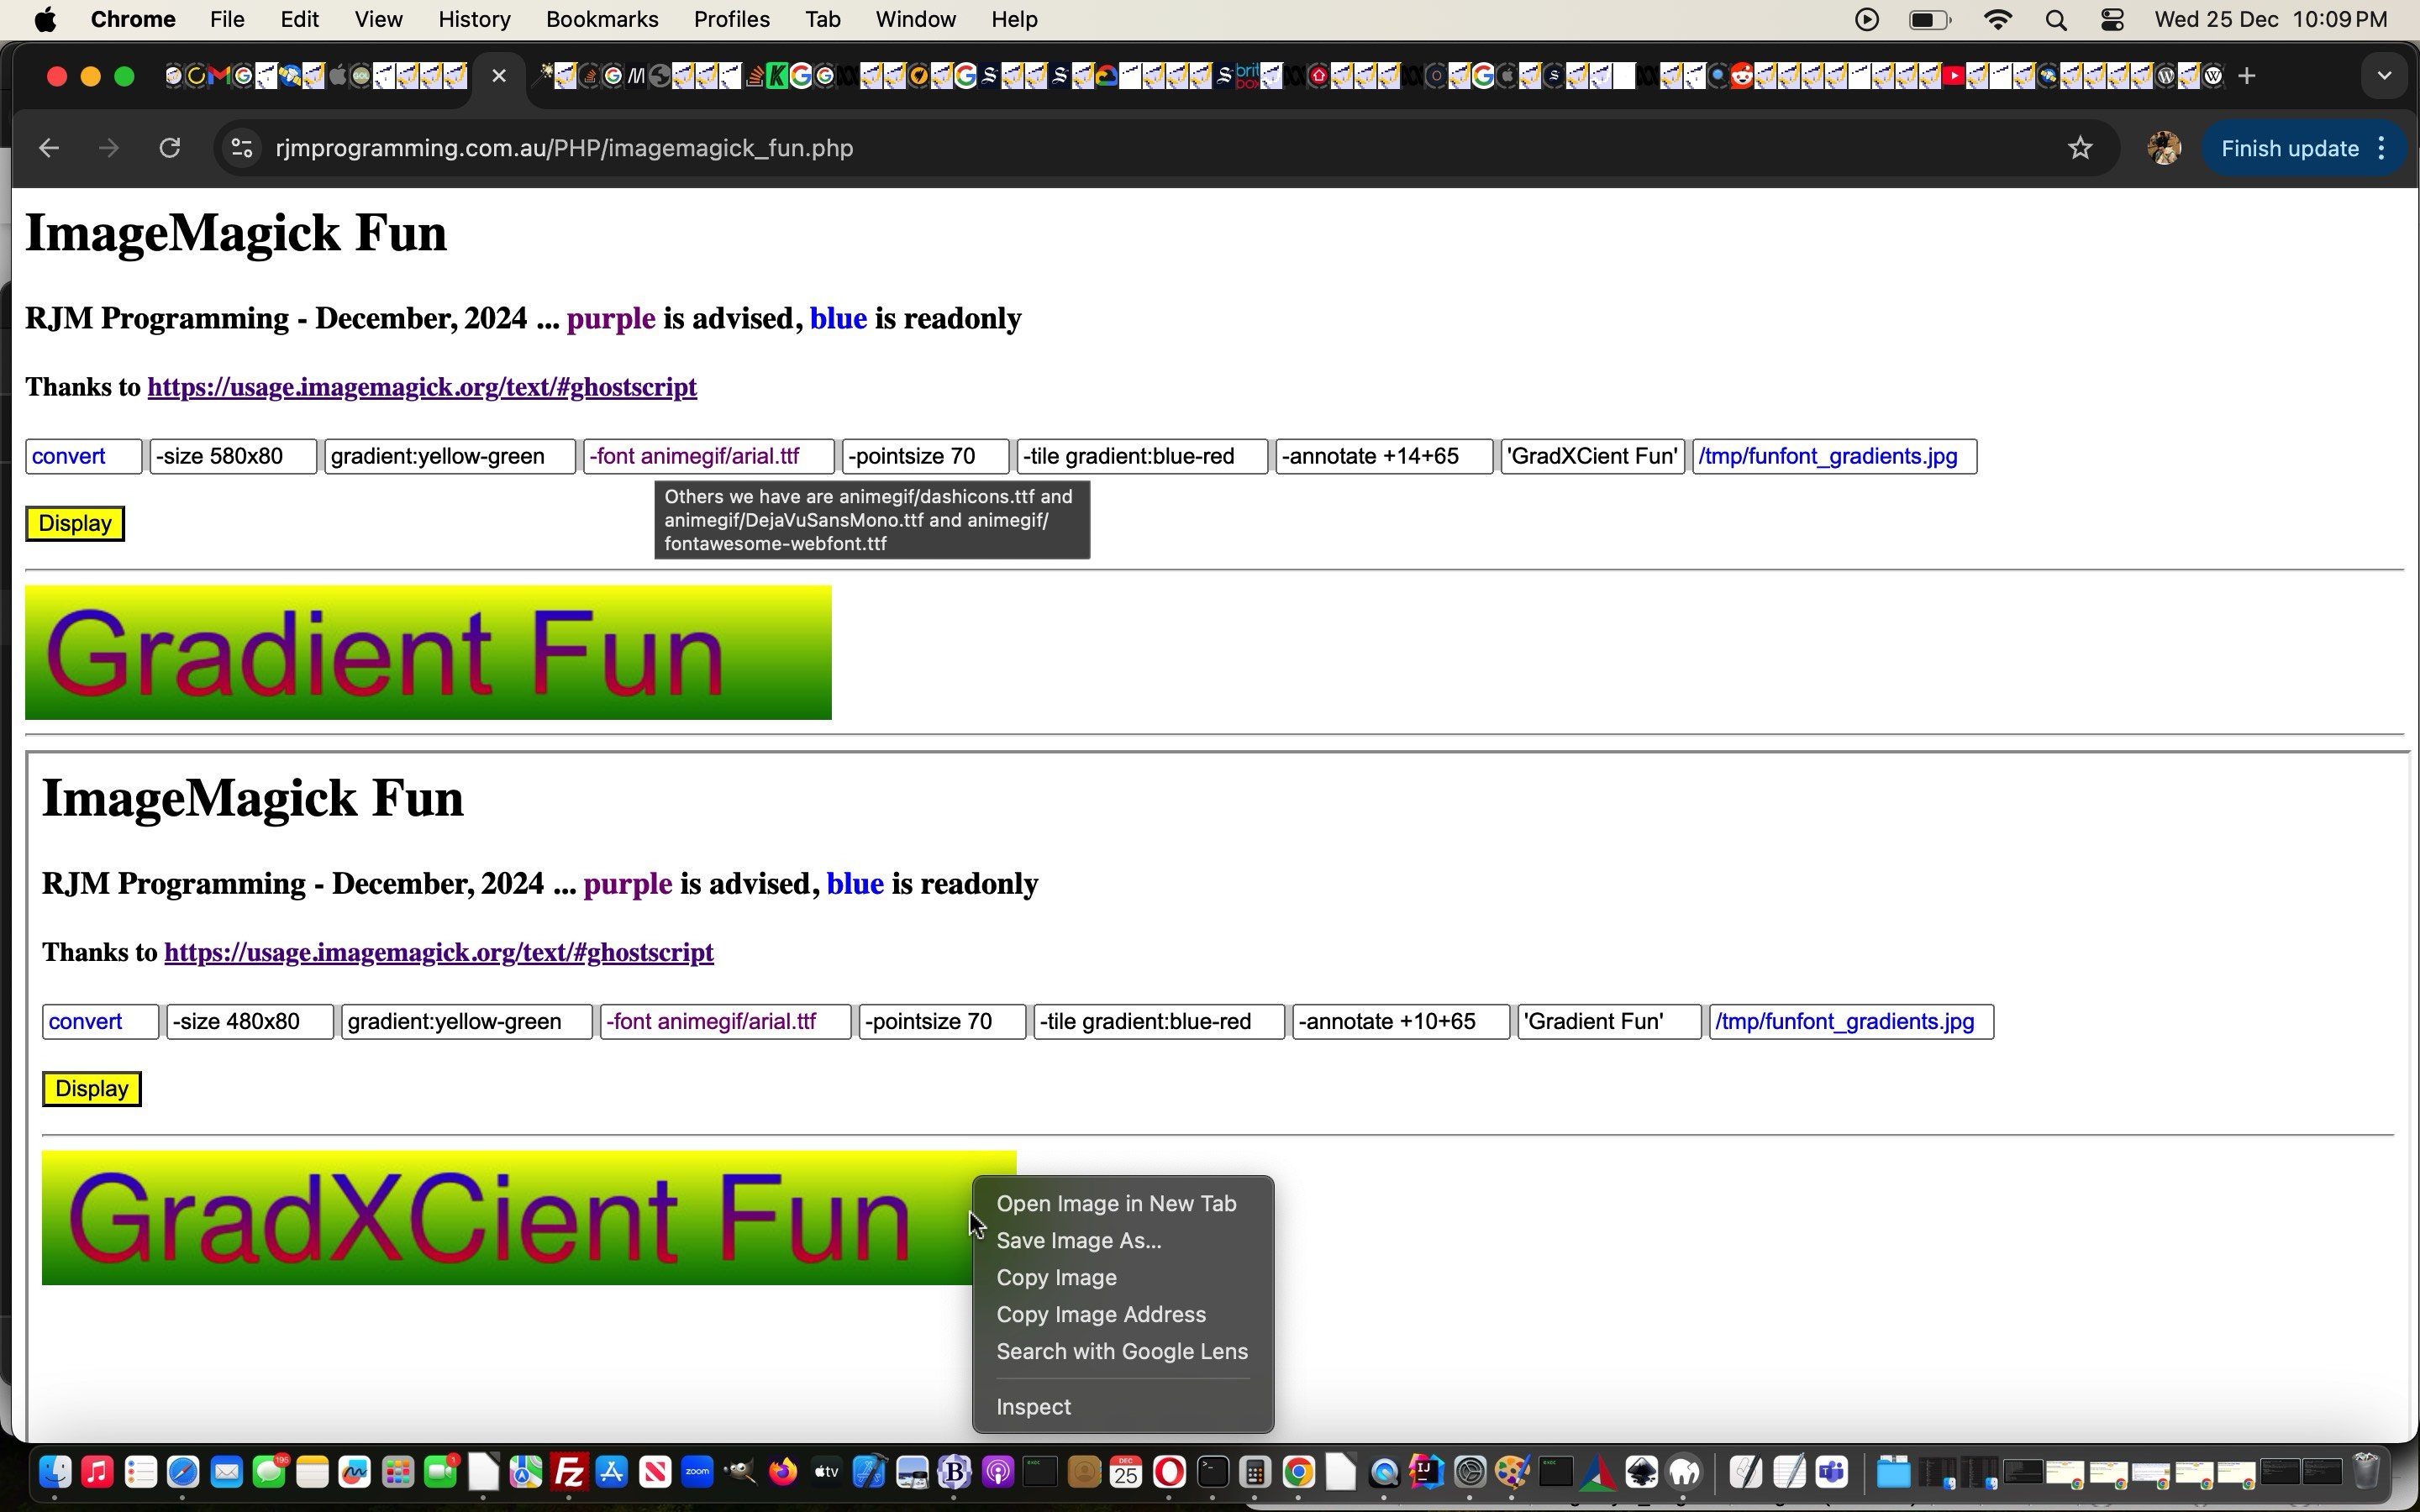
… and the command line had us hooked again. So, we wrote a way you can get hooked too, effectively parsing a favoured ImageMagick “convert” (verb) command into switches, a bit like parsing a language sentence, using PHP.
What?!!!!
Yes, it looks bad, as far as security goes, but we do some checks for malicious usage, in our “proof of concept” ImageMagick command line, via PHP, channeller of Ghostscript ideas image creator web application.

Previous relevant Imagick PHP Class Primer Tutorial is shown below.
We’re talking “class” today. Up until now, regarding the great ImageMagick suite of software, and it’s interactions with PHP, we’ve …
- been using exec style calls of ImageMagick, mainly via it’s convert command line functionality, via our CentOS web server … but today we’re …
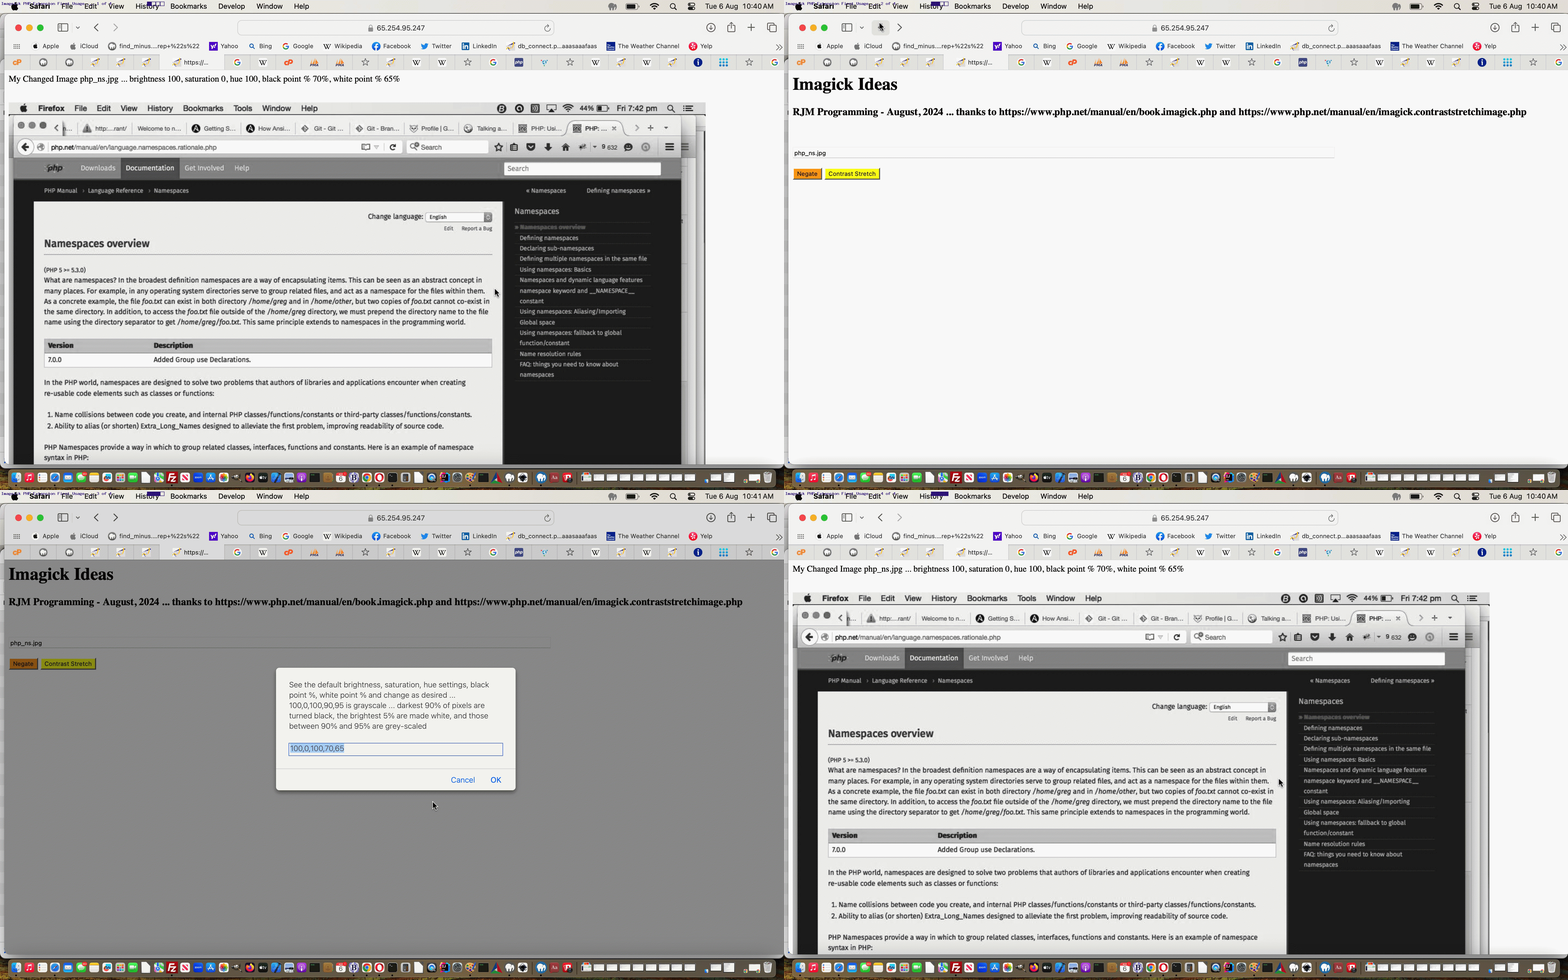
- introducing a (new for us, on AlmaLinux) modus operandi whereby a PHP Imagick class can be used to make calls to a myriad of calls within this software suite, with us just picking a few to introduce ourselves to … thanks to https://www.php.net/manual/en/book.imagick.php and https://www.php.net/manual/en/imagick.contraststretchimage.php primarily, here
… in a first draft not installed here on CentOS but okay here with AlmaLinux. Am sure most people would concur that this is much more integrated approach for PHP …
<?php

// oil_painting_thumbnail.php

// RJM Programming - August, 2024

// Start using PHP Imagick class

$image=null;

if (!isset($_GET['image']) && !isset($_POST['image'])) {

echo "<html><head><scr" . "ipt type=text/javascript> function ask() { var bsh=prompt('See the default brightness, saturation, hue settings, black point %, white point % and change as desired ... 100,0,100,90,95 is grayscale ... darkest 90% of pixels are turned black, the brightest 5% are made white, and those between 90% and 95% are grey-scaled', document.getElementById('brightness').value + ',' + document.getElementById('saturation').value + ',' + document.getElementById('hue').value + ',' + document.getElementById('blackpoint').value + ',' + document.getElementById('whitepoint').value); if (bsh != null) { if (eval('' + bsh.split(',').length) == 5) {  document.getElementById('brightness').value=bsh.split(',')[0]; document.getElementById('saturation').value=bsh.split(',')[1]; document.getElementById('hue').value=bsh.split(',')[2]; document.getElementById('blackpoint').value=bsh.split(',')[3]; document.getElementById('whitepoint').value=bsh.split(',')[4];   }   } return true;   } </scr" . "ipt></head><body><h1>Imagick Ideas</h1><h3>RJM Programming - August, 2024 ... thanks to https://www.php.net/manual/en/book.imagick.php and https://www.php.net/manual/en/imagick.contraststretchimage.php</h3><br><br><form action='./oil_painting_thumbnail.php' id=myform method=GET><input type=hidden name=brightness value=100 id=brightness></input><input type=hidden name=saturation value=0 id=saturation></input><input type=hidden name=hue value=100 id=hue></input><input type=hidden name=blackpoint value=90 id=blackpoint></input><input type=hidden name=whitepoint value=95 id=whitepoint></input><input style='width:70%;' type=text placeholder='Image to process ...' name=image id=image value=''></input><br><br><input onclick=\" document.getElementById('myform').method='GET'; \"  type=submit style=background-color:orange; value=Negate></input> <input style=background-color:yellow; onclick=\" if (ask()) { document.getElementById('myform').method='POST'; } \" type=submit value='Contrast Stretch'></input></form></body></html>";

} else {

if (isset($_GET['image'])) {


header('Content-type: image/jpeg');


//Instantiate a new Imagick object

$image = new Imagick(realpath(urldecode($_GET['image'])));

$image->negateImage(false);


// If 0 is provided as a width or height parameter,

// aspect ratio is maintained

$image->thumbnailImage(100, 0);


echo $image;

exit;


} else {

//Instantiate a new Imagick object

$image = new Imagick(realpath(urldecode($_POST['image'])));

list($width, $height) = array_values ($image->getImageGeometry());

$b=(isset($_POST['brightness']) ? $_POST['brightness'] : '100');

$s=(isset($_POST['saturation']) ? $_POST['saturation'] : '0');

$h=(isset($_POST['hue']) ? $_POST['hue'] : '100');

$bp=(isset($_POST['blackpoint']) ? $_POST['blackpoint'] : '90');

$wp=(isset($_POST['whitepoint']) ? $_POST['whitepoint'] : '95');

$image->modulateImage($b, $s, $h);

$image->contrastStretchImage($width * $height * ($bp / 100.0), $width * $height * ($wp / 100.0));

$image->writeImage('example_thumbnail.jpg');

echo "<html><body><p>My Changed Image " . urldecode($_POST['image']) . " ... brightness " . $b . ", saturation " . $s . ", hue " . $h . ", black point % " . $bp . "%, white point % " . $wp . "%</p><br><img src='./example_thumbnail.jpg'></img></body></html>";

exit;


}

}

?>
… to interface to the great ImageMagick image manipulation software.
If this was interesting you may be interested in this too.
If this was interesting you may be interested in this too.


