A project of reasonable scale has several phases to it, the ones that spring to mind for us, being …
- concept
- planning and design
- coding and unit testing
- user acceptance and testing
- platform acceptance and testing
- implementation and deployment
- going live
- monitoring performance and uptake and usage patterns
- user feedback and improvement planning
… in that order conceptually and initially, perhaps, but often messed up as a project matures and grows.
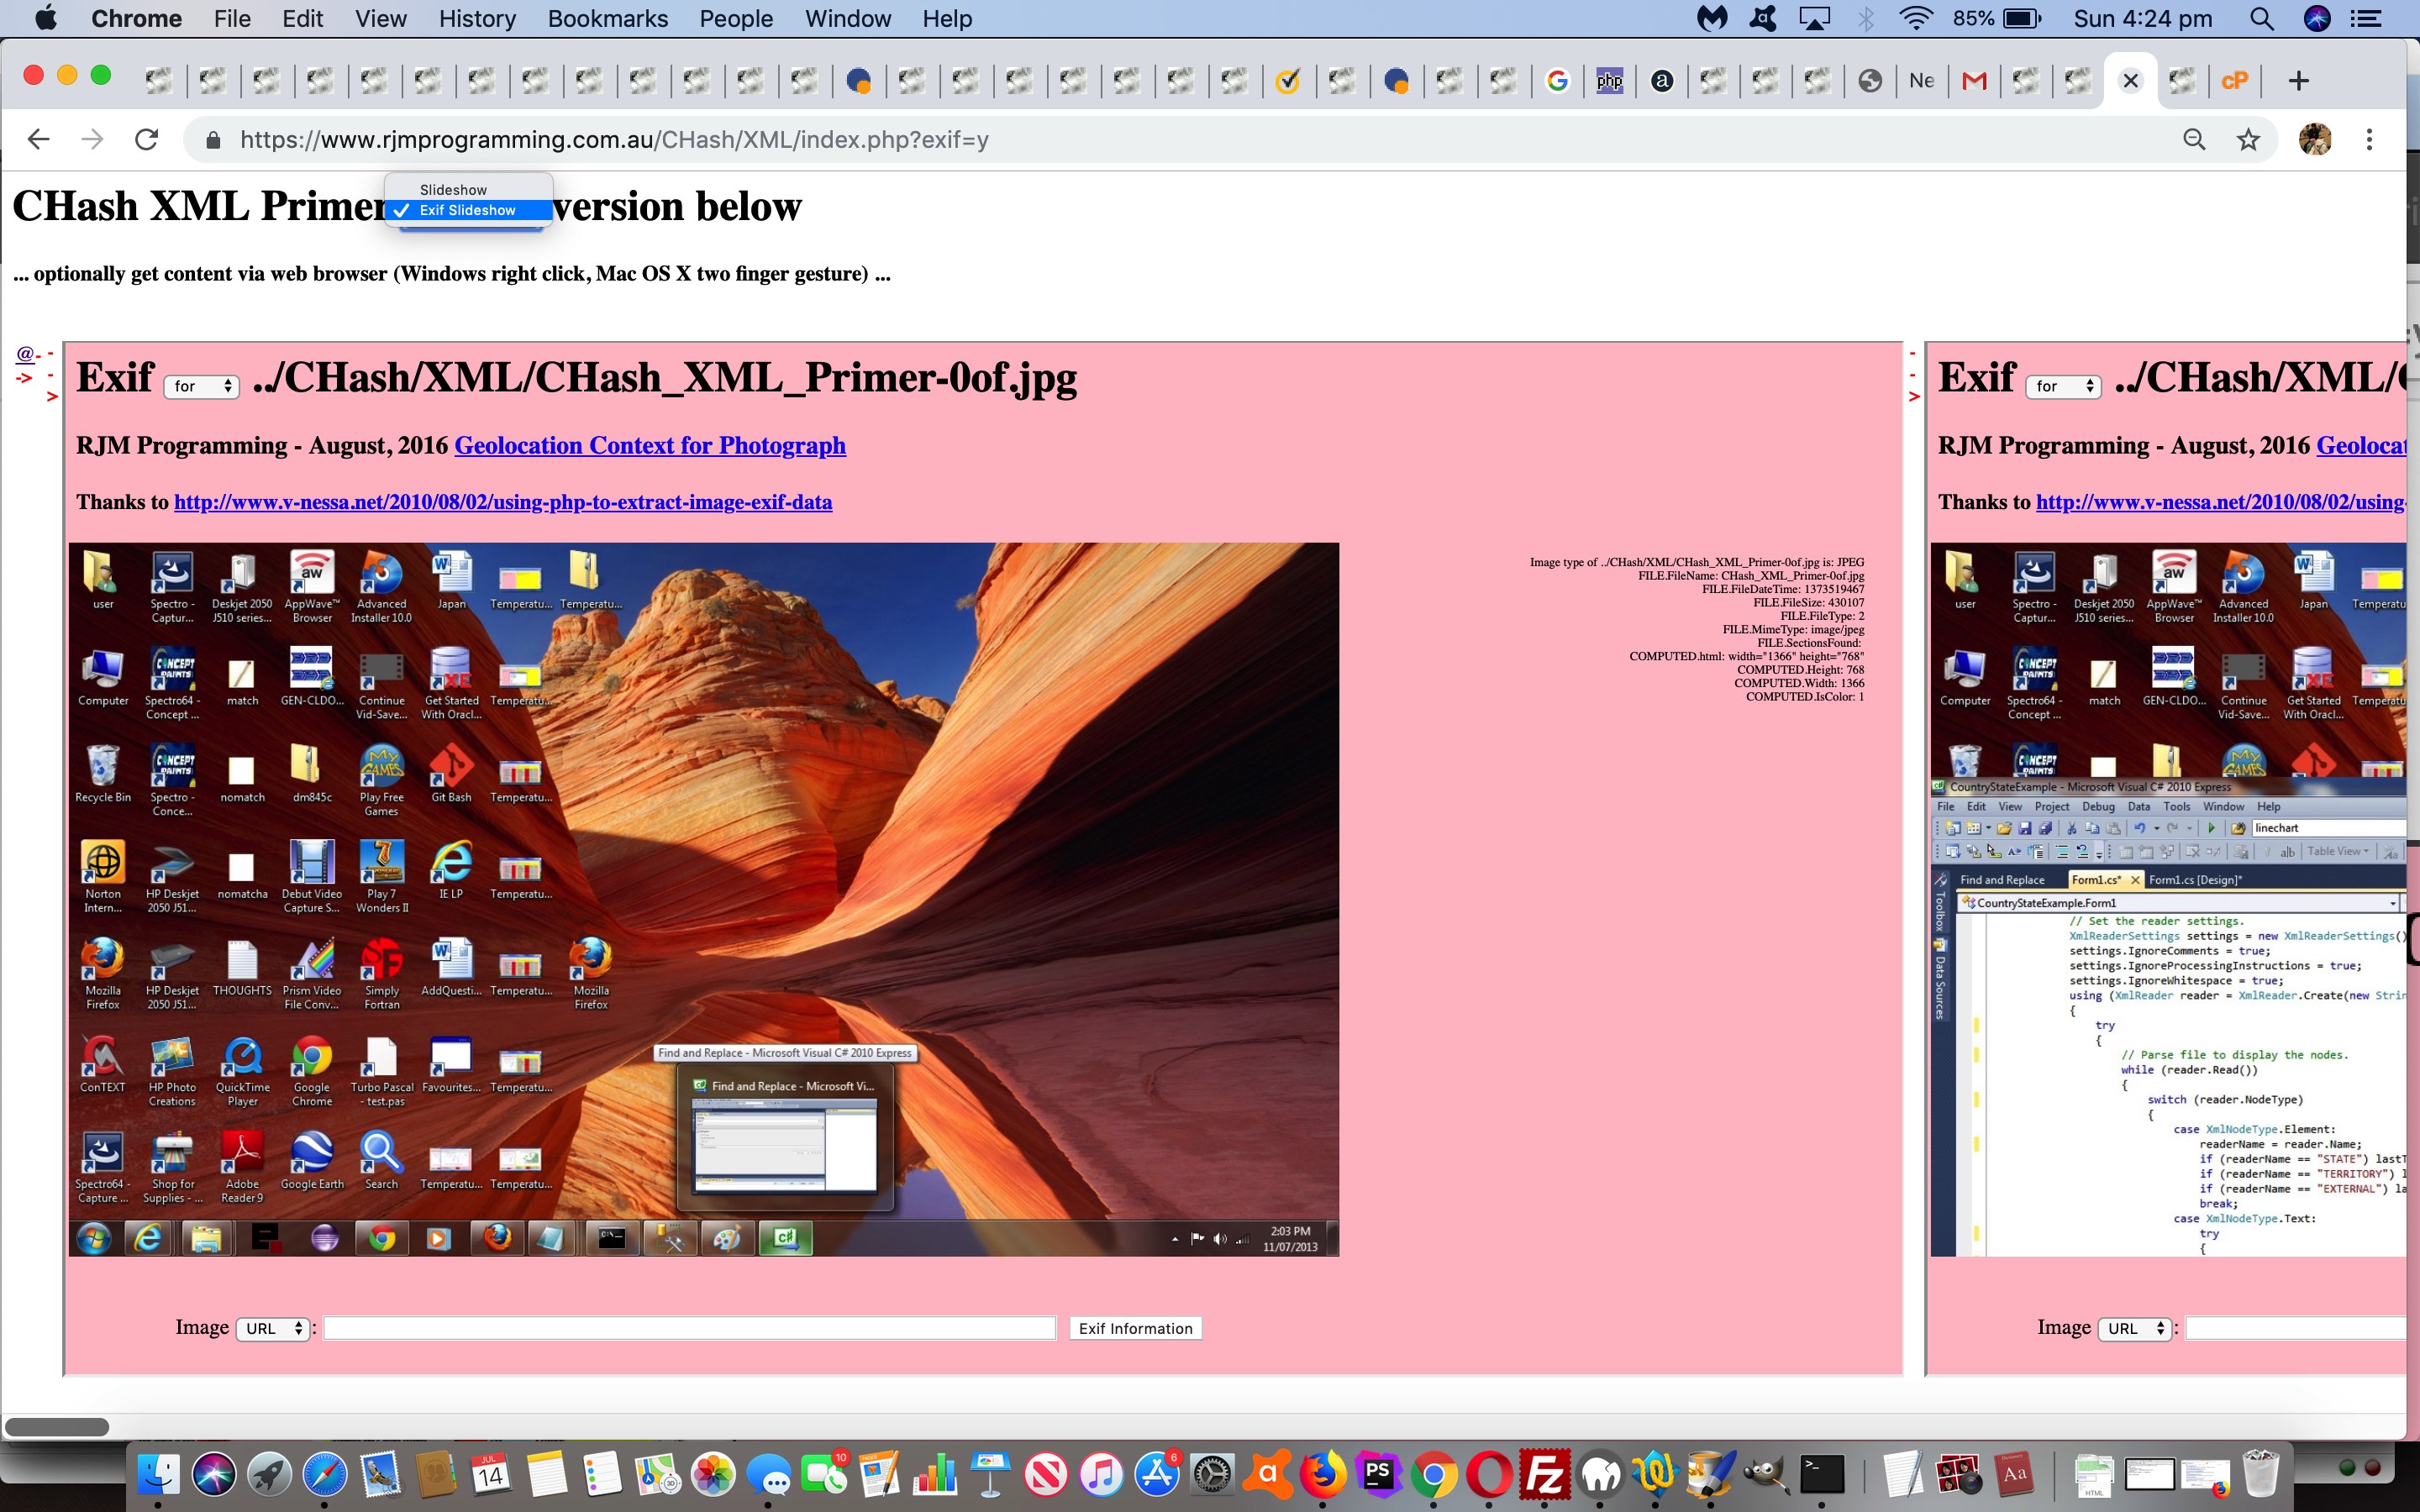
We have a mini project getting the work of yesterday’s PHP Exif Image Information Revisit Tutorial‘s PHP Exif information web application’s workings and aesthetics be put to good use, and straight off the bat we got going …
- project “One Image Website Exif Integration” as small enough (“planning and design” established we’d only need to change 6 or 7 files) to have a very simple TextWrangler 7 file session followed by sftp over to the RJM Programming website as its “implementation and deployment” phase … the coding changes involving …
HTML (new)
<body id="body" style="background-color: #E4E4E4;" onload=' if (document.URL.indexOf("exif=") != -1) { dexifit();  } window.setTimeout("FadeInImage()", 4000); '>

<a onclick=huhit(); onmousedown=huhittwo(); style=display:inline-block;cursor:pointer;text-decoration:underline;>Exif Run</a>
<div id=dexif></div>

</body>

</html>
CSS (new) is “Overlay Iframe Remembering” work
<style>

  iframe {

     width: calc(100% - 2px);

     height: calc(100% - 2px);

  }

</style>
Javascript (new code) and integration steps
function huhit() {

top.location.href=('' + document.URL).split('#')[0].split('?')[0] + '?exif=y';

}


function huhittwo() {

alinktop='#';

}


function dexifit() {

   document.getElementById('dexif').innerHTML='<iframe id=iexif style="position:absolute;top:0px;left:0px;z-index:45;" src=../PHP/read_exif_off_image_rotate.php></iframe>';

}


//

// The existence of iframe "iexif" causes the "get new image" Javascript function to intervene and update the "src" property of iframe "iexif" with a

//   URL showing an image Exif report webpage as per "top.location.href=('' + document.URL).split('#')[0].split('?')[0] + '?exif=y';" codeline above (rather than display a new image and scroll within it (that being the default behaviour the build up for unchanged for our work))

//
… and today we shall …
- get up to the “implementation and deployment” phase of the “Inhouse Slideshow Exif Integration” project … via …
… above (or see them in a new window with the changed index.php‘s live run) … the “implementation and deployment” phase being involved (and big) enough that we need to explain more about with tomorrow’s blog posting … and in the meantime as a “refresher” have a read of Inhouse Slideshow Design Makeover Tutorial below
Previous relevant Inhouse Slideshow Design Makeover Tutorial is shown below.
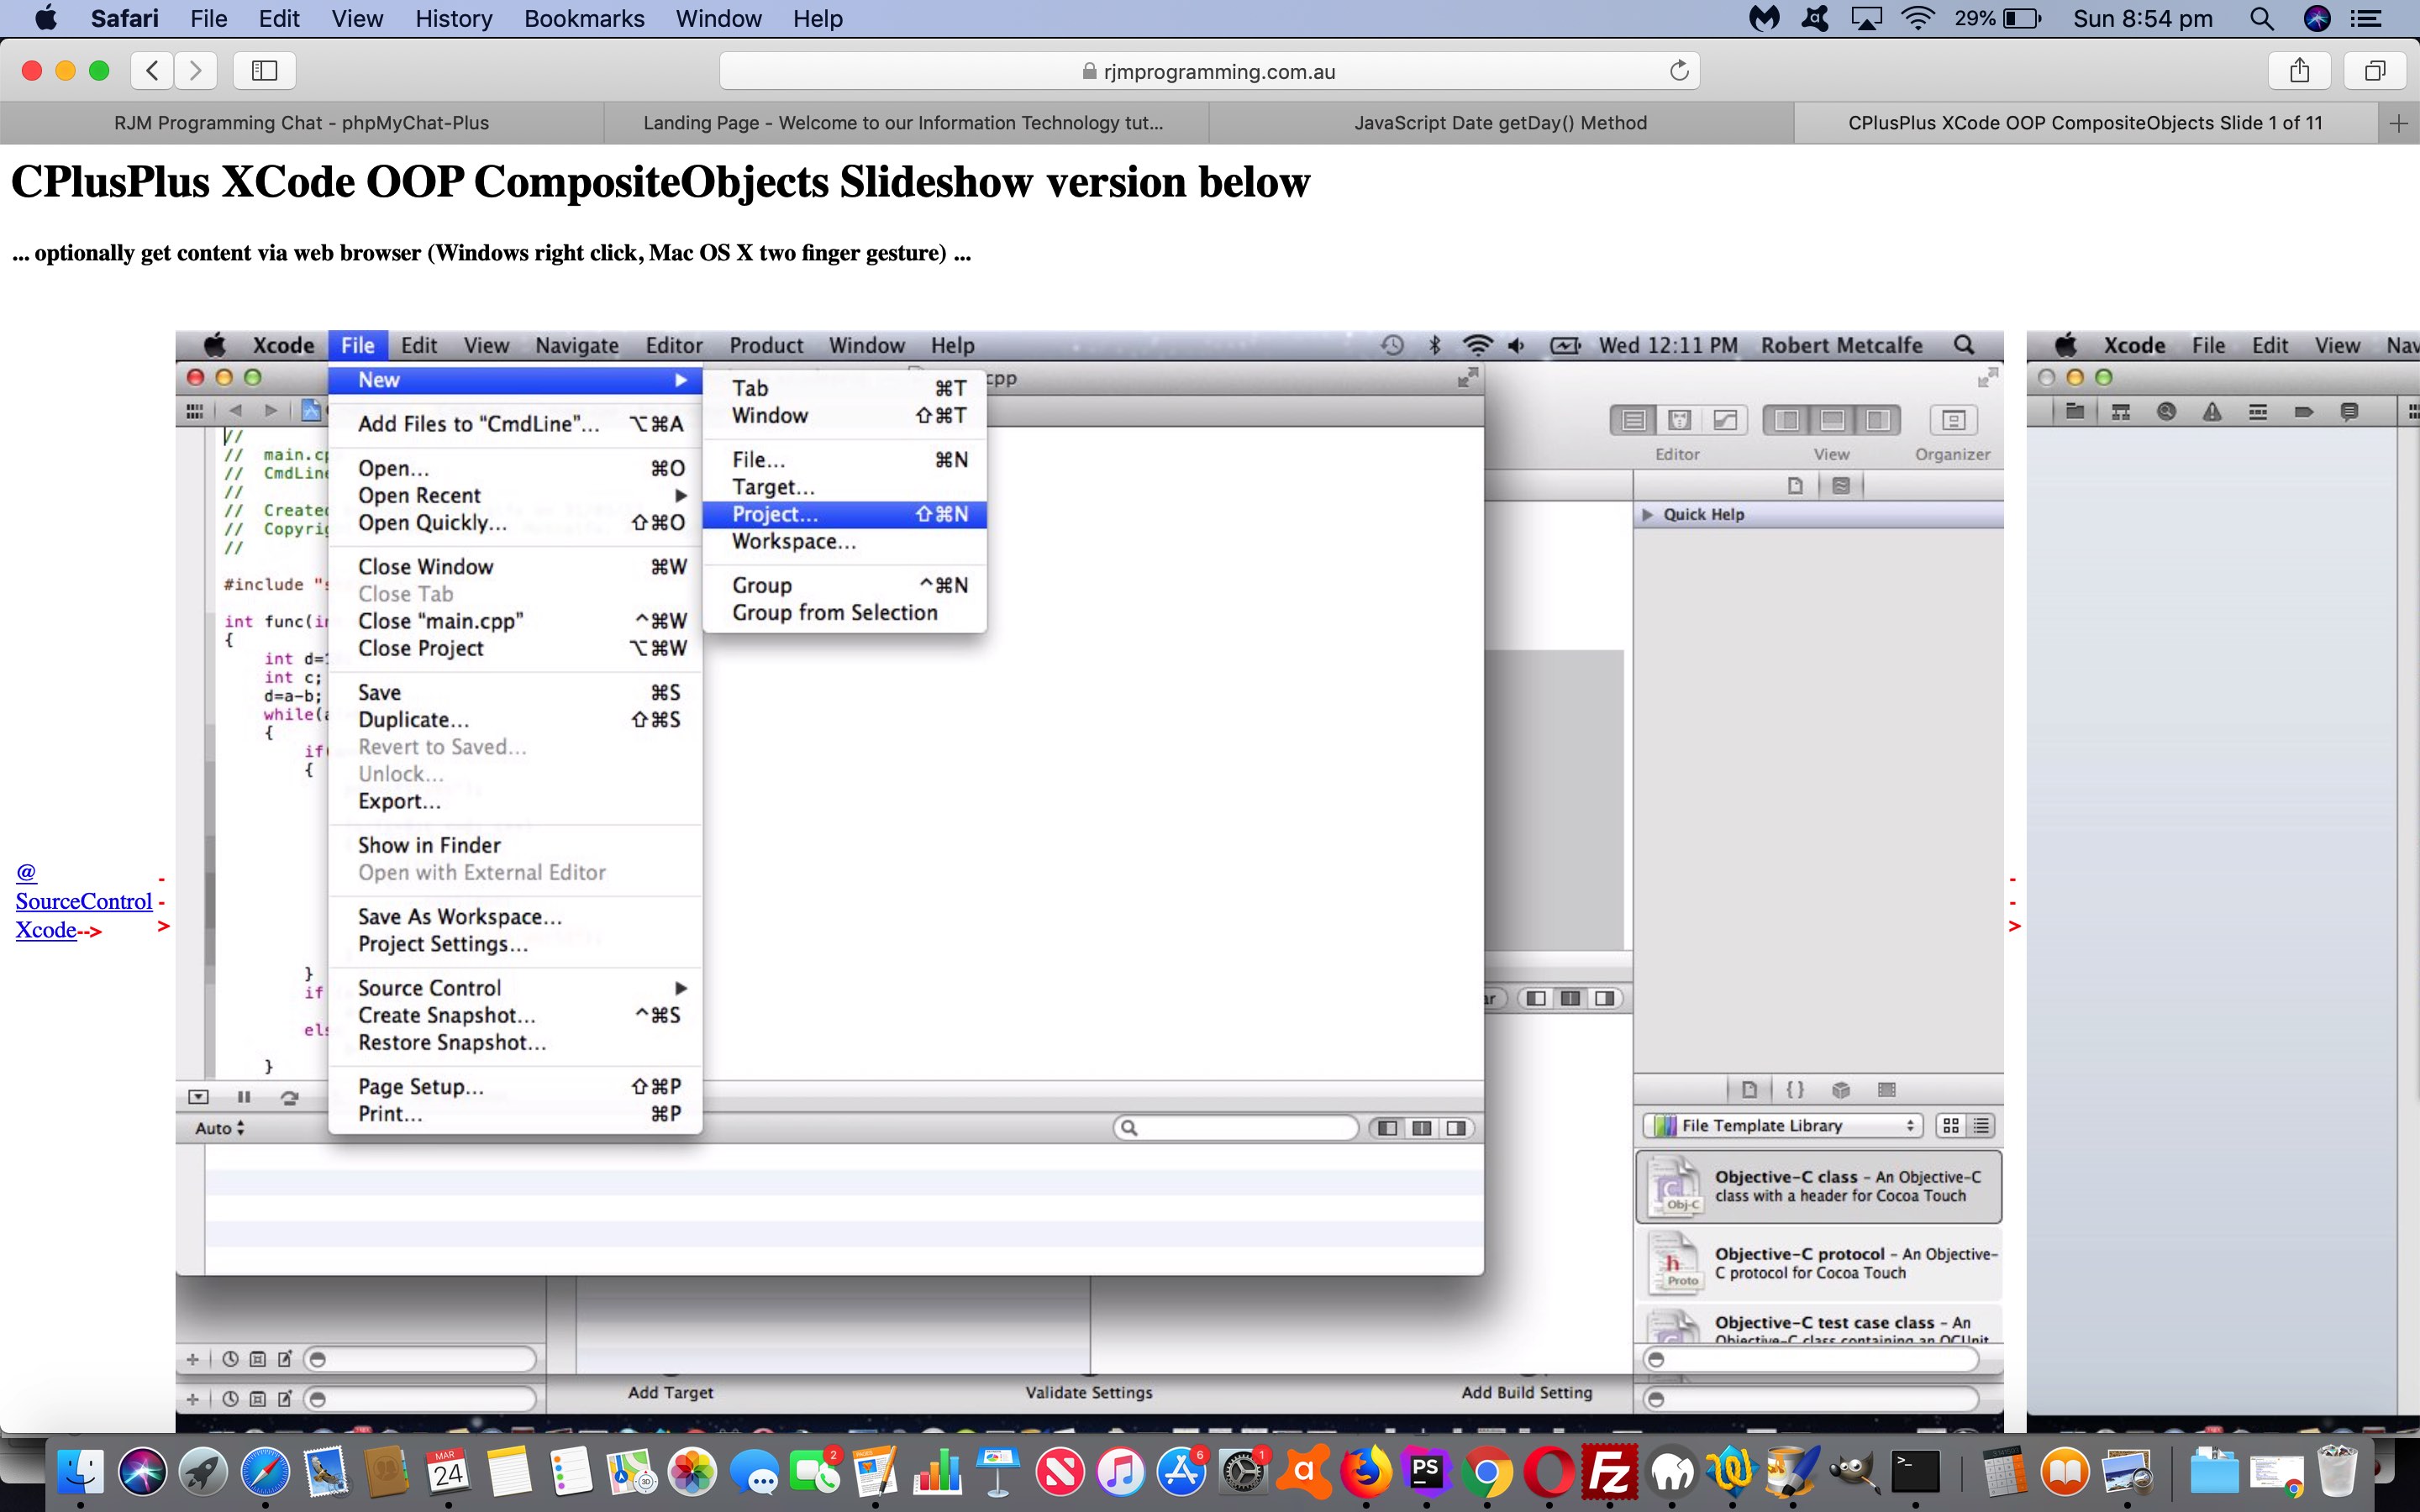
One of the last times we considered the way we “worked” using our “Inhouse Slideshow Design” was when we presented Animated GIF and Slideshow via PHP Writing PHP Data URI Tutorial below, some time back. Perhaps, that is because this method has gone out of favour with us, with the number of image files required, and we’ve preferred in more recent times to …
- annotate individual screenshots
- compose multi-slide PDF presentations
- compose multi-slide animated GIF presentations
- compose multi-slide video presentations (much less often) … rather than using …
- inhouse slideshow … when many slides are needed to explain a blog posting
Looking back, we spent too long creating these inhouse slideshows, compiling image lists into td cells of a single tr row in a single table element within individually tailored index.html (HTML) files.
Today’s makeover genericizes an overarching piece of PHP (we’ll be calling index.php) we place into the web server directory with these …
     foreach (glob("*-[0-9]*.[jJgGpP][pPiInN]*") as $ifil) {

       if (strpos($spush, "'" . $surlprefix . $ifil . "'") === false) {

       $ibits=explode("-", $ifil);

       if (sizeof($ibits) > 1) {

         $proposedstitle=str_replace("_", " ", $ibits[0]);

         if ($proposedstitle != $stitle) {

           if ($stitle == "") {

             $stitle=$proposedstitle;

           } else if (strpos($sothers, $proposedstitle) === false) {

             $spush.="\n firstones.push(" . $scnt . "); \n";

             $spush.="\n lastones.push(" . (-1 + $scnt) . "); \n";

             $sothers.="<br><a id='apre" . $sscnt . "' href='#s" . $scnt . "' title=\"Movie'ize Here vs Follow Red Right Arrows with Bottom Scrollbar\" onclick='prehavealook(this); havealook(-" . $scnt . ");'>" . $proposedstitle . "</a>";

             $sscnt++;

           }

         }

         $smodebit.="\n  if (smode != '0') document.getElementById('row').innerHTML+='<td><span style=\"color:red;font-size:14px;\"><b>--></b></span></td><td><img onclick=\"onck(this);\" id=\"i" . $scnt . "\" src=\"" . $surlprefix . $ifil . "\" title=\"" . $proposedstitle . "\" /></td>'; \n";

         $spush.="\n uarraydatauri.push('" . $surlprefix . $ifil . "'); \n";

         $scnt++;

       }

       }

     }
… image filenames we can collect in that “glob” friendly *-[0-9]*.[jJgGpP][pPiInN]* (filespec) habit we had (and have), make genericization possible, and we’ll proceed on that understanding. What extra is needed, though, is to cater for more than one set of such slideshow image sets within any one web server directory (gleaned off the incoming URL, in PHP).
Here’s what we came up with in PHP called index.php we’ll start placing into the relevant rjmprogramming.com.au web server folders, over the next several days.
Previous relevant Animated GIF and Slideshow via PHP Writing PHP Data URI Tutorial is shown below.
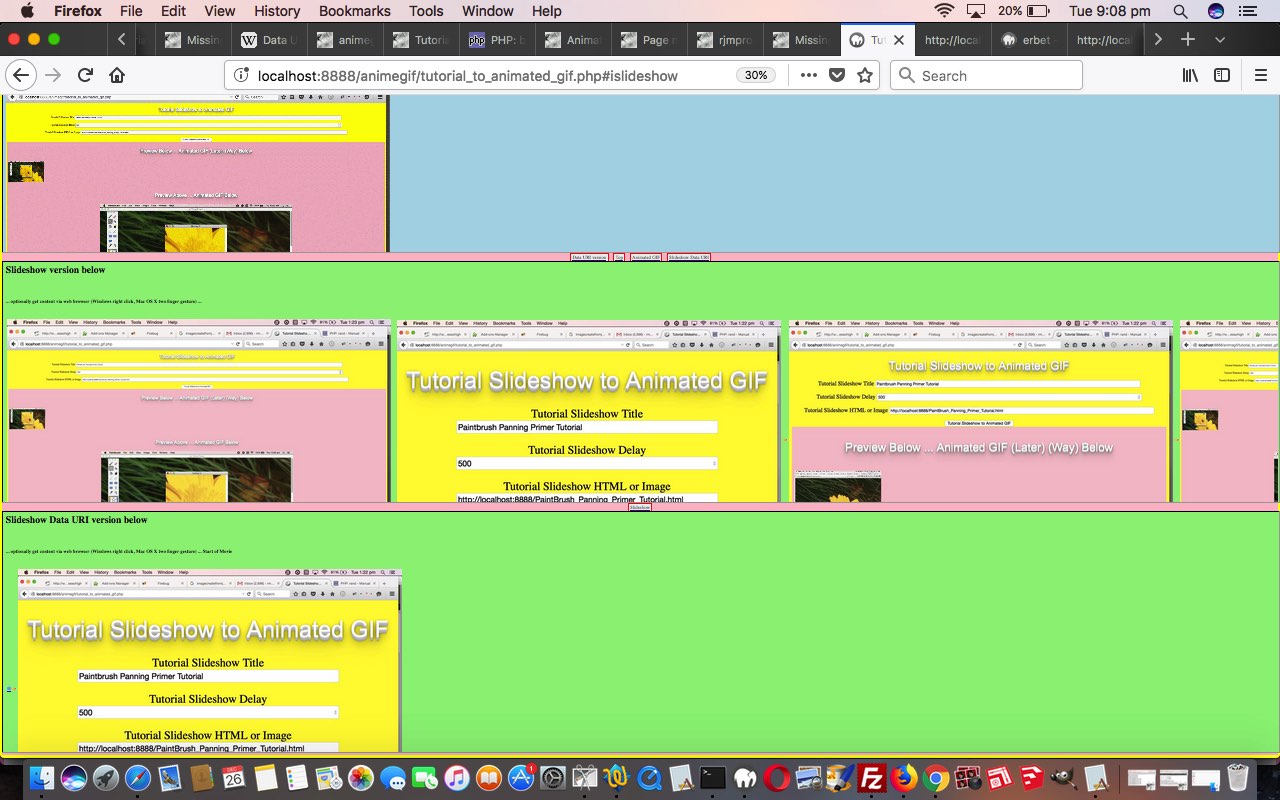
To us, there are great similarities between animated GIFs and slideshows, as two forms of “presentation”, and so to extend yesterday’s Animated GIF via PHP Writing PHP Data URI Tutorial animated GIF creator “PHP Writes PHP” web application that now has the option for data URI “exports” we add the functionality for …
- slideshow creation (using our inhouse methods) which defaults to a horizontal (hashtag type of) navigation … as well as adding a …
- slideshow creation, with Data URI image data, using functionality as if CSS z-index (ie. slides stacked on top of each other in “overlay” style) was being used, but actually isn’t …
… that little bit different to another “stacked” (or z-index feeling) approach we talked about with Multiple Class Slideshow Details Tutorial, where HTML element “class” properties were changed so that the last class defined reflects the look of the slideshow slide desired at any given time. We just use an array, and a setTimeout timer to achieve the same ends today, with our work (or “presentation”). If this “horizontal versus stack” navigation choice interests you, also take a read of HTML Input Element Types Randomized History Tutorial.
Again, with all this added functionality, because it is “hosted” in an HTML iframe element all the existant web browser (Windows right click or Mac OS X two finger gesture) functionality can come into play, and make life quite interesting for your non-mobile users “collecting” data URIs … there are worse hobbies!
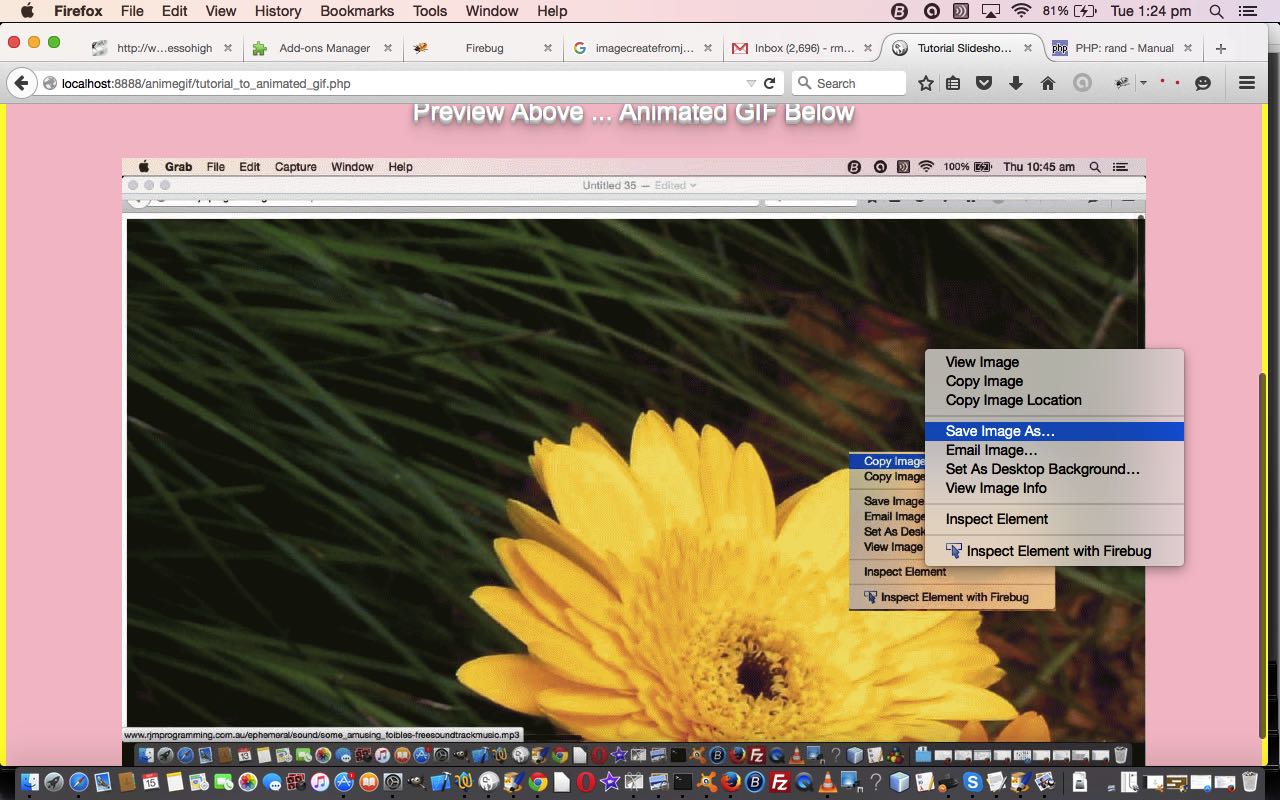
You can see this in the context of how this PHP tutorial_to_animated_gif.php code changed for slideshows in this way or try it as a live run.
Previous relevant Animated GIF via PHP Writing PHP Data URI Tutorial is shown below.
The previous relevant “PHP writes PHP” methodology animated GIF creator we talked about, first, with Animated GIF via PHP Writing PHP Primer Tutorial came back to mind yesterday with our Missing Javascript Audio on Unmute Tutorial, where we pondered on whether an animated GIF could be represented on a webpage by a data URI. Why take an interest in this? Data URIs are very important to do with …
- future mobile development web form navigation benefits from their usage
- the use of data URIs make your web pages independent of web server location issues, so make your web data more portable, and flexible
… and ideally, animated GIFs are also not just a decorative part of all this web application usage (as they can be a very efficient representation of an animation that could not be a more succinct way to show that animation or presentation), and if they can be made to be like any other GIF or image data file in the ways they can be represented (and used), then that is all for the good.
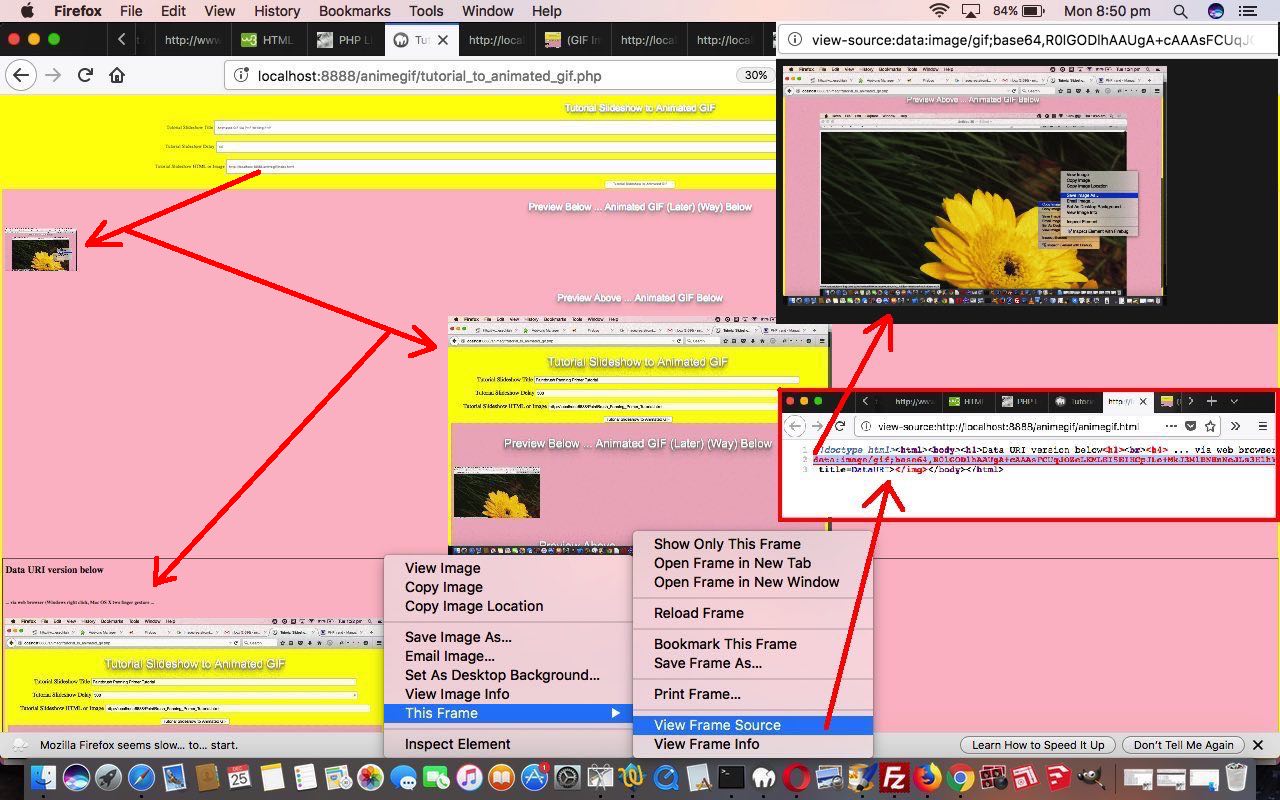
So we changed the Jeroen van Wissen’s inspired PHP (“PHP writes PHP” methodology) code tutorial_to_animated_gif.php code allow for this extra animated GIF data URI representation in a new additional HTML iframe (containing the animegif.html of code below) that when harnessing existant web browser (Windows right click or Mac OS X two finger gesture) functionality can glean for us, as required, that animated GIF’s data URI representation. But don’t get too excited about this being rocket science, in that with a bit of effort, and PHP, it could have been gleaned from what we already produced, in that (in PHP “land”) …
$lastbitto="\$fp = fopen('animegif.gif', 'w');

\$data = \$gif->GetAnimation();

\$dataUri = 'data:image/gif;base64,' . base64_encode(\$data);

fwrite(\$fp, \$data);

fclose(\$fp);

\$fp = fopen('animegif.html', 'w');

fwrite(\$fp, '<!doctype html><html><body><h1>Data URI version below<h1><br><h4> ... via web browser (Windows right click, Mac OS X two finger gesture ...</h4><br><img src=' . \"\\n\" . \$dataUri . \"\\n\" . ' title=DataURI></img></body></html>');

fclose(\$fp);";
You can see this in the context of how this PHP code changed in this way or try it as a live run.
Previous relevant Animated GIF via PHP Writing PHP Primer Tutorial is shown below.
We find another very useful reason for PHP to write PHP. Today we establish a PHP web application to dynamically create Animated GIF images via some still images, like Gifpal would do.
We have some great open source PHP code to thank for the basis of the functionality we found at Jeroen van Wissen’s very useful link, thanks.
Then we added a more user friendly interface to get the information off the user we need. We present this in an HTML form, which navigates to the same PHP to do the actual assembly of the Animated GIF via techniques where PHP writes PHP … and really needs to, to be useful.
Do you remember, last, when we did some PHP writing PHP functionality … PHP Writes PHP Vertical TextBoxes Primer Tutorial?
And inside the PHP it makes big use of the GD and Image Functions to read and write the image data we assemble via the user information.
This Animated GIF form of animation is the easiest to implement, as it consists of just the one GIF image file, but the user has very little control over the animation settings, such as the delay between stills, one of the settings we ask about in our web application.
Our PHP source code today you could call tutorial_to_animated_gif.php and we redirect you to some live run ideas …
- normal run with HTML form which posts back to itself … live run
- example GET parameters run (like our tutorial picture)
Hope you find this tutorial useful.
If this was interesting you may be interested in this too.
If this was interesting you may be interested in this too.
If this was interesting you may be interested in this too.
If this was interesting you may be interested in this too.
If this was interesting you may be interested in this too.

