Computer software is good with images. Ever since the advent of digital photography it has taken off, which is no surprise. Today, images are still a major part of the web experience, especially with the camera work of mobile phones and web apps like Instagram.
Of course, this has led to an explosion of interest in software like PhotoShop (undoubtedly good) and Gimp (curiously refreshingly good, especially while sipping a lemonade (who said this blog doesn’t make its way with advertisements?)).
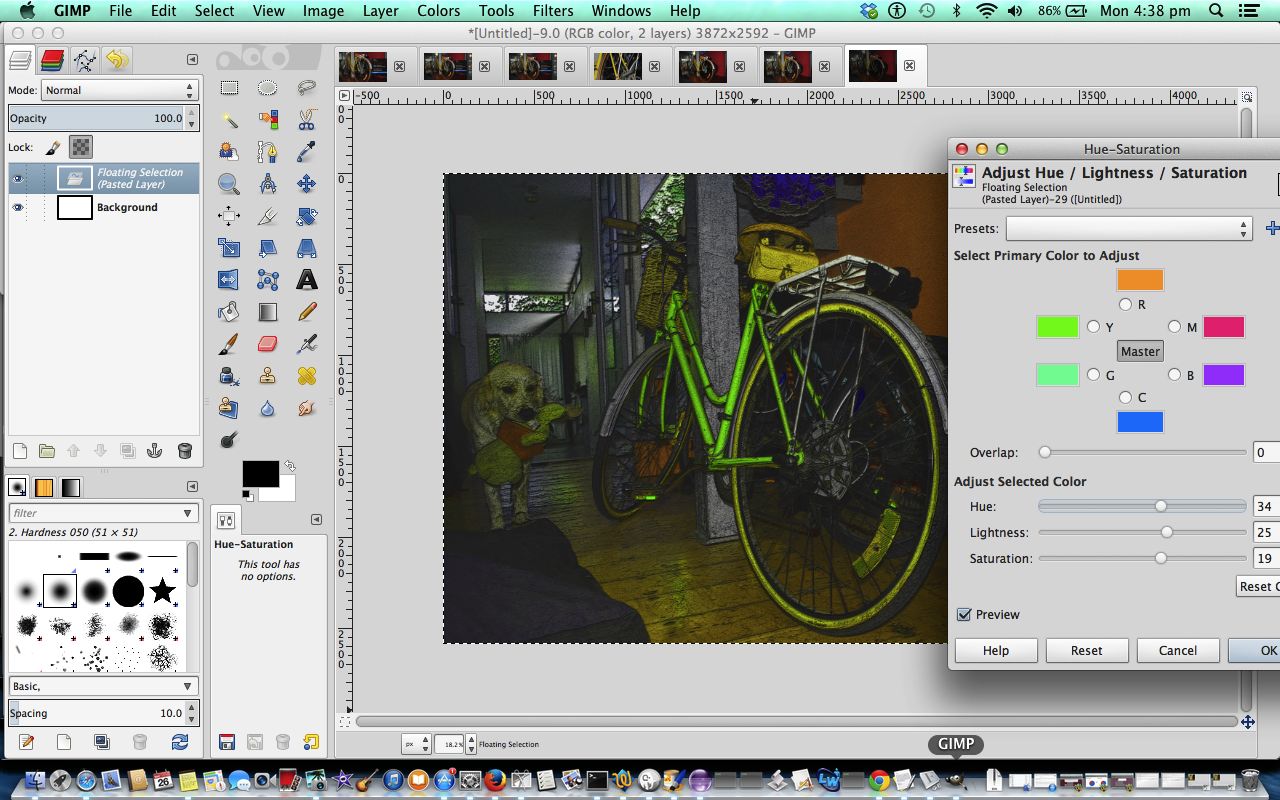
Gimp can team up quite effectively with iPhoto (on a Mac laptop) as the enhancer of the software place that is so good at collecting the photo data in the first place, as you see from the few slides needed at the top of the slideshow tutorial presented today.
So Gimp is great at the editing, but we also show a couple of effects iPhoto can do for you without leaving iPhoto’s friendly environs.
Later we add the Gimp work back into the iPhoto event and there you go. Those are photos stored on your Mac laptop (disk).
Breaking it down …
- Original image out of Nikon D3000 camera
- Image with Image with iPhoto Edge Blur (11)
- Image with Oilifying via Gimp
- Image with Embossing then Colour Balancing via Gimp
… also in the mix were Gimp Glass Tile and iPhoto Boost
But what if your Mac laptop disk fails? Heavens to blue blazing betsy! Well, web application ideas like Flickr or Picasa (or Dropboxes or iCloud or Google docs, and/or email, and/or social media websites) could be for ewes, and if you’d like to move out of the paddock now … it could also be for you … chortle, baa, chortle.
So once back at iPhoto, we can create an iPhoto slideshow (iPhoto adds music which isn’t heard from here), and you might want to read about more on this from the previous Mac iPhoto Slideshow to iTunes and iMovie Movie Primer Tutorial.
If this was interesting you may be interested in this too.


