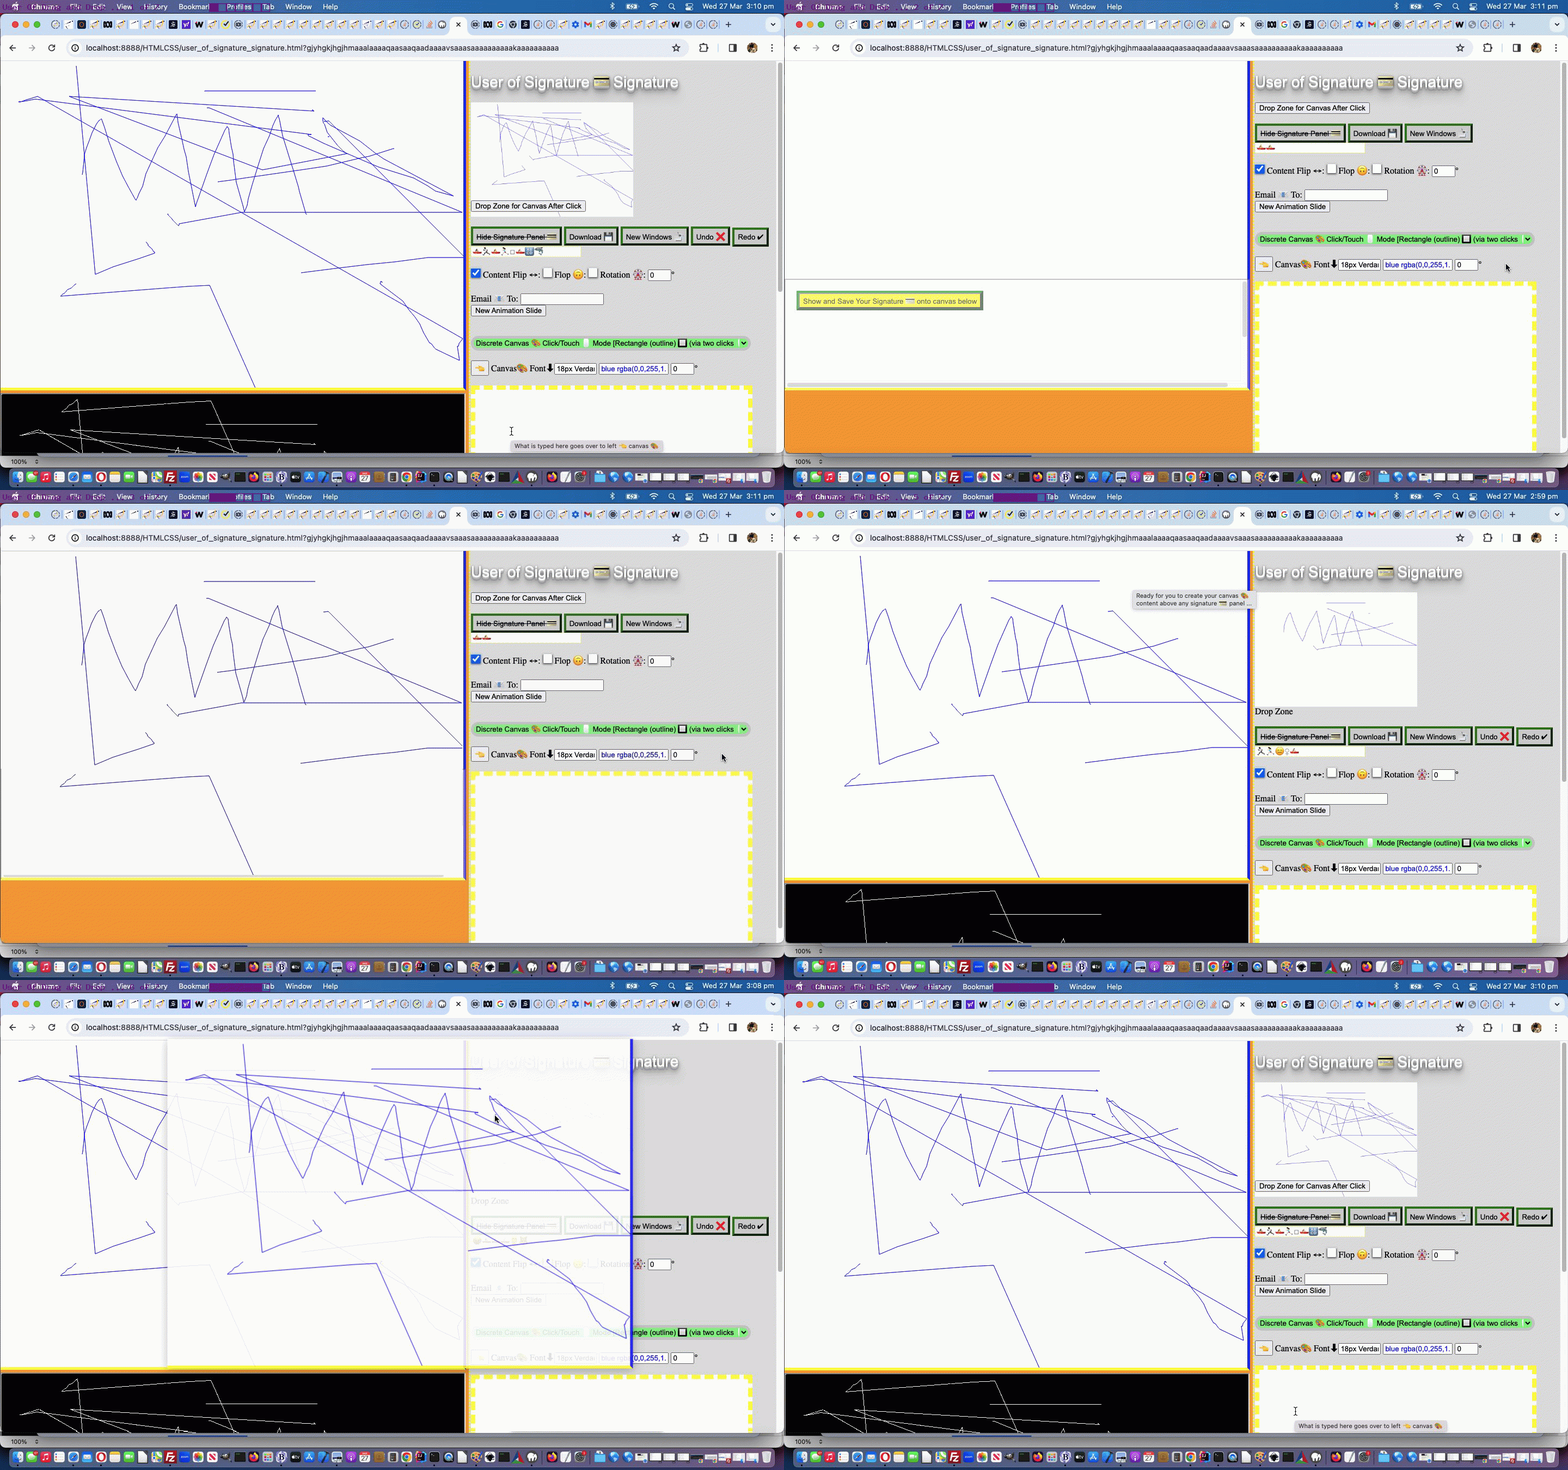
Some recent tutorials called Canvas Drag and Drop Primer Tutorial and Canvas Drag and Drop Less Ephemeral Tutorial involved animated GIF presentations with slides created via the macOS Screenshot desktop application utility (ie. in /Applications/Utilities folder) we talked about with Screenshot macOS Utility Primer Tutorial previously. Three aspects of screenshotting, in order of difficulty, are of interest for matters beyond the ken of our usual command-control-shift-3 (99.99999% solution) …
- drag and drop display
- any display of cursor position
- tailored cursor styling display
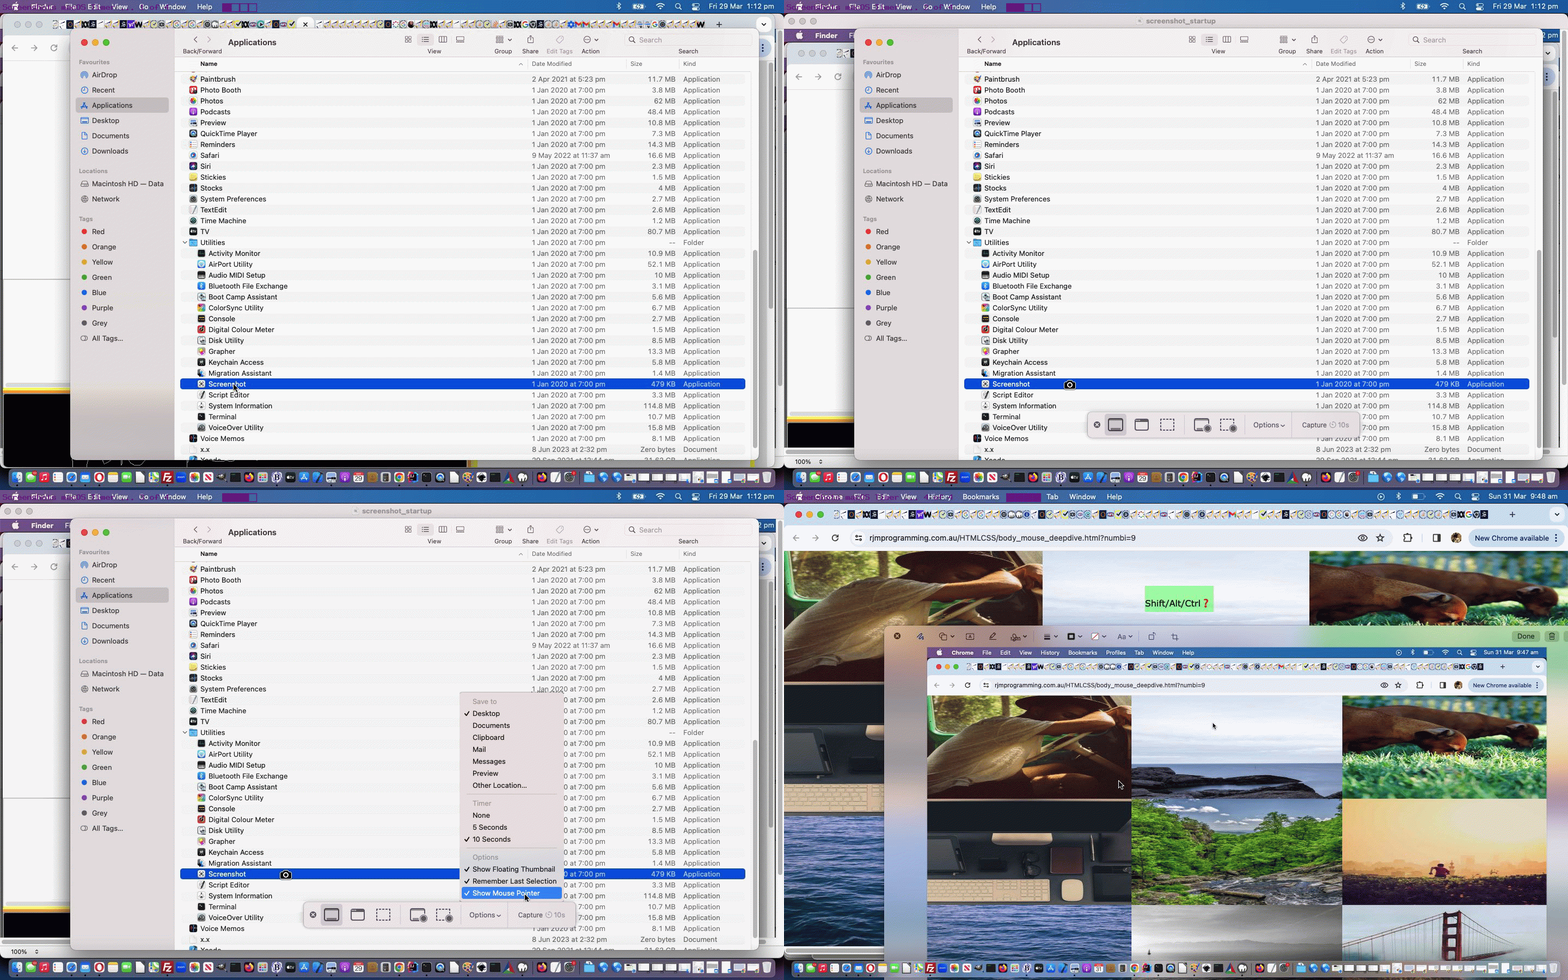
In the first drag and drop display case we’re interested in with those Ephemeral Tutorial presentations (as animated GIF slides) it’s the case that two people could achieve it, because one person runs out of fingers. We can simulate that second person being there via the use of the macOS Screenshot desktop application’s timed Capture modes of use, setting this off as a ten second delay, and being ready with the drag and drop at that correct time, as the software takes the appropriate screenshot.
Also useful to us was to check the Options menu’s Show Mouse Pointer option to satisfy that second option ideal screenshotting mode of operation above. We’ll leave you with two presentation animated GIF presentations enhanced by this macOS Screenshots magic!
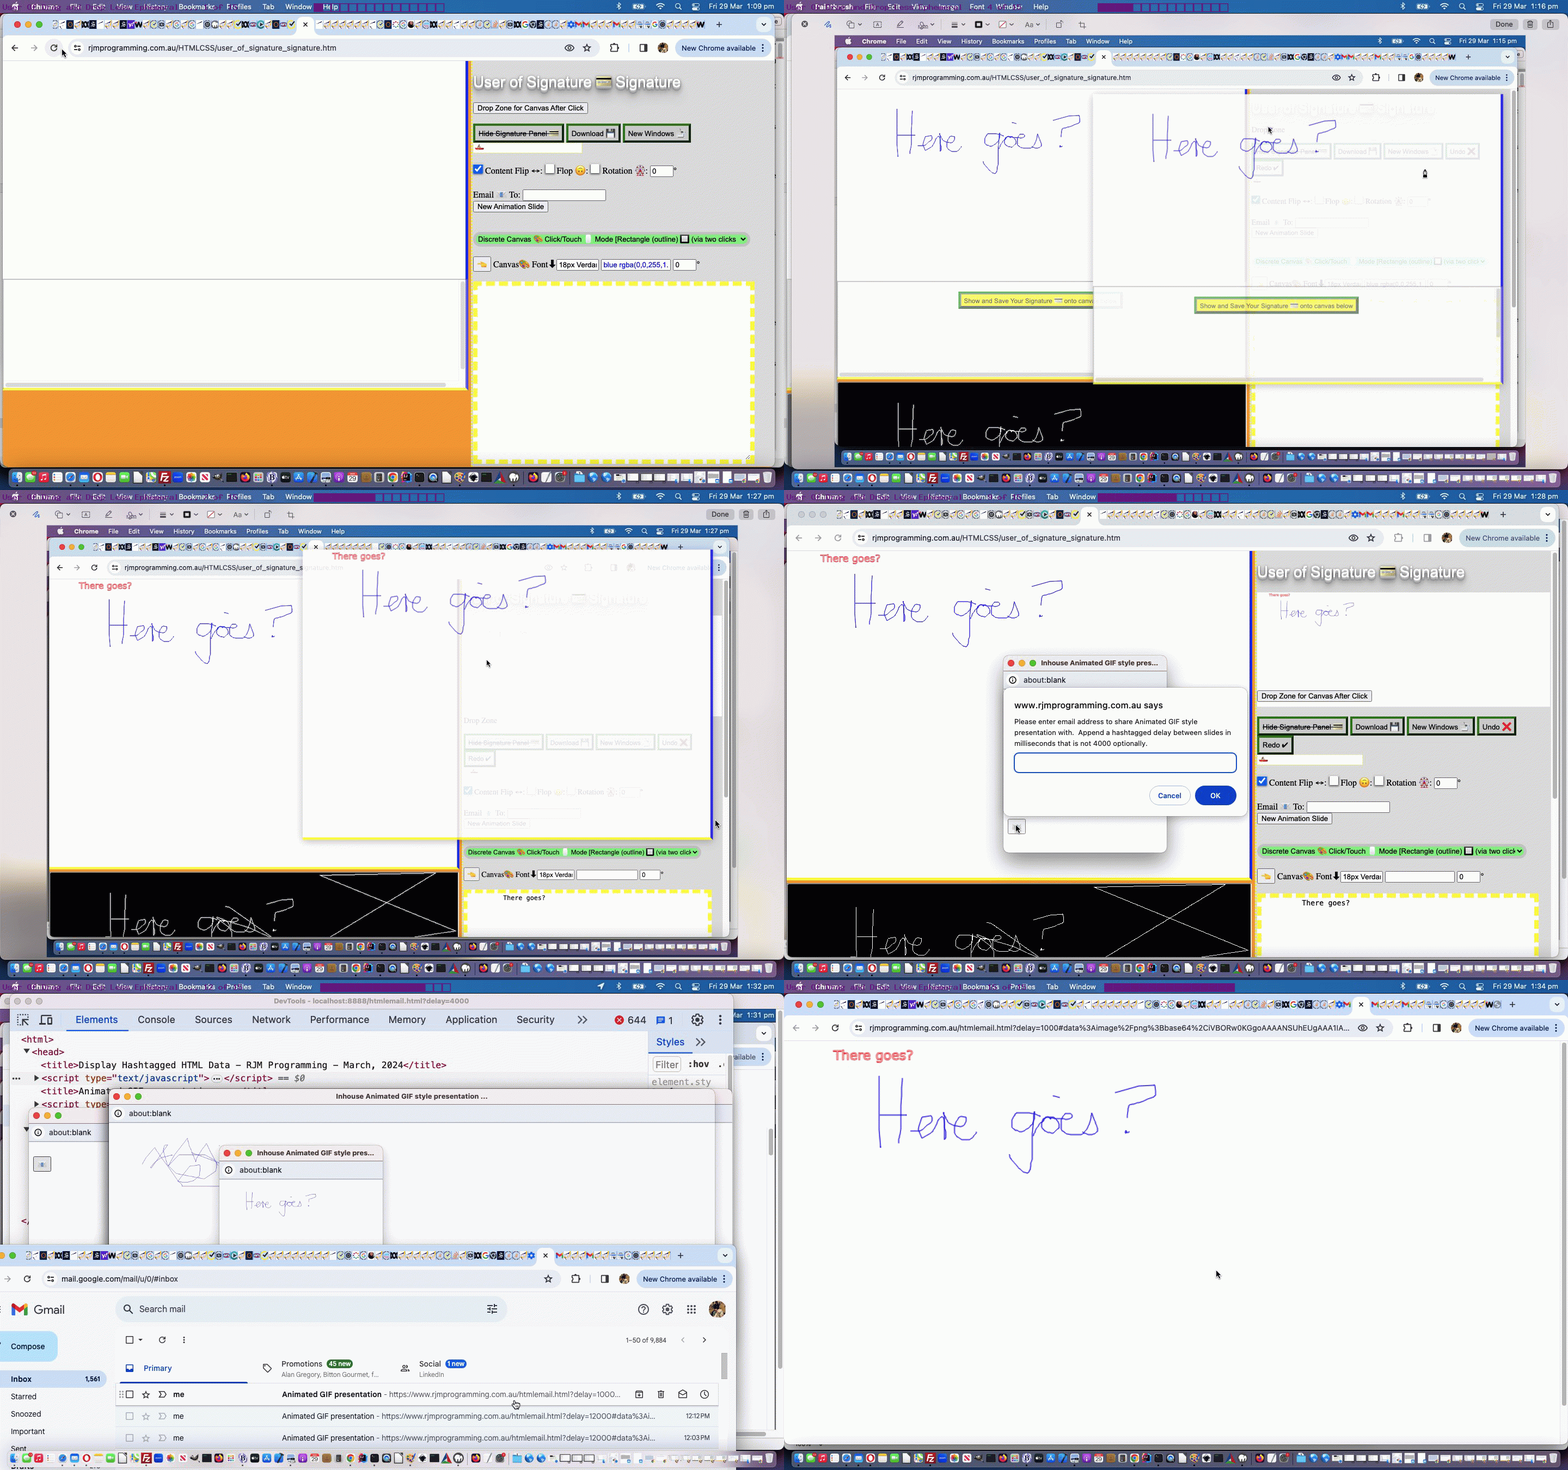
… but it cannot help, itself, with a tailored cursor styling display, though (we’re not sure we weren’t dreaming, but) can assist in combination with command-control-shift-3 (as seen with Keyboard Based Cursor Image CSS Filter Tutorial) …
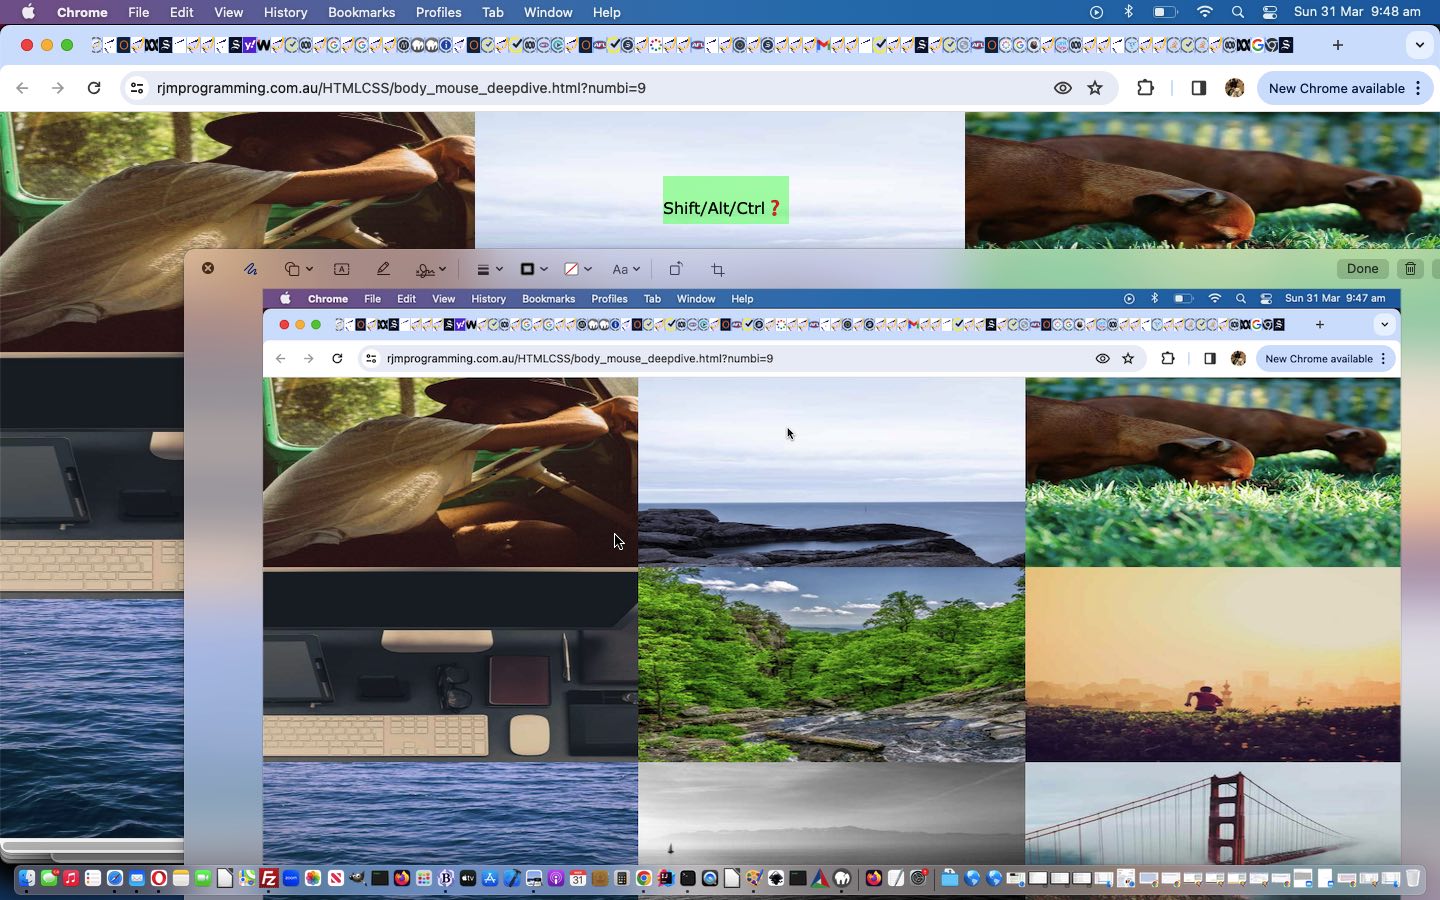
Previous relevant Screenshot macOS Utility Primer Tutorial is shown below.
We find using this macOS based MacBook Air (and ahead of that a Mac OS X based MacBook Pro), that the taking of screenshots is incredibly useful in helping explain goings on in I.T.. The Mac woooooorrrrrllllldddd has always been really good at this (and Windows PrtScrn key is hard to beat too), in a chronological sense for us, consisting of …
- years of Mac OS X based MacBook Pro use of Applications -> Utilities “Grab” desktop application to screenshot … great … but even better we cottoned onto …
- years of Mac OS X based MacBook Pro and macOS based MacBook Air use of “control-command-shift-3” to screenshot … and occasionally …
- Mac OS X or macOS Terminal application “screencapture” … and, today, back out to the GUI we want to show you …
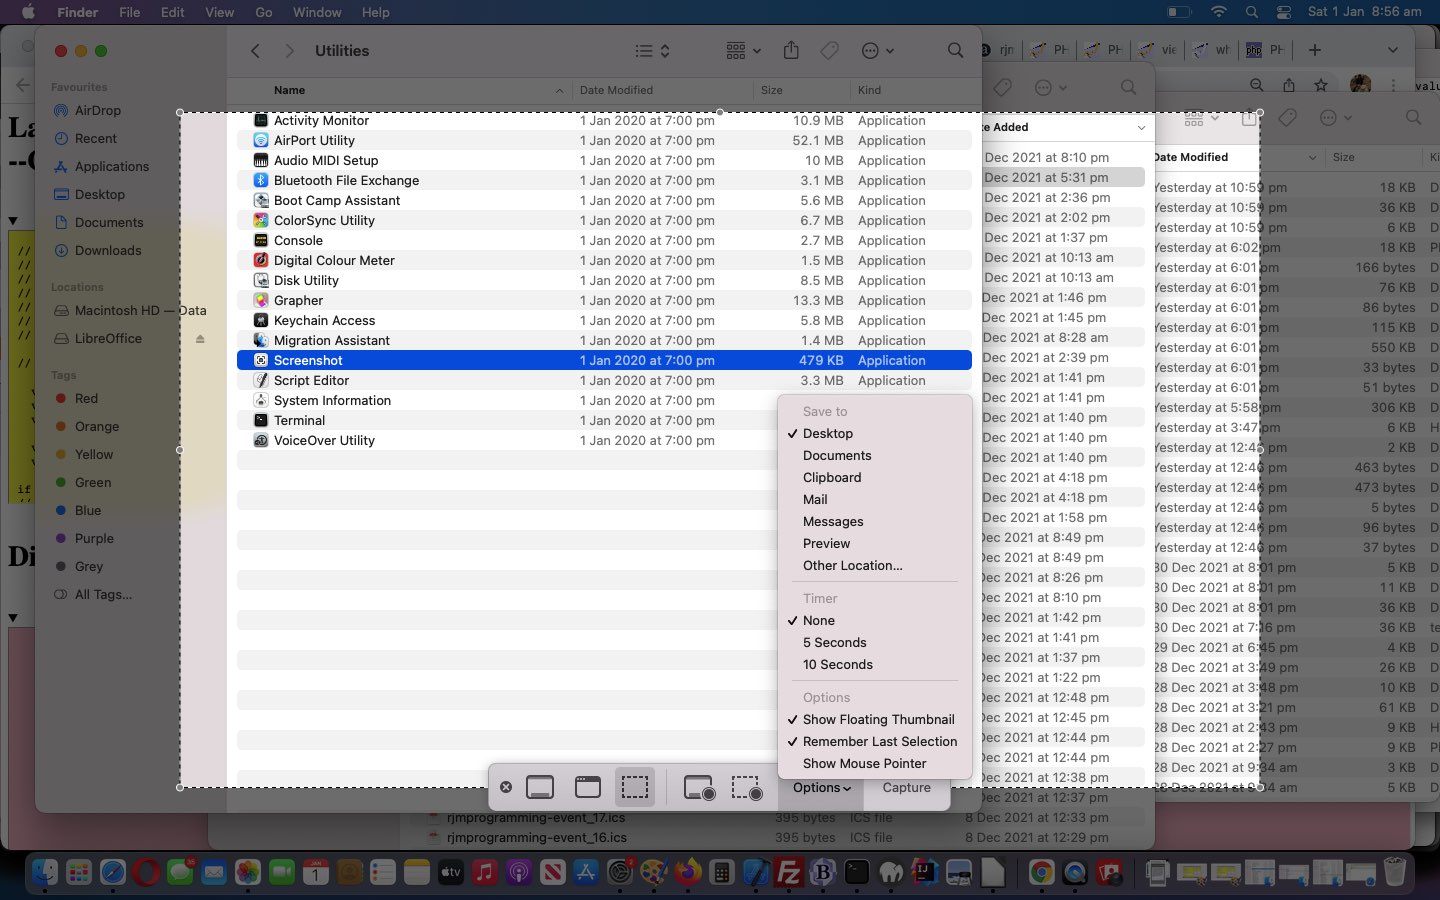
- macOS based MacBook Air use of Applications -> Utilities “Screenshot” desktop application to screenshot
… and our verdict comparing old “Grab” to new “Screenshot”. “Screenshot” is quite definitive, as you’d expect, and can have you tailoring screen selection areas, and cute functionalities like “delayed takes” that make it worth a good look, and we’d say …
If this was interesting you may be interested in this too.
If this was interesting you may be interested in this too.
