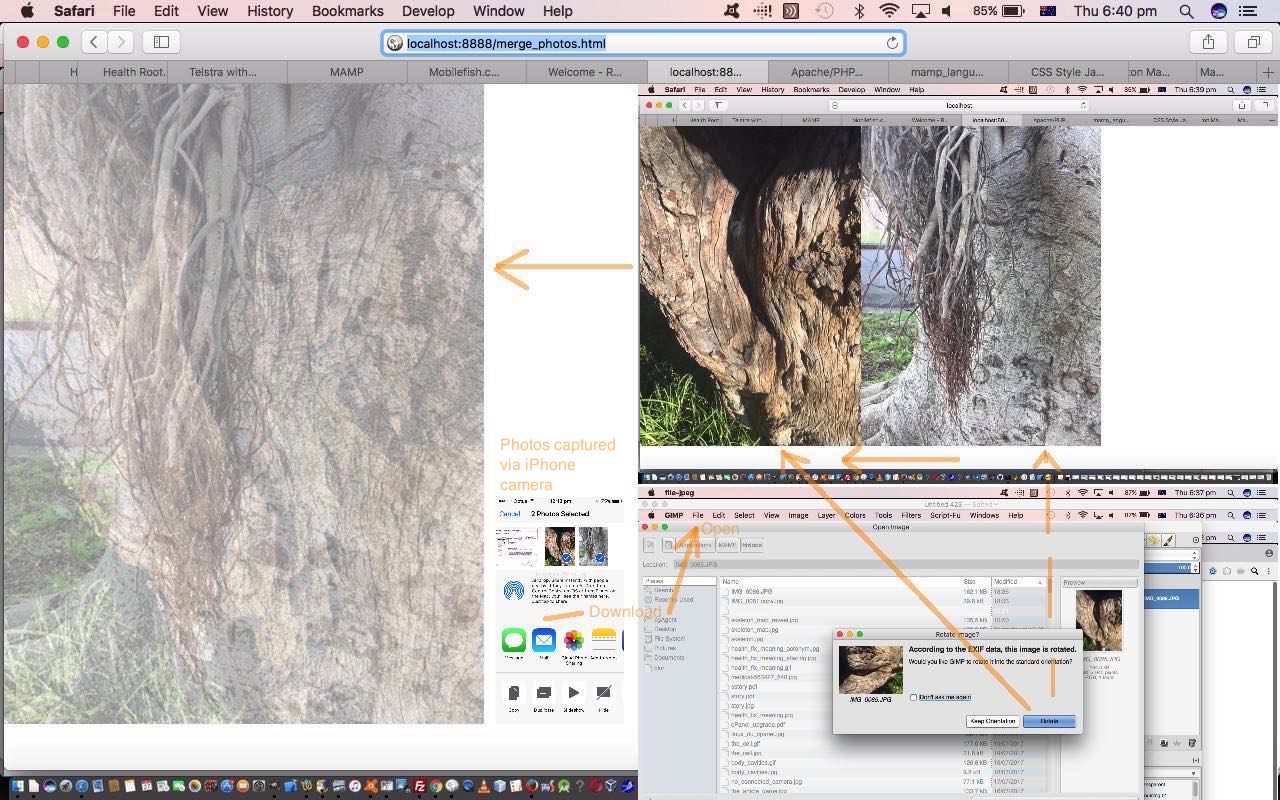
Mobile devices are great for the taking of photographs out and about. These mobile devices, such as the iPhone, have loads of Sharing options, and our most used method here is Mail (ie. email). Download the email attachments to your “work” laptop, ours a MacBook Pro, and there is where “the fun” regarding orientation, can often surprise. At first we followed these procedures after downloading two iPhone photos of some trees.
- opened images (ie. photos) with Mac OS X Preview desktop application, and they appeared correctly orientated, so used it to Save As to /Applications/MAMP/htdocs/ which is Document Root for our MAMP HTTP://localhost:8888/ for both images
- wrote today’s new web application merge_photos.html‘s live run accessing the two images above and found that the images were rotated 90 degrees clockwise, wrongly
… so … take two … involve Gimp … remember Photo Album Email with Gimp and Paintbrush Primer Tutorial …
the best image editor to open this big file with is Gimp (by a long stretch) … it detects EXIF settings and offers to rotate the image to its proper orientation, and will always show it fitting into the screen you have (ready to be sliced up?) … while Paintbrush leaves a huge image running off the screen
- opened images (ie. photos) with Mac OS X Gimp desktop application, and as they opened we were offered the chance to Rotate the images to their EXIF information orientation, so did this Rotation, then used it to Save As to /Applications/MAMP/htdocs/ which is Document Root for our MAMP HTTP://localhost:8888/ for both images
- retried today’s web application merge_photos.html‘s live run accessing the two images above and found that the image orientation was better
So what is this very simple web application doing. At this early stage, all we are starting off doing is to …
- take two images
- horizontally align the two at the start
- make the right hand image gradually move over the top of the left hand image … and while moving this way …
- as the movement occurs, reduce the opacity (that starts as 1.0) of both left and right images to eventually become 0.3 at the end of the “overlaying” movements
Simple, huh?! You get results such as shown in today’s tutorial picture of “merged photos” and these effects can be quite interesting. Given the same camera used for the images concerned, you can probably not have to worry about different sized images here, which would “cruel” this web application’s simplicity, though down the track we may have to cater for this scenario, regarding plans for the future, here. But we will be returning to explore more “overlay” thoughts here, as time goes on.
Previous relevant Photo Album Email with Gimp and Paintbrush Primer Tutorial is shown below.
Were you surprised with our tutorial Image Fits in Gimp and Paintbrush Primer Tutorial as shown below, where Paintbrush ended up being a better option for an image editing job than Gimp, which we also use a lot here at this blog?
Find myself, though am no graphic “artist”, really, that an open mind about image editing decisions is good.
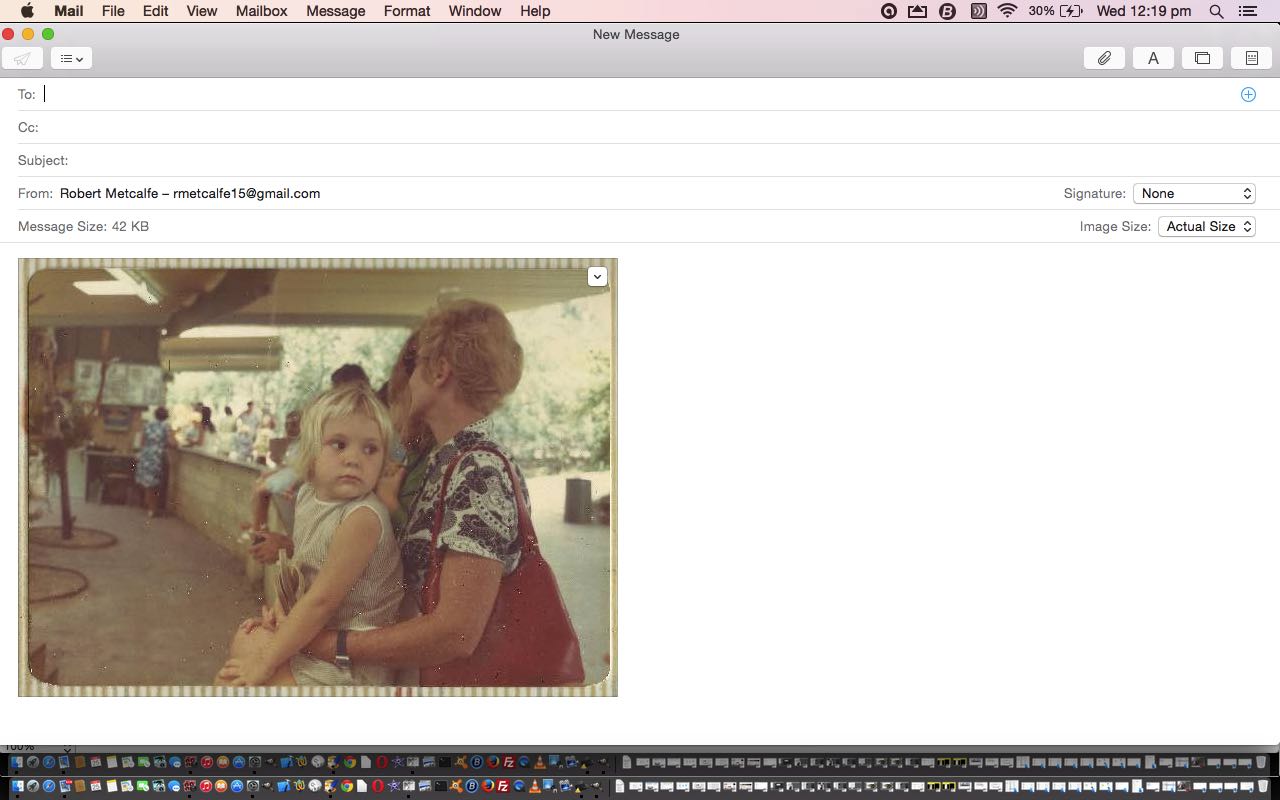
Take today’s job, on a MacBook Pro laptop (desktop) using Mac OS X (Yosemite), of taking a Photo Album set of four photos and being able to end up sending one of them as an attachment in an email. By the way the Photo Album is a real book … gasp!
There were several issues … aren’t there always? …
- the MacBook Pro laptop is hooked up to our HP Printer (Hewlett Packard Deskjet 2050 J510 series) via a USB lead and we start up via System Preferences…->Printers & Scanners button->Scan tab->Open scanner button
- after a few “garden path” moments, should have known, but … doh! … if there are rotations involved in a process, and you have the choice of two places to apply that rotation, find 90% of the time it is best to make use of the first opportunity to do it … but with the HP Scanner used, this involved non-default format decisions … you’ll see that with the final scan settings settled upon
- it is pretty fanciful to think you will get resolution back once you ever do a step to relinquish it (ie. only relinquish it, as needed, right at the end such as when saving as a Jpeg file and you can pick a resolution of save), so it is probably good to decide to scan a Photo Album (old) photo with maximum dpi setting … which was 1200 for us … but results in a file more than 15mB big … unless you are really short of diskspace, don’t panic … we fix things later regarding file size
- the best image editor to open this big file with is Gimp (by a long stretch) … it detects EXIF settings and offers to rotate the image to its proper orientation, and will always show it fitting into the screen you have (ready to be sliced up?) … while Paintbrush leaves a huge image running off the screen
- personal preference from here, for me, was to copy the quarter of the image with my photo of interest and copy this to the clipboard via Gimp’s (or lots of application’s) Edit->Copy (after selecting area of interest, with the Rectangular Select option)
- open Paintbrush with File->New from Clipboard
- use Paintbrush Image->Image Size… with 10% 10% resizing
- use Paintbrush File->Save As… to save to a Jpeg file of about 50% density … voila … manageably small file 33kB
- open Finder and right-click-ize it (double finger down gesture) to pick the Share->Mail option … opens Mail, with your photo attached in a fresh new email, ready for you to construct your email
Please enjoy today’s tutorial.
Previous relevant Image Fits in Gimp and Paintbrush Primer Tutorial is shown below.
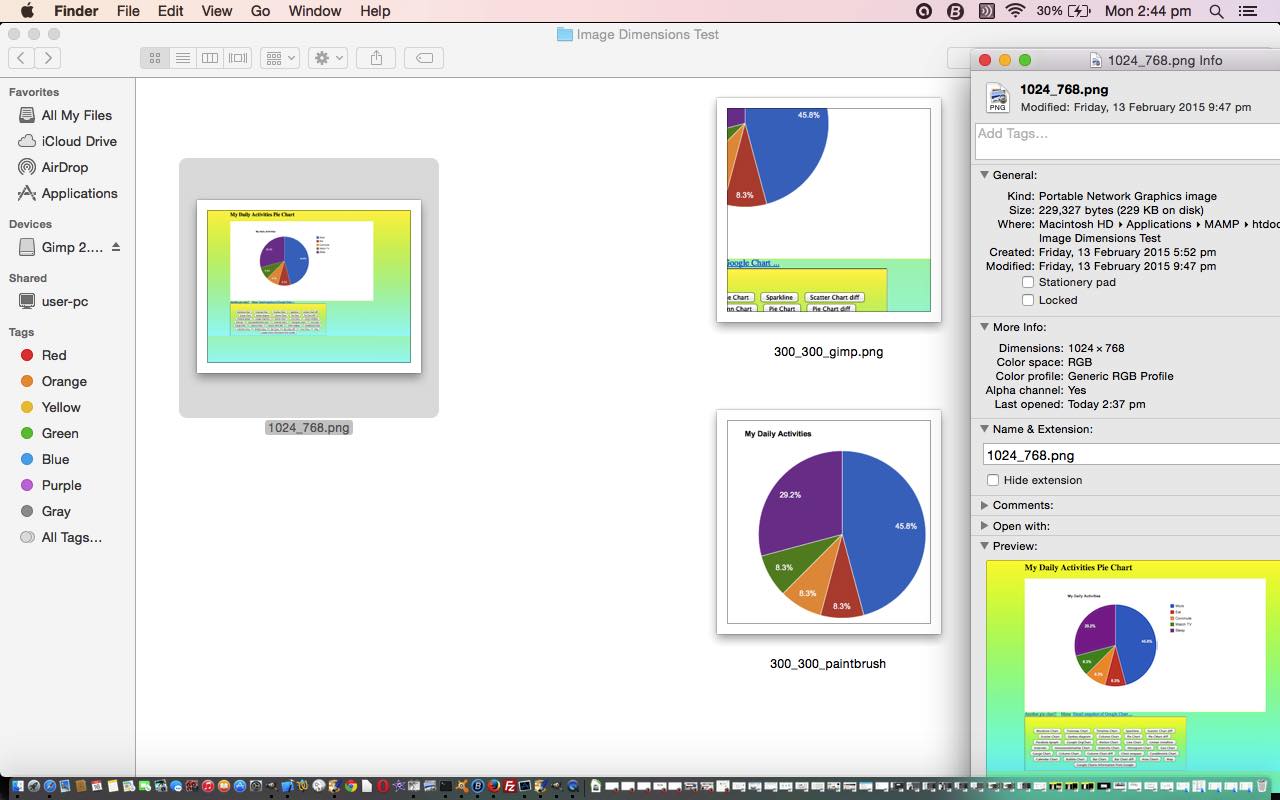
Yesterday’s tutorial Xcode Swift Image Assets Primer Tutorial needed lots of image “fitting” to go on man person. On a Mac desktop with a MacBook Pro laptop, we find (Mac) Paintbrush to be that little bit friendlier than Gimp to use for this particular job if you have those two images as per …
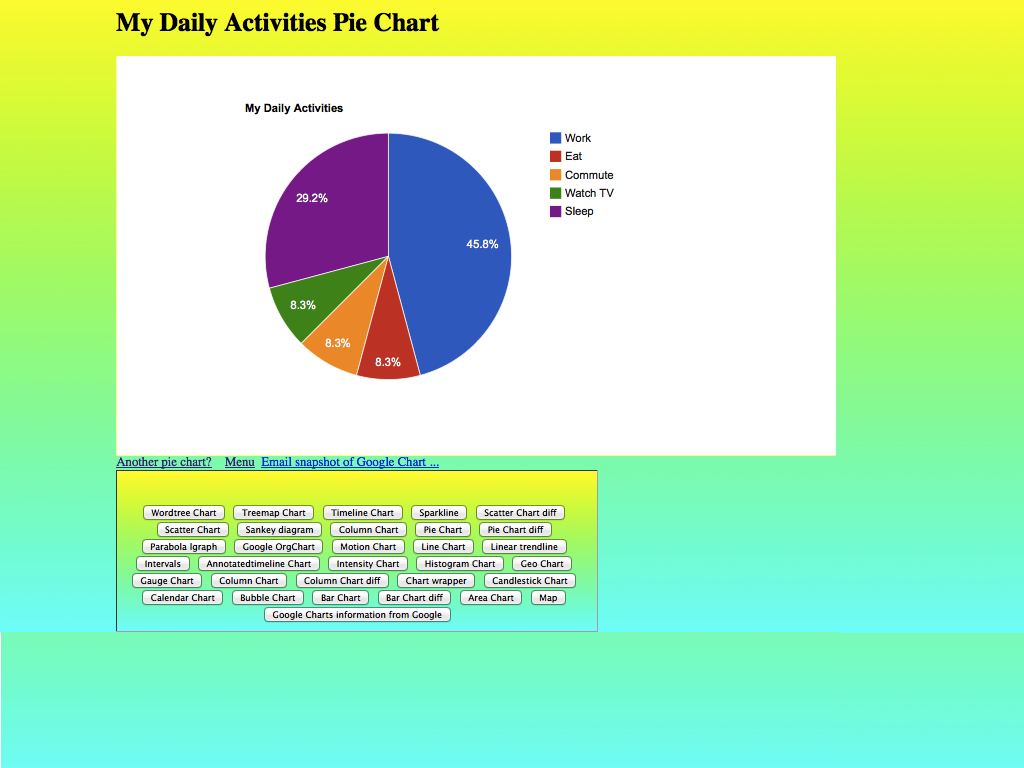
- make one image about 1024×768 that you find apt
- make one image about 200×200 that you find apt
… already existant. You’d have to play our videos today to see that extra default panning ability of Paintbrush to see what we mean, but when you can crop and fit all at the same time this is quite advantageous, but am not saying in Gimp you can’t do this, it is just that it is not the default in Gimp, and when you are doing a lot of something, that small difference can have quite an effect.
So the three images involved were …
If you want to read about the video player program today, please consult PHP/Javascript Media Synchronize Cross Browser Tutorial.
If this was interesting you may be interested in this too.
If this was interesting you may be interested in this too.
If this was interesting you may be interested in this too.

