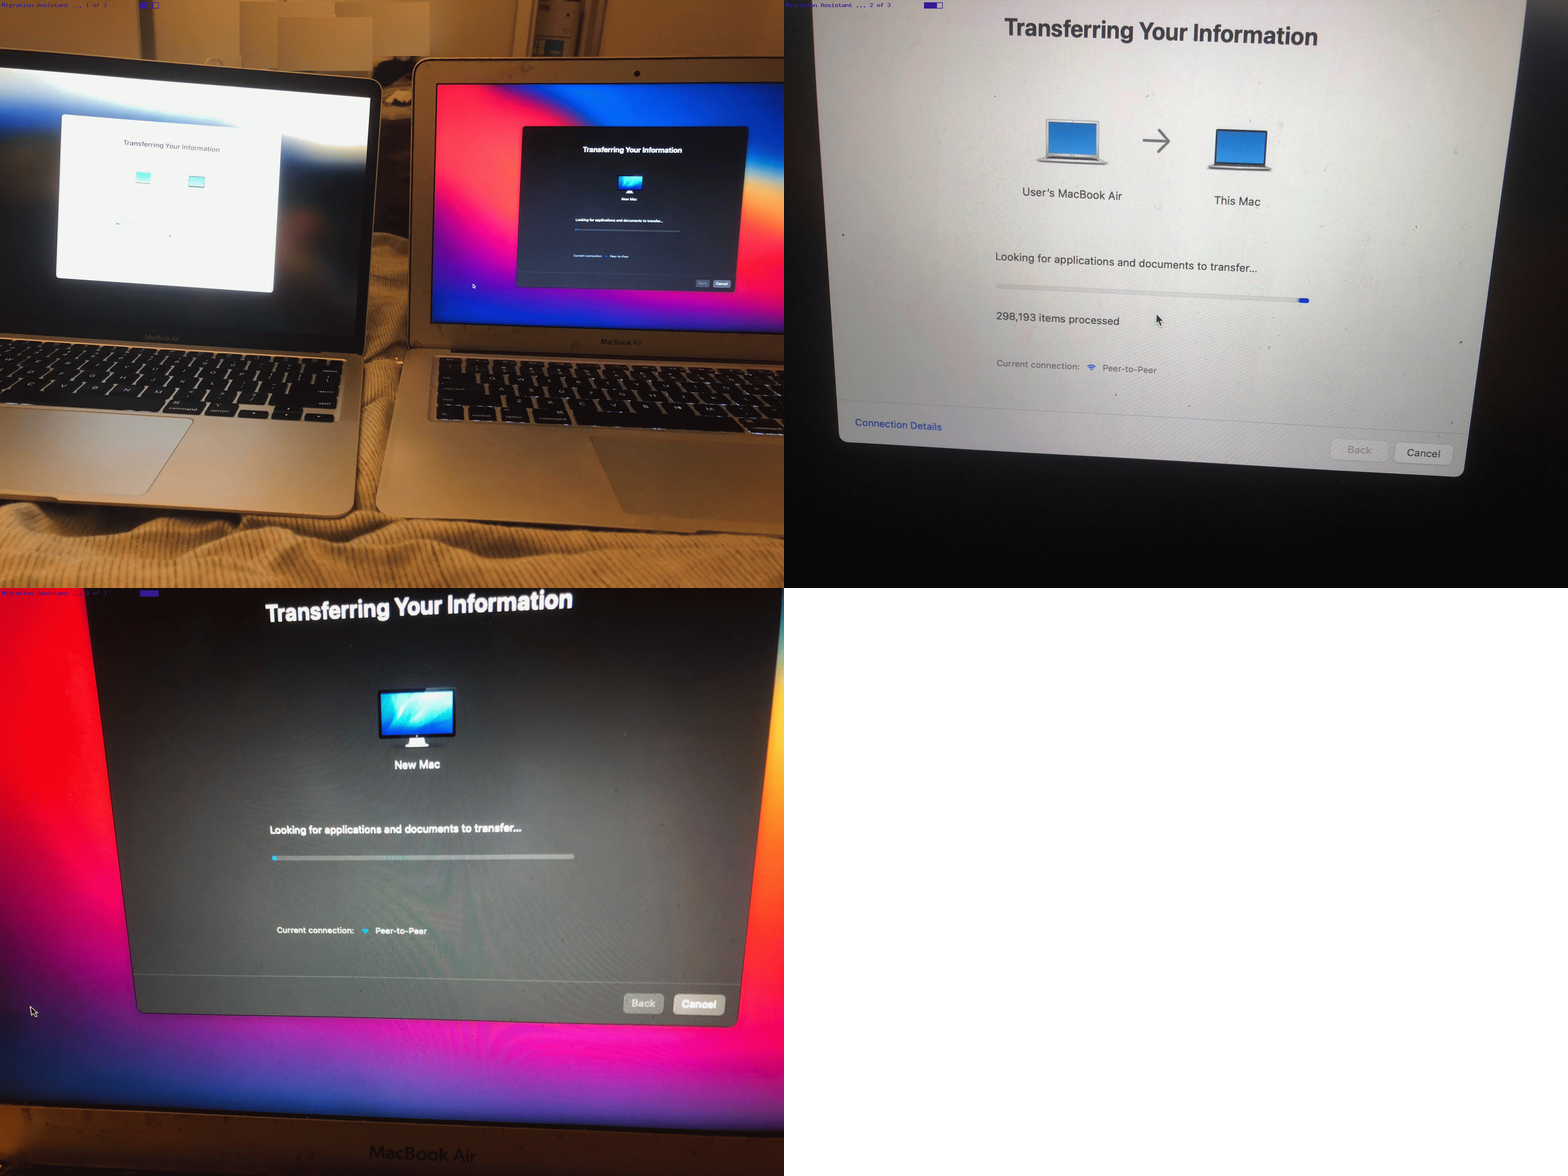
Another triennial, another macOS Migration Assistant (a desktop app in the Application folder’s Utilities folder) job to a MacBook Air with macOS Sonoma, further to Migration Assistant on macOS Primer Tutorial of the previous triennial.
We go …
- “Peer to Peer” … with the migration … asking …
- both Macs should share the same WiFi network (established by a screen earlier on to the goings on with today’s animated GIF presentation (where we tried a little “standing on our head” at one point, and which gave us an interesting perspective on life))) … meaning it amounts to an …
- old Hard Disk to new Hard Disk migration (or copy) … best to have power to both Macs
Phew! Very easy to envisage and understand, and a great way to go with this task, thanks Apple! And don’t be alarmed by the initial 8-10 hour estimates of the time it will take. If it’s like our situation, it ended up maybe even less than one hour to perform!
If you have a Time Machine backup of the old Mac, that is an alternative input approach for a Mac to Mac migration.
Previous relevant Migration Assistant on macOS Primer Tutorial is shown below.
Setting up the software for new devices, including laptops, is sometimes motivated by the idea that the new computer should be as close as possible to being a clone of the other. This (data) “copy” operation is often referred to as “migration”.
Here, underlying operating systems mean more than brands, and so an Apple iPad (using iOS operating system) cannot be involved with a “migration” involving an Apple MacBook Air (using macOS operating system).
But an Apple MacBook Pro (using macOS operating system) can be involved with a “migration” involving an Apple MacBook Air (using macOS operating system), as we wish to do today, and we are going to try the …
Application -> Utilities
… “Migration Assistant” desktop application, which can work with the following “data conduits” …
- both macOS devices sharing the same WiFi connection
- two macOS devices are connected via an Ethernet cable
- two macOS devices are connected via a USB lead
- new macOS device imports data via a Time Machine backup off the other macOS device
… our method of choice being “both macOS devices sharing the same WiFi connection”. These modes of use can occur during a “Setup Assistant” session, as we do, or later. You can see this demonstrated with today’s video presentation …
Previous relevant Apple iPad to New iPad Bluetooth Assisted Setup Tutorial is shown below.
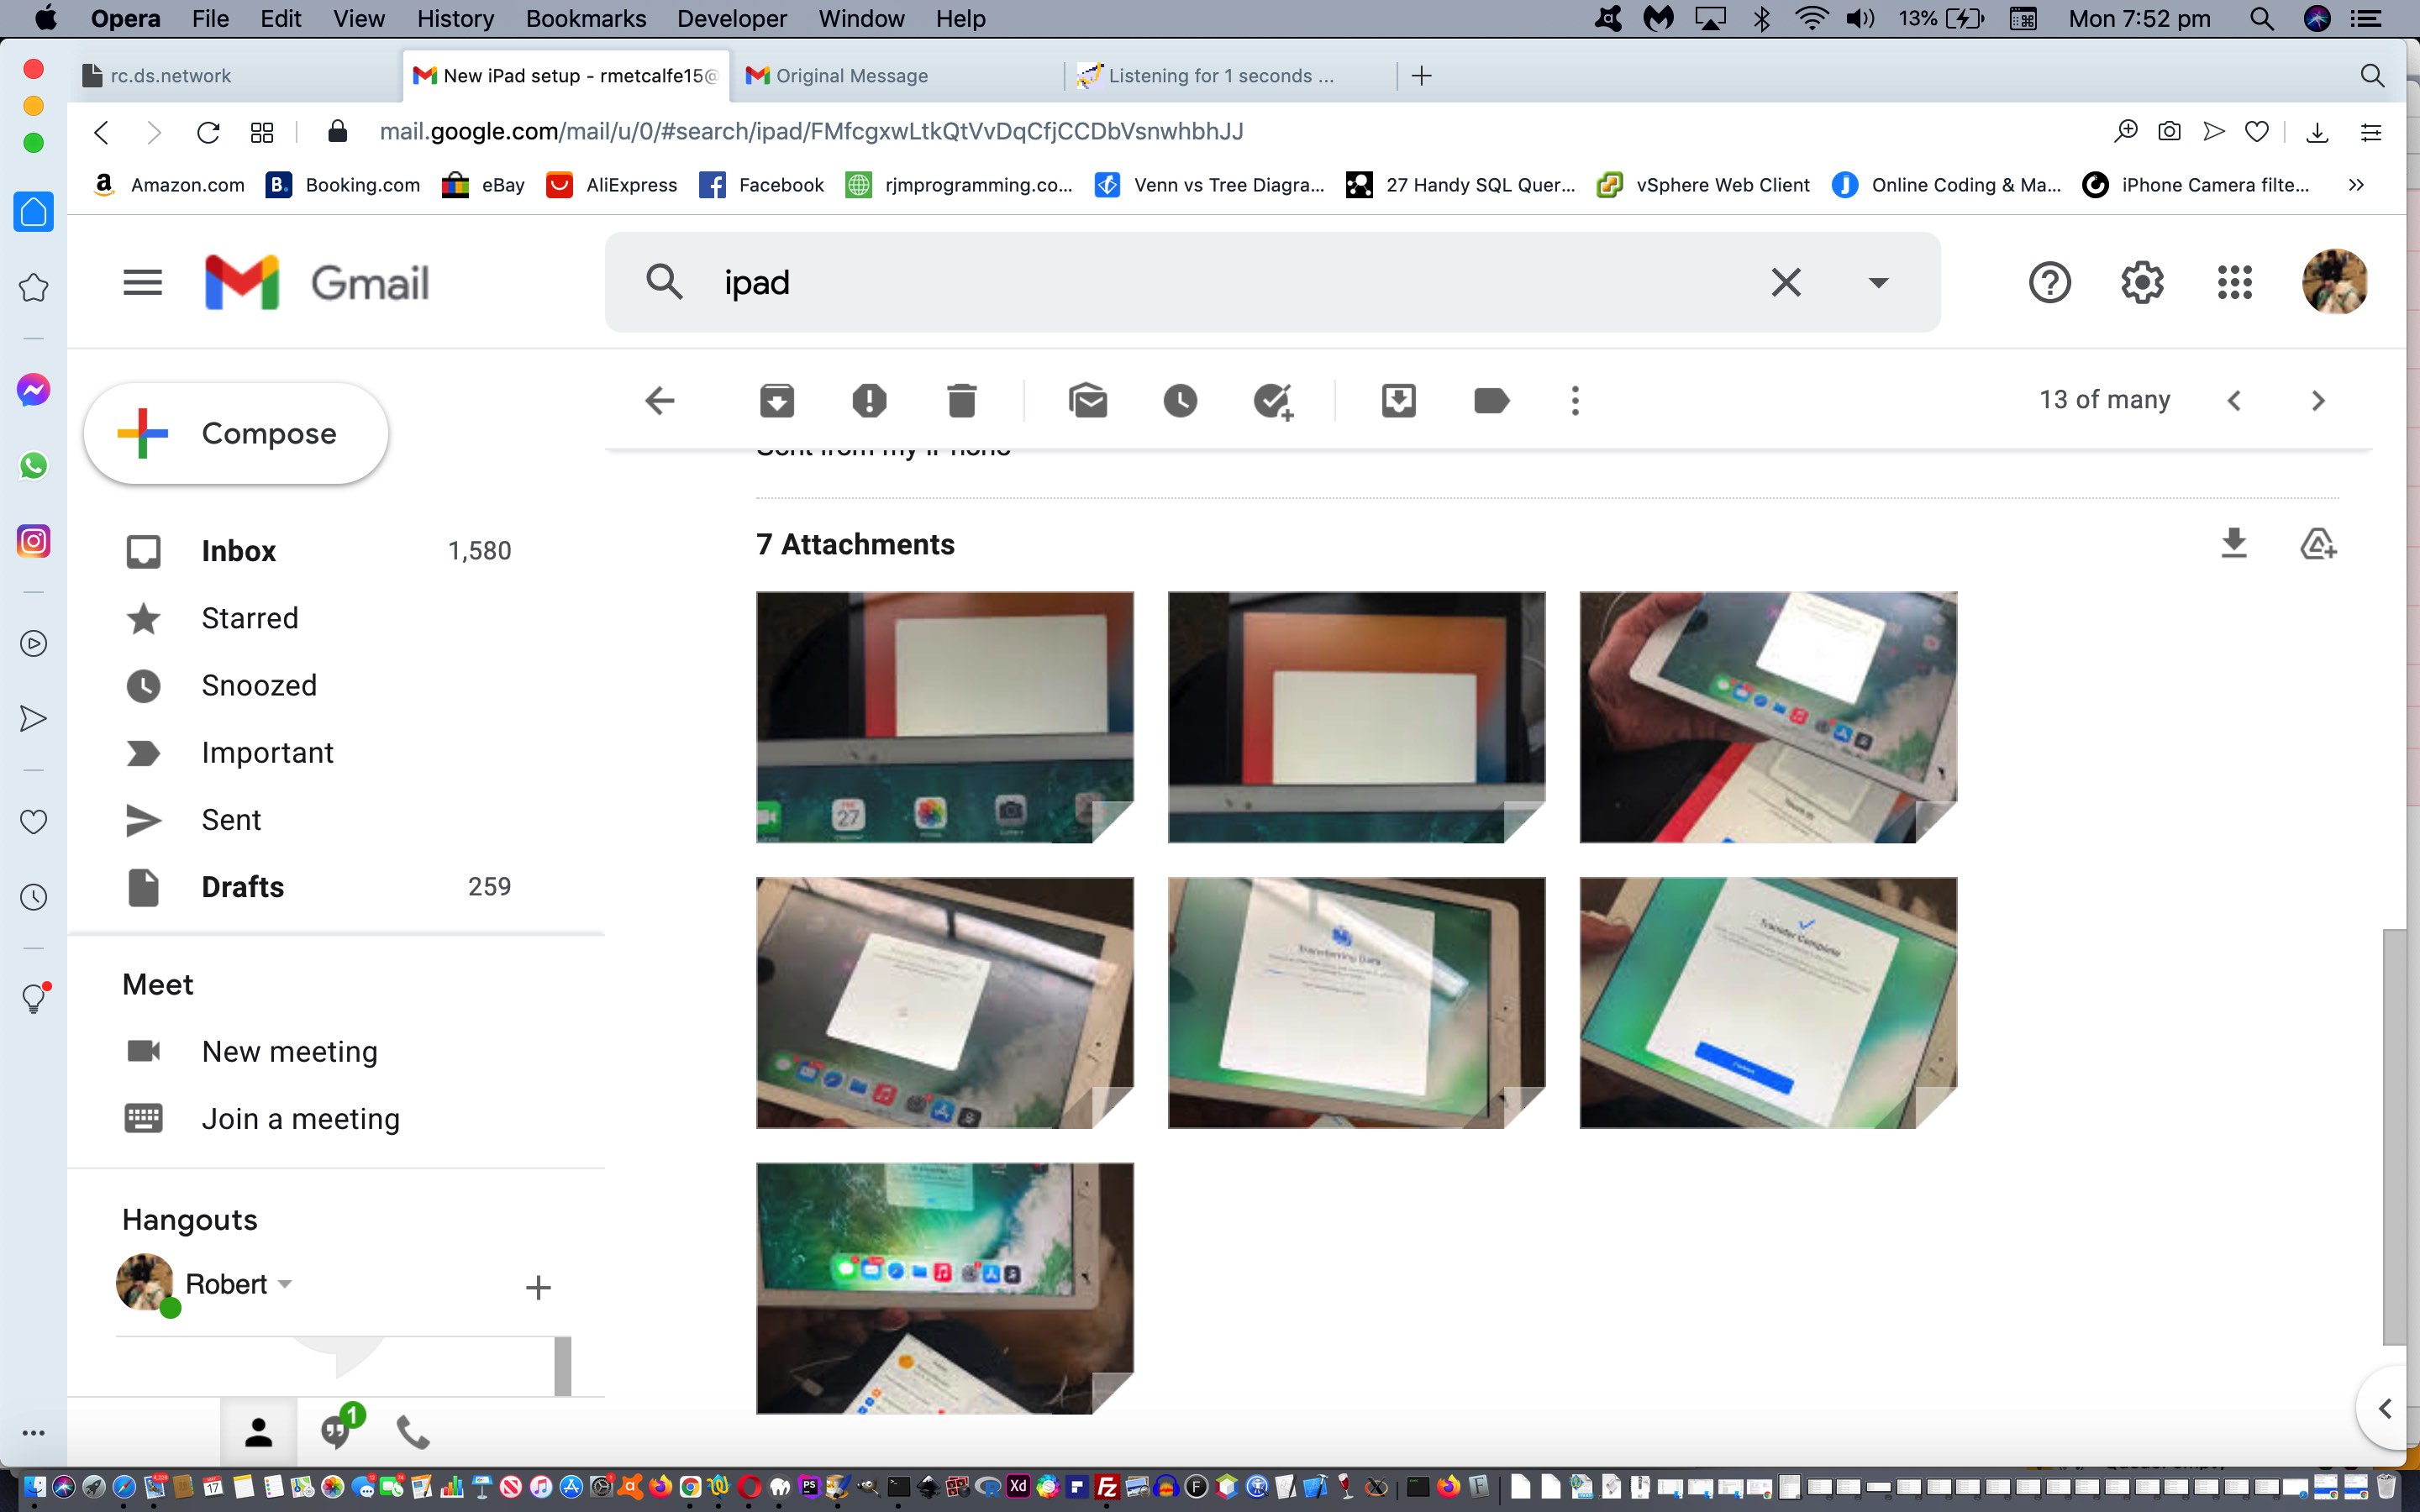
As with the install qualities bluetooth helped out with during Apple TV Setup via WiFi and Bluetooth Tutorial, the other day we had occasion to setup a new iPad (preferably the same as an ailing old iPad) and, again, bluetooth came to the rescue making an Apple install or setup a very easy and enjoyable experience.
For more than 90% of the setup, including the absorption of a myriad of app installs and password rememberings, the simple steps of …
- hold the old iPad near the new iPad … and …
- patience (while bluetooth assisted install takes place)
… were all that was required to get up and going with the new iPad in about fifteen minutes from unwrapping! Cute, huh?!
Previous relevant Apple TV Setup via WiFi and Bluetooth Tutorial is shown below.
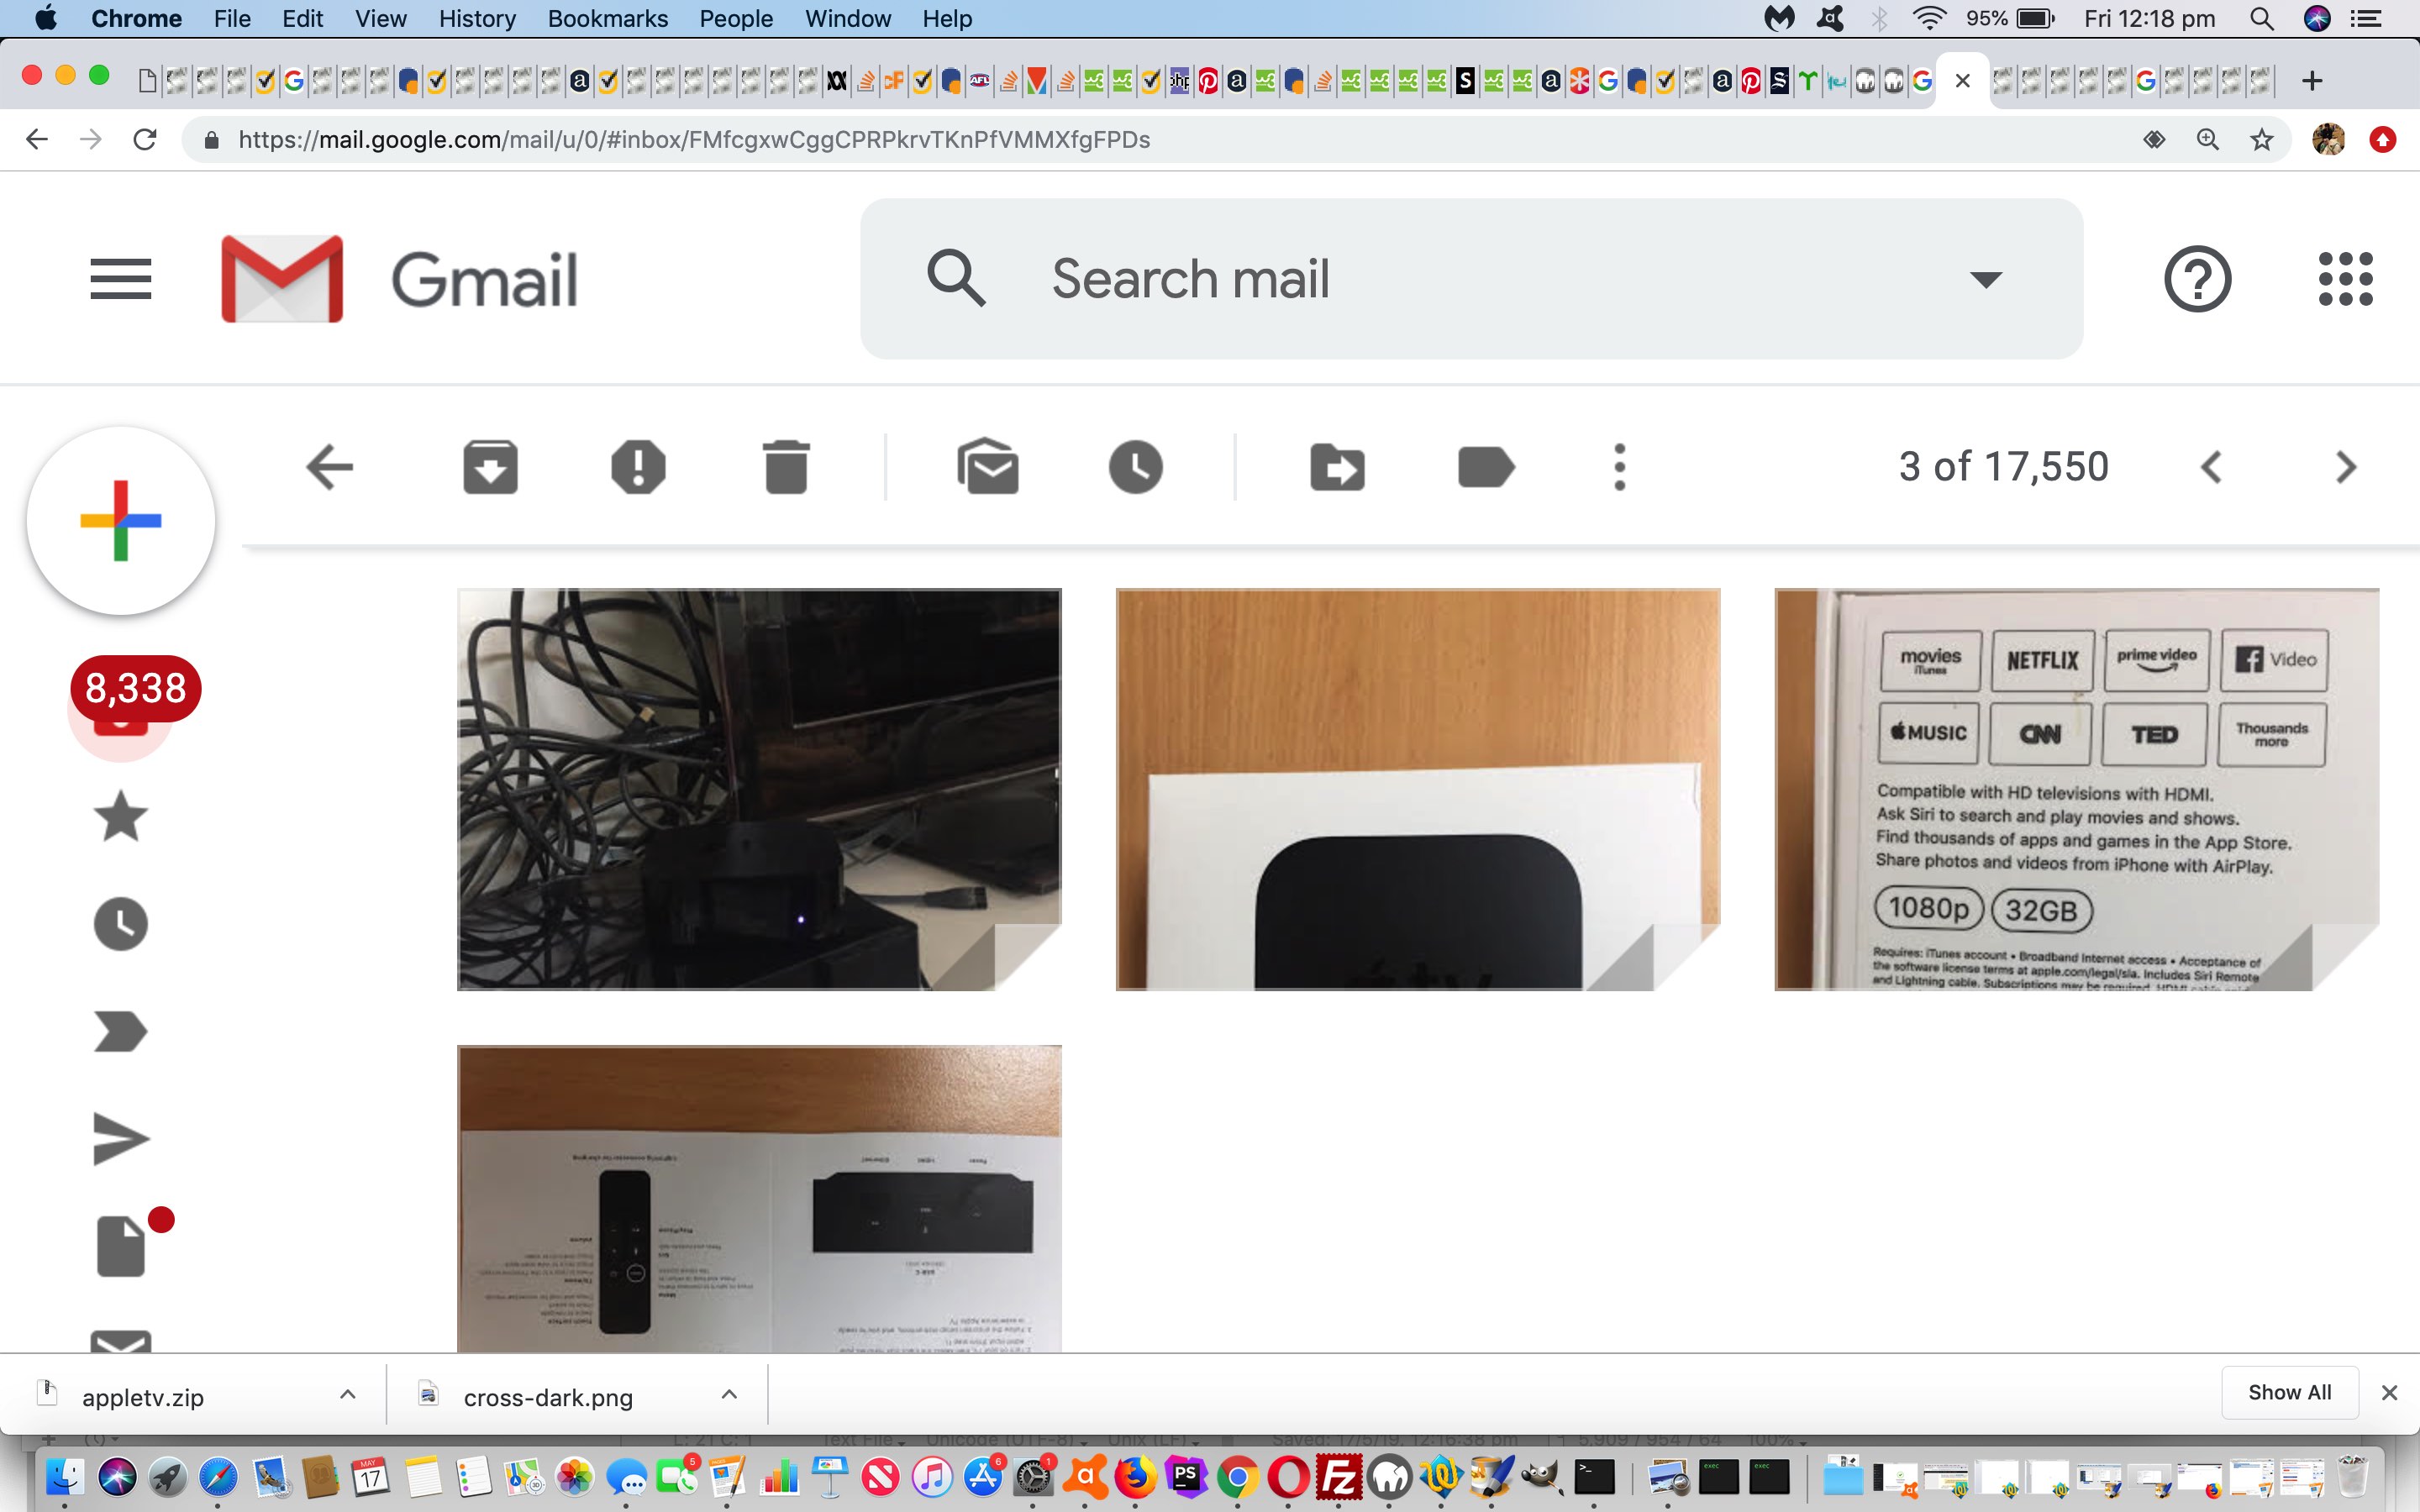
We’re following up on the previous Apple TV Primer Tutorial with an upgrade because it is far more functional today, with its live television options (doing away with the need for television aerials for live streaming alternative), and we want to admire the Apple TV setup’s adroitness combining …
- WiFi … and …
- Bluetooth
… those two “giants” of modern personal computing networking functionality.
Those two appearing together all the time in Settings scenarios, we’ve often wondered how best to combine their talents, and the recent Apple TV version’s setup used them effectively (though optionally) to our minds.
At a certain point in the setup a choice that could make use of WiFi and Bluetooth together saved us having to remember Apple ID passwords and other such matters. At this point you could bring your other Apple device up close to the Apple TV device during the setup and arrange that Bluetooth was on, and it proceeded as if to suck the useful setting data out of the iPad device we offered up to the “Apple TV God”.
Very savvy indeed, and take a look at some Apple TV stream of consciousness here.
Did you know?
Do you like the jiggle? Let me explain. In iOS land you can delete mobile apps, effectively, by holding a touch down for a while, and waiting for all the icons to jiggle, and (re)touch any you want to delete. Well, the Apple TV operating system can work the same way. Also the same mobile app Install and Open arrangements, so the setup will be familiar to many, am sure.
Previous relevant Apple TV Primer Tutorial is shown below.
Do you own Apple devices like iPads and iPhones? Do you have a home WiFi wireless router? And do you have a reasonable modern television, or other home-theater device?
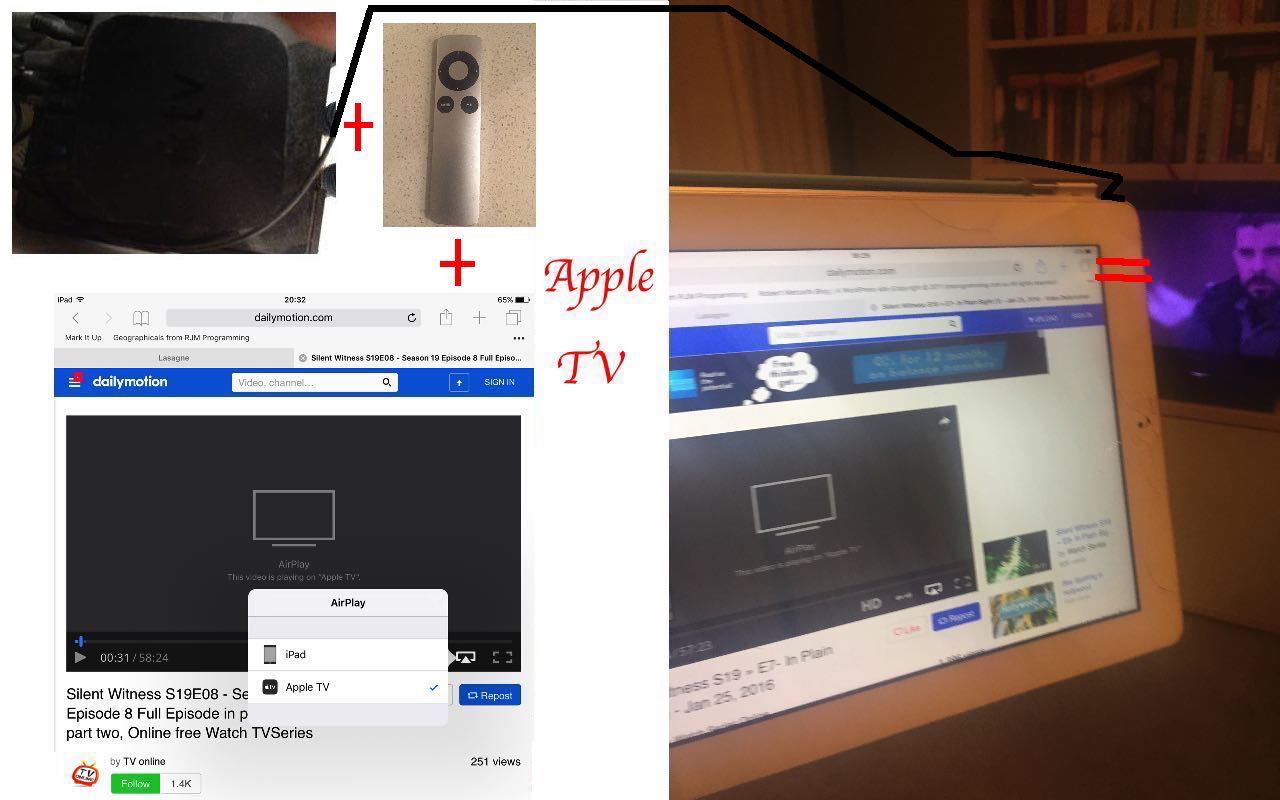
Three yes (or yes, no, yes might still work (with AirPlay) on reading here), here, and if you don’t already (have it and working), you might be interested in a product called Apple TV, a hardware product consisting of a “box” and a remote control.
With Apple TV, whatever you can do with video, and/or streaming services, on the iPad or iPhone can often be “projected” (or (Apple says) “mirrored”) onto that much bigger television screen, so that a presentation or piece of entertainment can be shared with others.
The setup is easy, as you can see from this link from Apple …
To start over at any time, unplug your device from power, then plug back in.
- Plug into power. Plug your Apple TV into power. …
- Connect to your home-theater devices. … with an HDMI cable …
- Turn on your television to find the setup screen. …
- Connect your remote. …
- Pick language settings. …
- Choose how to finish setup.
Much more amazing than that “old days” feeling of a Windows desktop being projected onto multiple screens at once!
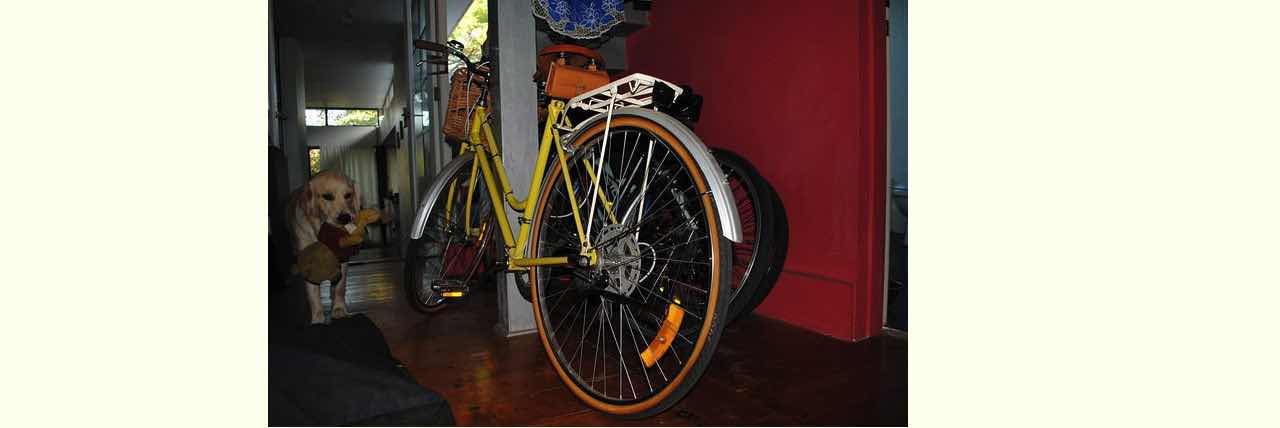
Today’s tutorial picture shows Apple TV in action around our way.
If this was interesting you may be interested in this too.
If this was interesting you may be interested in this too.
If this was interesting you may be interested in this too.
If this was interesting you may be interested in this too.
