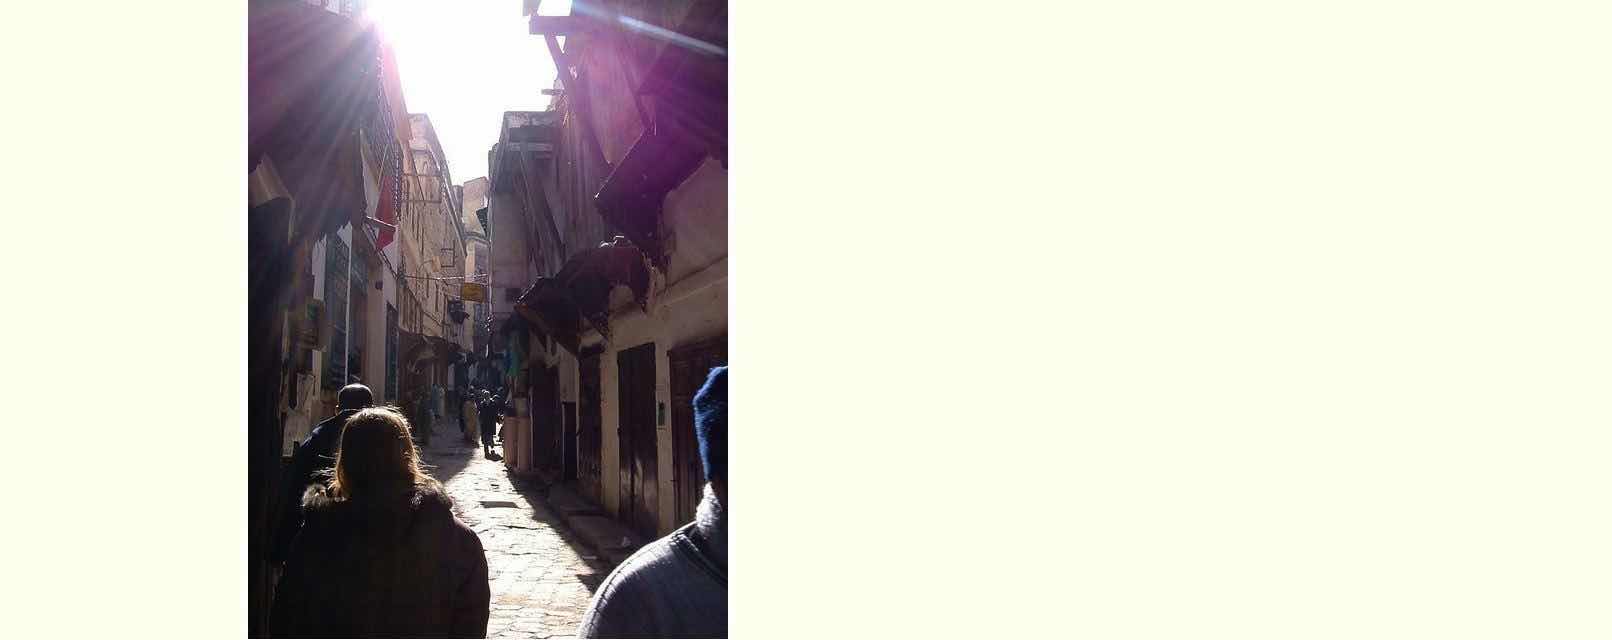
Have you got a tight defined area for an image on your webpage? We had one when creating the landing page for the WordPress blog website
Living in Relation when WordPress (theme) asks for a particular sized image in its header area.
This requirement also happens a lot with iOS and Android mobile development. Take a look at Xcode Swift Image Assets Primer Tutorial and Image Fits in Gimp and Paintbrush Primer Tutorial.
You can cut and paste to size, and that is all good too, but what if you want to work off just the one large image for everything, and have been asked to pluck out various sized images of interest from that ( … or you gave yourself a big talking to …) … you’ll want to do what (Mac) Paintbrush can do well, and that is …
- have your large image data all in a Copy buffer (ready to paste), perhaps via a Web Browser’s Copy Image (right button) option … then …
- open the Mac OS X desktop application Paintbrush
- use File->New and specify Width and Height you require
- use Edit->Paste and get an initial Width x Height view …
- immediately mouse or touch your way around “panning” the contents of the large image, until you land on the part you want … then …
- open a rectangle select (just to cement what you’ve panned onto)
- use File->Save As to give your new smaller image a filename
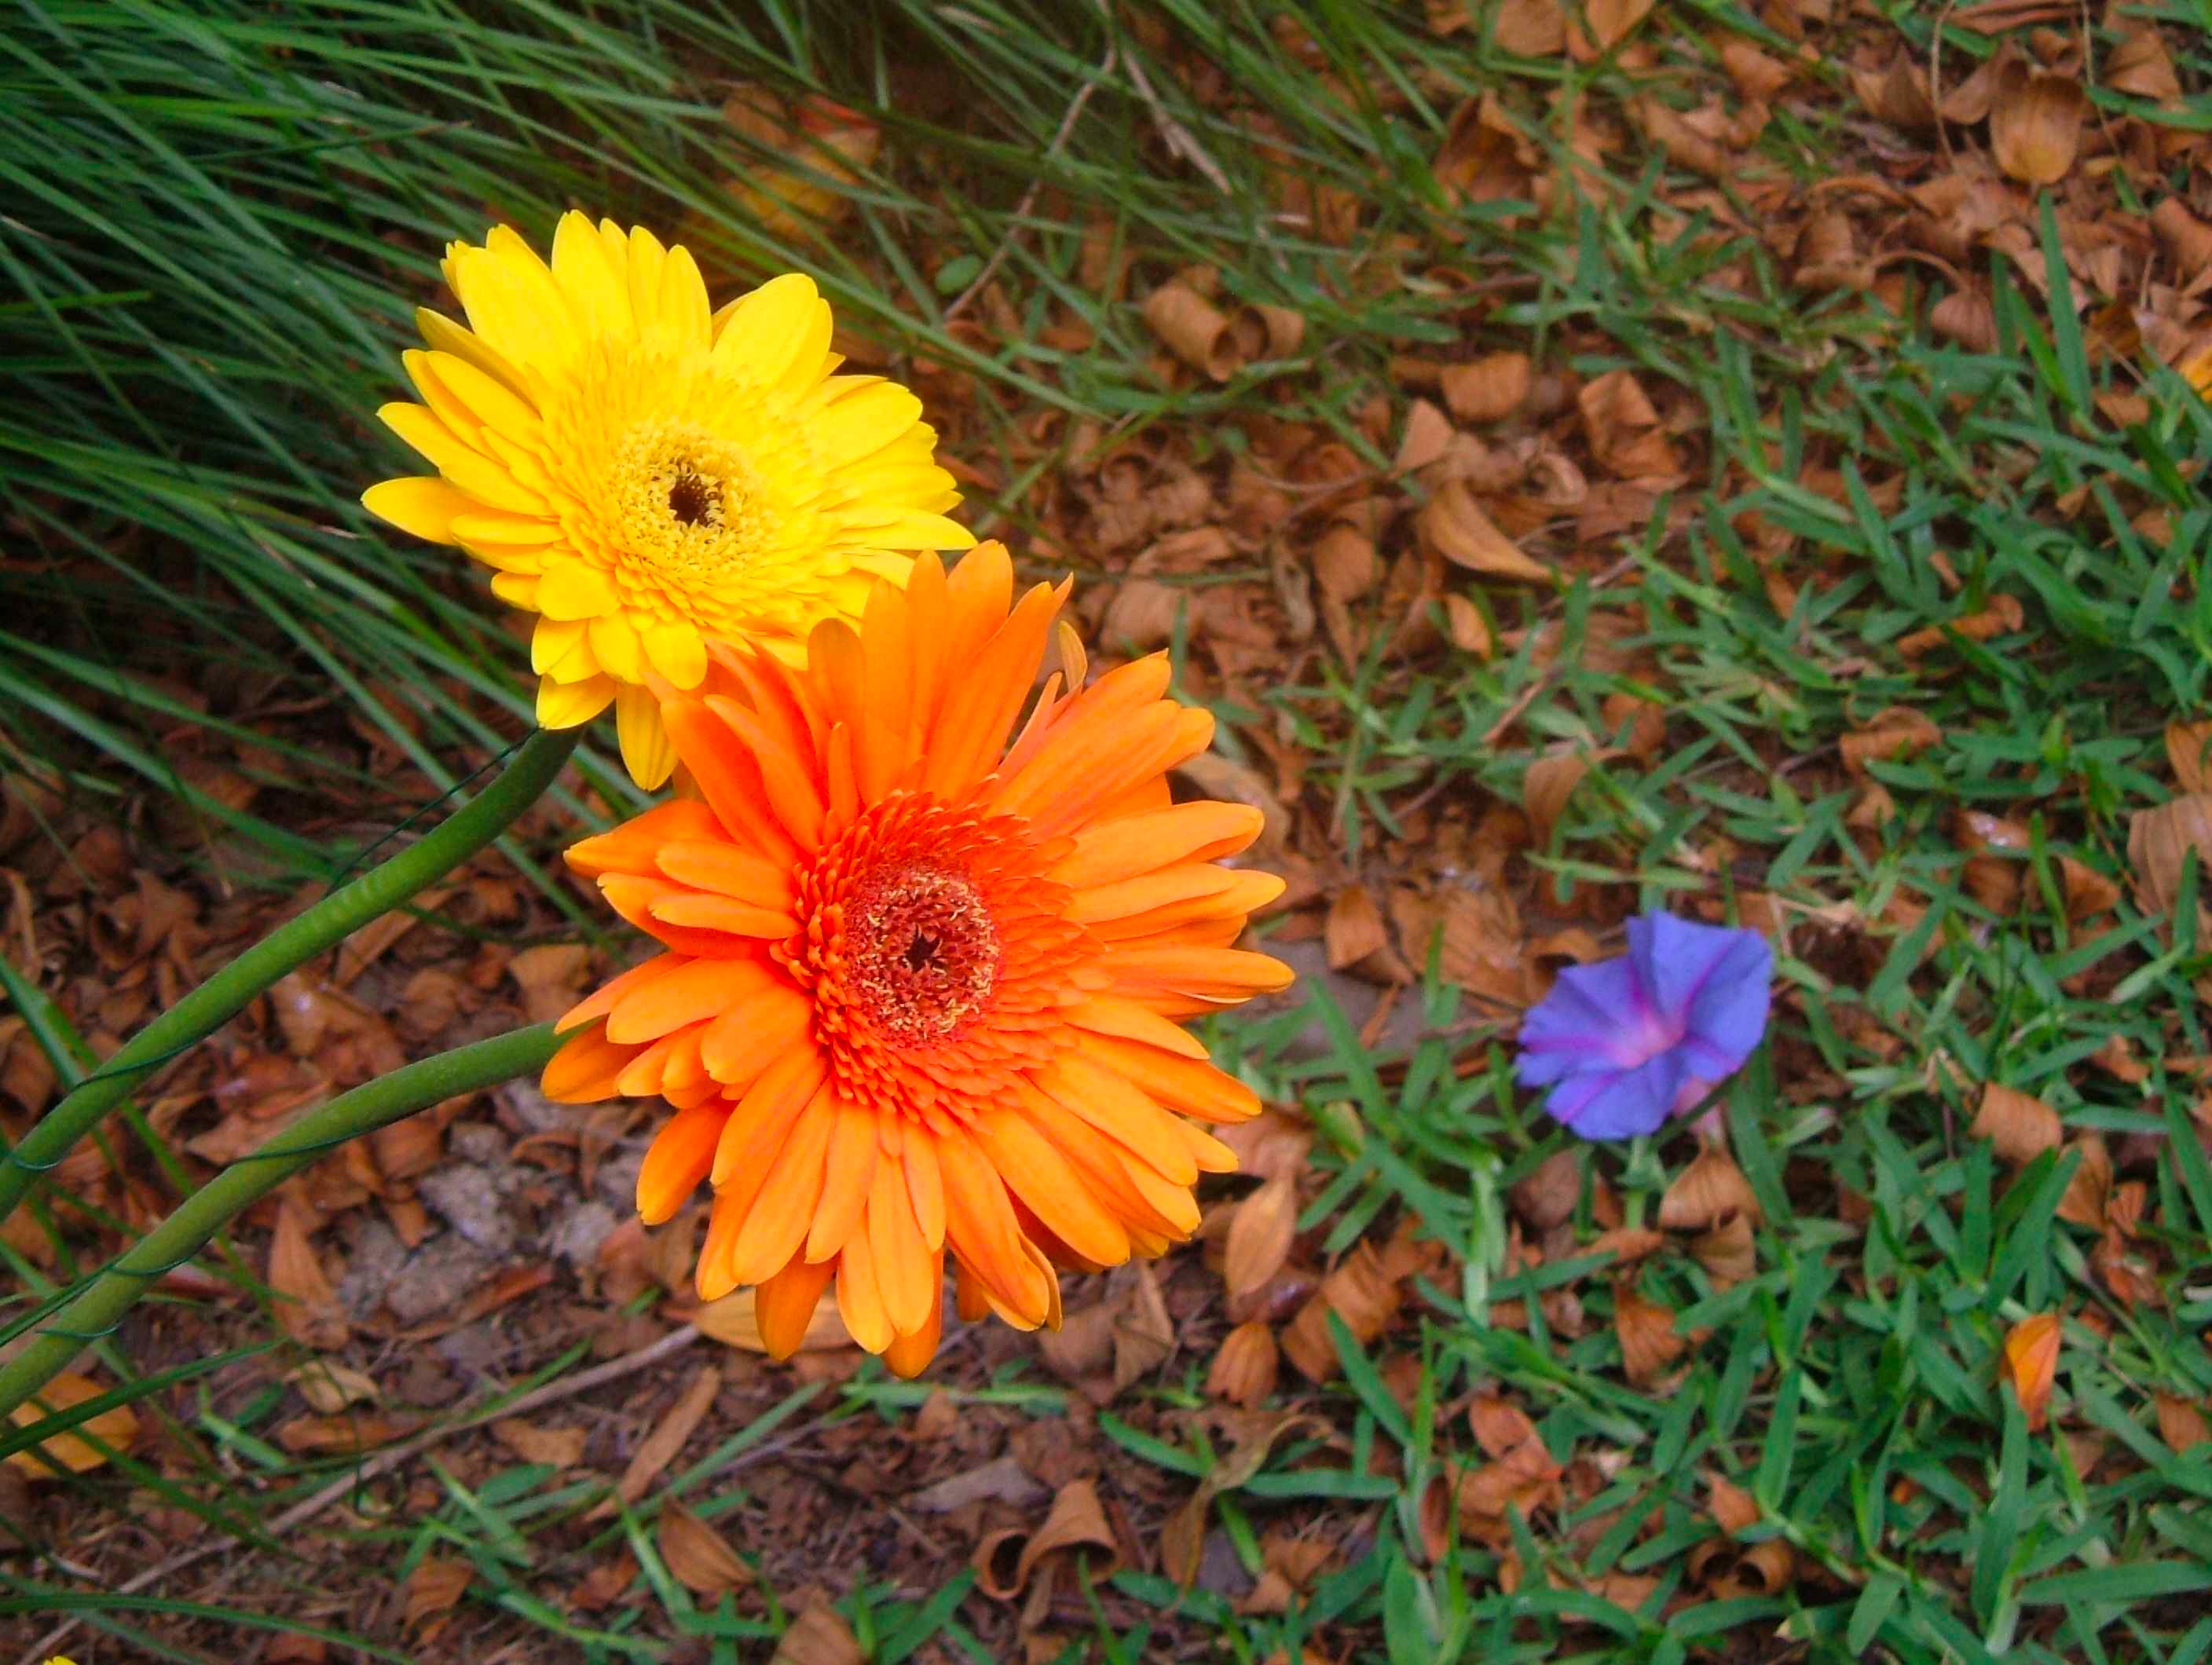
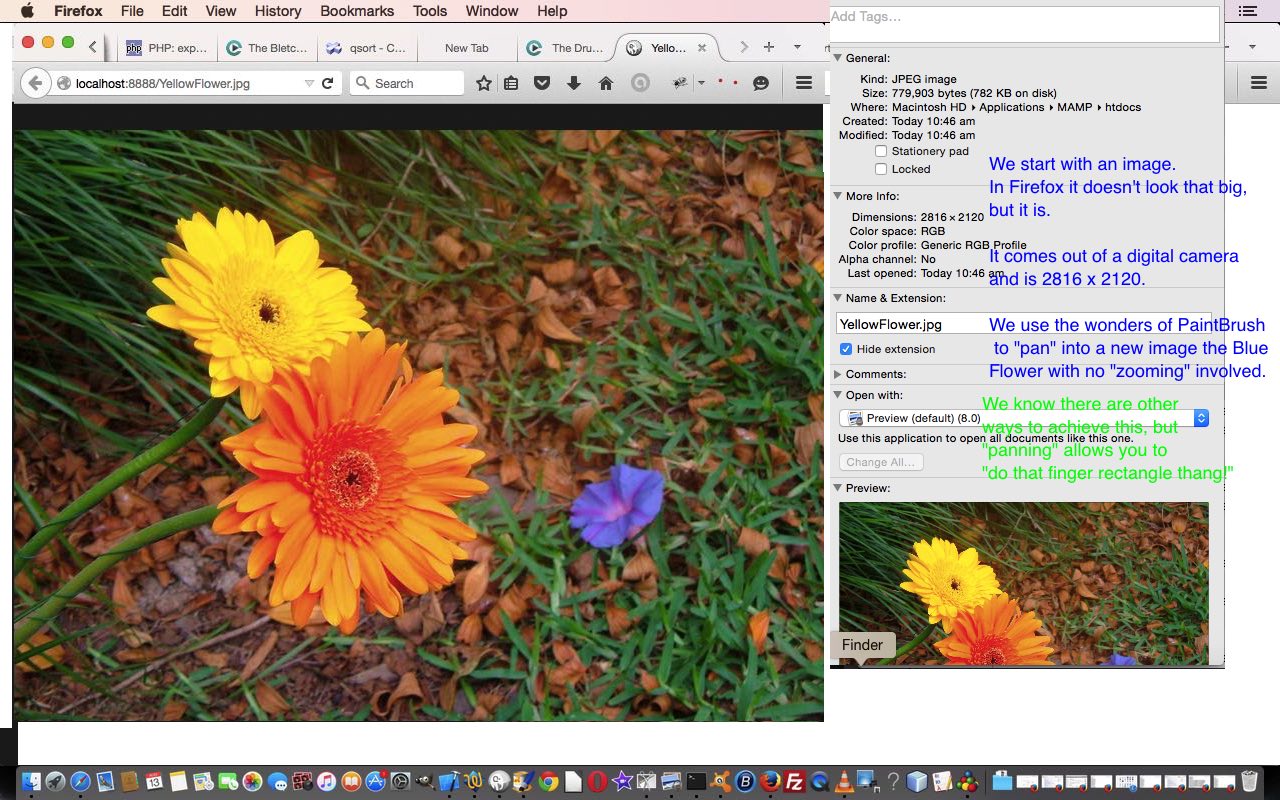
The end result of the work of the blog posting images today took an image from Ephemeral where we used Copy Image option to create 2816 x 2120 …

… from which we ((Mac) Paintbrush) “panned out” 400 x 400 …

Hope this “panning” idea helps you out with some image editing requirement you have.
If this was interesting you may be interested in this too.


