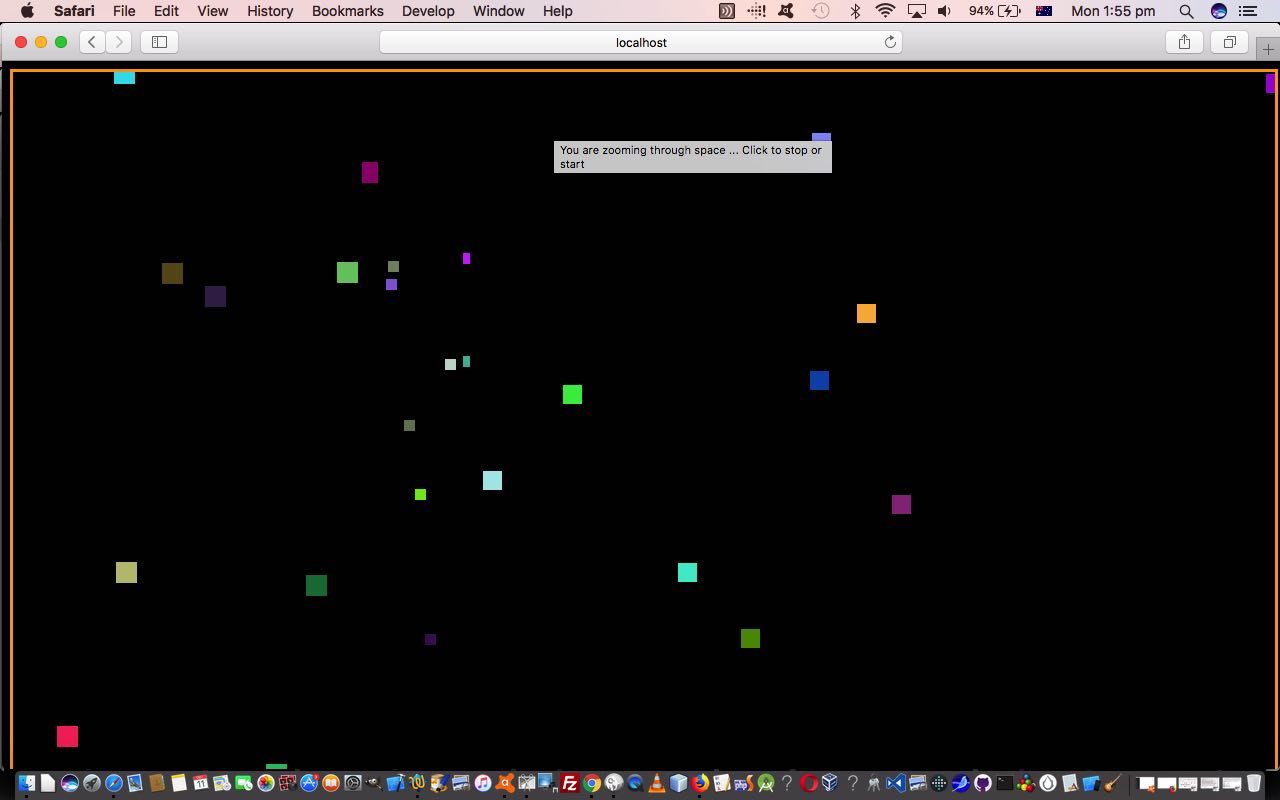
Wonder if you are suffering déjà vu, all over again, reading today’s tutorial title. After all, we have already had a PHP GD Image at Pixel Level Animation Tutorial in this thread of blog postings, earlier on to yesterday’s PHP GD Image at Pixel Level Open Image in New Tab Tutorial. So what’s the go? That previous “animation” tutorial involved the use of some supervisory HTML web application with our PHP as a “child” iframe web application, but today that “child” gets to do “animation” functionality all on its own. Pourquoi? For two reasons really, those being …
- interfacing to a “child” tool iframe web application is much more flexible when that “child” iframe could do that job without the supervision by a user in the know with the inner workings of the tool
- there’ll be less toing and froing of information between parent.document and document to both simplify matters and make the execution faster, we’re predicting
How did we set the “child” free regarding “animation”? We added …
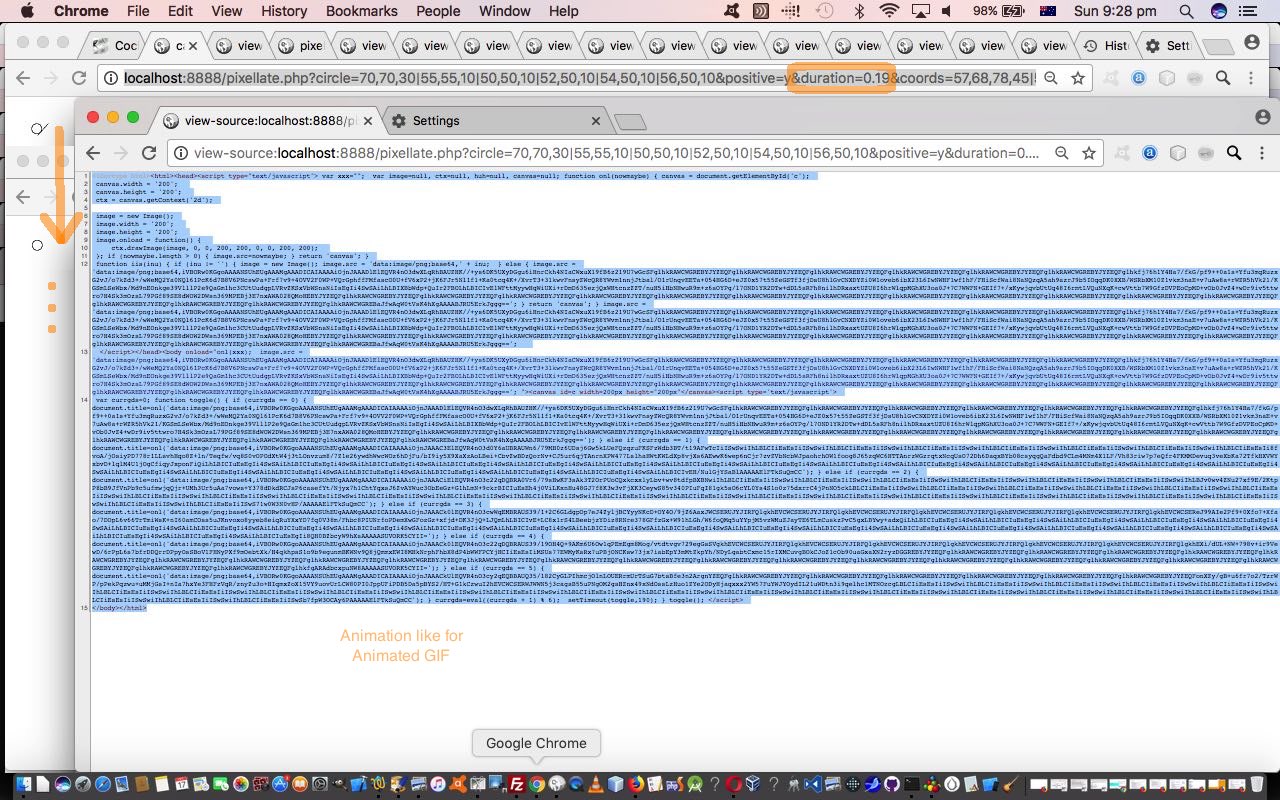
- one new delimiter, the vertical line (|) between co-ordinate sets that separates the data for the look of one animation slide to the next animation slide … as in today’s live run “child” animation link URL …
//www.rjmprogramming.com.au/PHP/pixellate.php?circle=70,70,30|55,55,10|50,50,10|52,50,10|54,50,10|56,50,10&positive=y&duration=0.19&coords=57,68,78,45|56,67,78,45&mode=canvas
- one new parameter label, namely duration, a value in seconds that represents the time between animation slide displays
… and so, am pretty sure a lot of you will feel we’ve simulated the conditions for an Animated GIF, and though we don’t create Animated GIFs as such, it is true that a sequence of still images and a duration between slides are two ingredients of an Animated GIF.
In the code, what was the main “gist” of the changes? One (scalar) PHP GD image object now makes way for a mechanism whereby you can work with that one (scalar) GD image object, or, as of today, an array of GD image objects, representing a one to one mapping of GD image object to animated image slide. The other lynchpin idea is to use dataURI extensively in Javascript (<script type=”text/javascript”> … </script>) code placed at the end of document.body(.innerHTML) updating image data via setTimeout(1000 * duration) timer calls to rotate through the image animation slide (array) list.
The “child” PHP pixellate.php changed extensively in this way to achieve this animation functionality.
Previous relevant PHP GD Image at Pixel Level Open Image in New Tab Tutorial is shown below.
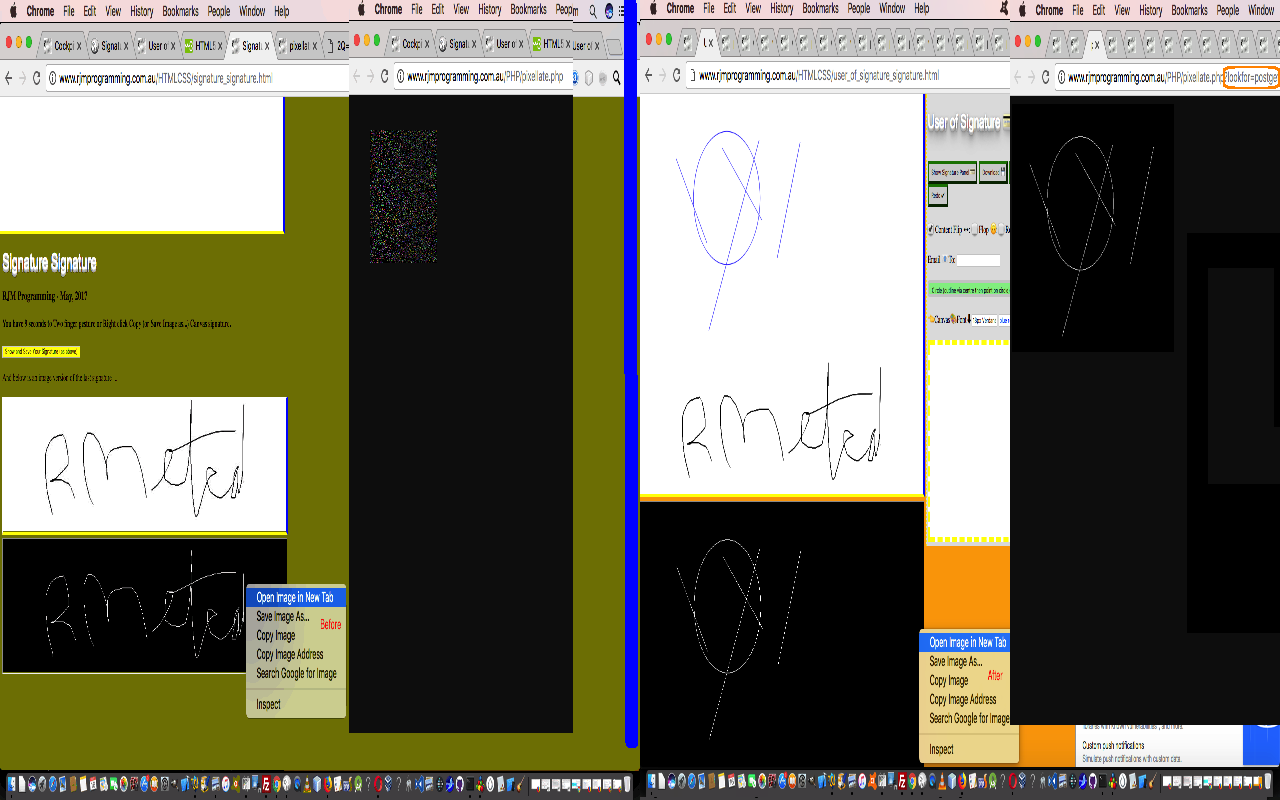
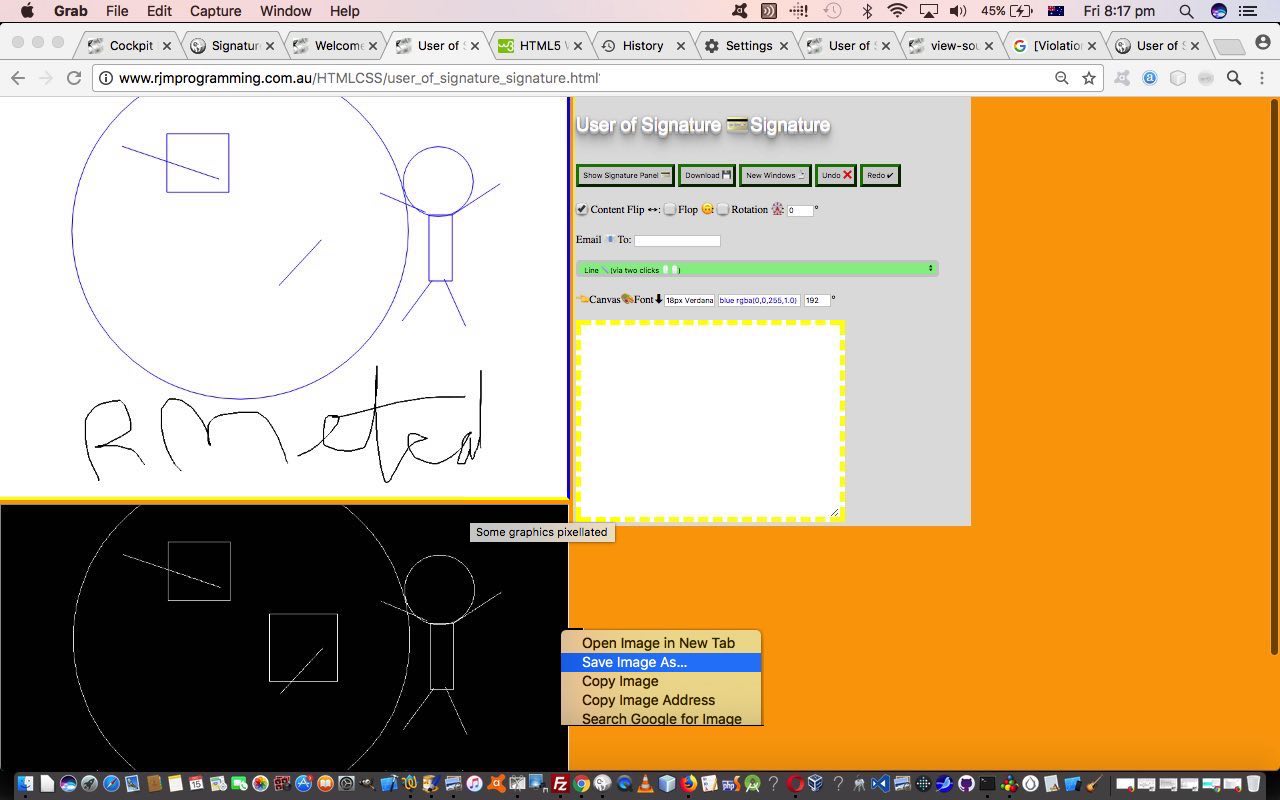
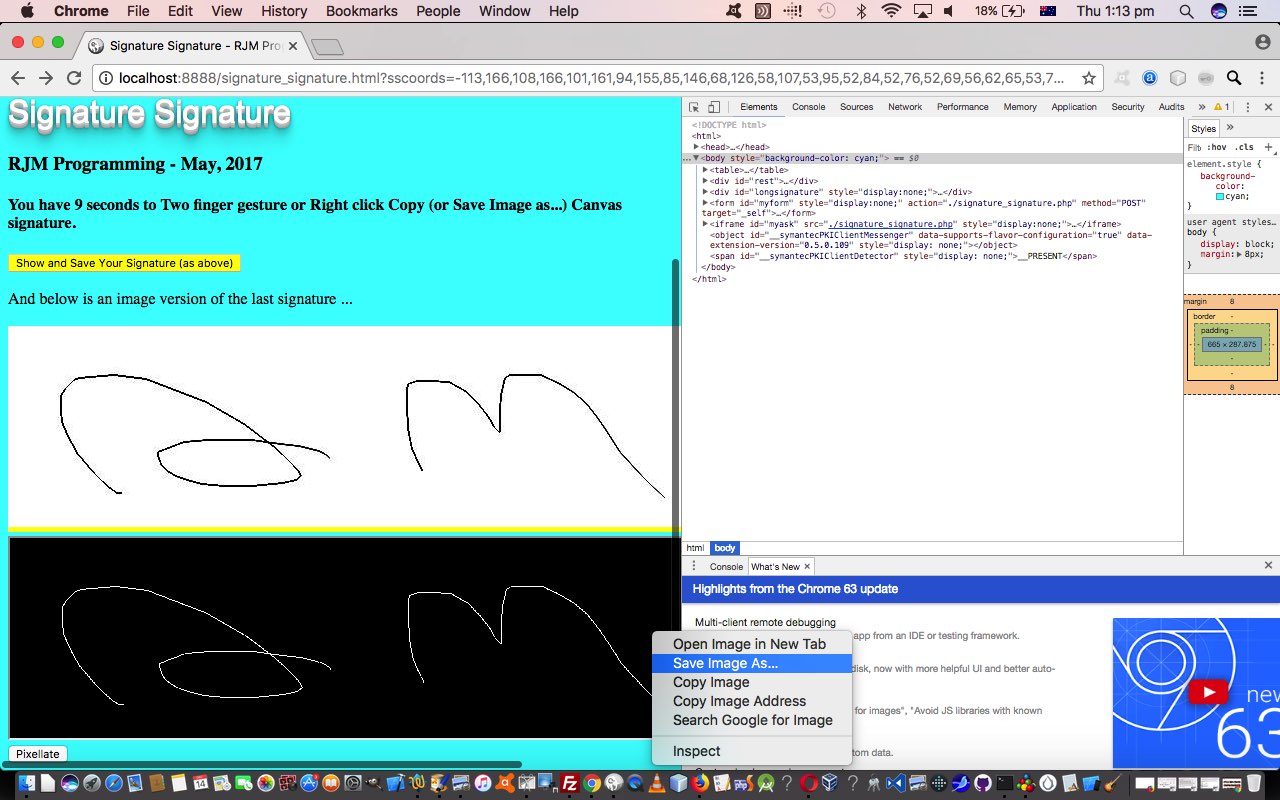
We encouraged recently to use the web browser right click (for Windows, two finger gesture on Mac) functionality on our pixellated images in yesterday’s PHP GD Image at Pixel Level User of Signature Tutorial work, for instance. But we were slothful about unit testing enough all the scenarios. Hold your breath, while we explain.
We use a “rigid” …
- HTML form
- method=POST
- action=’//www.rjmprogramming.com.au/PHP/pixellate.php’
… interfacing method to do this with the User of Signature Signature (and indeed the Signature Signature) web application failing because the web browser functionalities here use that HTML form’s URL in a get parameters sense, which in the “old days” amounted to …
//www.rjmprogramming.com.au/PHP/pixellate.php
… “rigid” (that simplifies logic) in the sense that we do not test the length of a proposed $_GET[] message against the server limit for URL lengths, in order to change method=POST to method=GET … but to solve this issue, jumping to the conclusion here for a second, we start to now use a mix of predominantly $_POST[] data (minus “lookfor” and minus “mode”) but additionally the one vital $_GET[] as per …
//www.rjmprogramming.com.au/PHP/pixellate.php?lookfor=postget
Why? Well, the “?lookfor=postget” serves to signal to our child PHP pixellator we are posting via an HTML form method=POST but we could expect a web browser right click (Windows, two finger gesture on Mac) piece of functionality to follow, so, in the meantime, in a flat file on the server record the pertinent parts of the contents of the values of that HTML form (with its POSTed input elements), and if then presented with …
//www.rjmprogramming.com.au/PHP/pixellate.php?lookfor=postget
… but this time from a web browser right click (for Windows, two finger gesture on Mac) piece of functionality, the PHP “child” pixellator will know to not get its argument data from the $_POST[] array, but rather from that web server flat file’s information. Cute, huh? Please note, in this way, this modern day dilemma is the result of an HTML form method=POST (where we only use the $_POST[] array). We get around it with that mix of $_POST[] and that one $_GET[]’s “lookfor” value (and with the “user of signature signature” we add a random “r” value to fool the cache to make the web browser revisit the web server (and back to the web browser) for information). The “bad” (before) versus “good” (after) view of this happens on today’s tutorial picture.
The “child” PHP pixellate.php changed in this way, supervised by either/both …
- Creating Signatures via this downloadable HTML signature_signature.html (with these changes)
- Using those Signatures via this downloadable HTML user_of_signature_signature.html (with these changes (huh?! … fooled ya … it did at one stage need tiny change but the Javascript (signature_signature.js set of changes) ended up absorbing that with a dynamic DOM HTML form action value modification for that “r” parameter requirement))
Previous relevant PHP GD Image at Pixel Level User of Signature Tutorial is shown below.
We’re getting there, but we are not there yet. Sound familiar?! Yes, to learn how to do something, it often requires the breaking up of the problem into bits. But no spoiler alerts today, as you continue on our journey … to who knows where?!
Yesterday’s PHP GD Image at Pixel Level Signature Web Storage Tutorial got us “projecting” scribble data, our signatures, to a pixellated image data source.
That work yesterday involved HTML …
creating signatures via this downloadable HTML signature_signature.html (with these changes and supervising the changed Javascript signature_signature.js) we now show a pixellated view, like a negative, of the signature (with all the web browser sharing functionality) along with the dataURI image already created
… and for today’s purposes the changes to the Javascript signature_signature.js represented the biggest changes to have canvas geometry being projected onto a pixellated image data source.
Where do we do this interfacing? Read down from Signature Signature Supervisor PDF Writing Tutorial through the blog posting to see us work up from that initial “signature” idea into a “user of signatures” supervisor with this live run showing a canvas that can “project” these new pixellated images now, using the HTML user_of_signature_signature.html (which changed in this way for those purposes).
So please hang on while we think about piecing some of these ideas into concepts to “kick us down the road” towards our destination … no, we’re not just going to celebrate “bin night” … but you’re getting warmer.
Stop Press
The “child” PHP pixellate.php (that changed in this way and that you can try for yourself an example positive live run) now accepts the (non-negative) or …
|
… argument to have a white background rather than the default black one, with the pixellated images created. We’d like to thank this very useful link.
Previous relevant PHP GD Image at Pixel Level Signature Web Storage Tutorial is shown below.
With yesterday’s PHP GD Image at Pixel Level Signature Tutorial pixellating of a signature, behind the scenes there were HTTP Cookies used as a mechanism to store signature data. Today, we have a dual purpose, that being …
- signatures are a good candidate to start using web storage (localStorage – stores data with no expiration date) rather than HTTP Cookies, as there is about 10mB to play around with using this method … as well as …
- when creating signatures via this downloadable HTML signature_signature.html (with these changes and supervising the changed Javascript signature_signature.js) we now show a pixellated view, like a negative, of the signature (with all the web browser sharing functionality) along with the dataURI image already created
Just to reiterate on web storage, that was introduced with HTML5 …
With web storage, web applications can store data locally within the user’s browser.
Before HTML5, application data had to be stored in cookies, included in every server request. Web storage is more secure, and large amounts of data can be stored locally, without affecting website performance.
Unlike cookies, the storage limit is far larger (at least 5MB) and information is never transferred to the server.
Web storage is per origin (per domain and protocol). All pages, from one origin, can store and access the same data.
Previous relevant PHP GD Image at Pixel Level Signature Tutorial is shown below.
Yesterday’s PHP GD Image at Pixel Level Geometry Tutorial set us up for more organizational uses of our pixel level image web application of late. We continue on with that idea, today, with the idea of a signature, and go right back to the Signature Signature Primer Tutorial scribble in a canvas functionality (as the source of our co-ordinates for a signature) and ready the PHP pixellate.php (that changed in this way) to accept …
- map/area element HTML input data … like we deal with “legend” functionality as mentioned in Legend for and from HTML Map Element Web Server Tutorial (and its ilk) … (all the way) down to (the pared down essence that is a) …
- co-ordinate list of comma separated (x,y) values that is “pen down” as the default but +0,0, or ; can be indicators of “pen up”
… the latter of which we take from the “signature” web application (via Google Chrome Developer Tools) over to the “legends” functionality legend_via_map.htm that changed in this small way (and that you can try for yourself with this live run link) to add another new button to link to the PHP pixellate live run type functionality.
Maybe you can see where we are heading with all this, but we need to walk before running?! This link to “scribble” canvas work is a step in itself, and if you are new to the idea of “scribbling” on canvas then you’ll need to sidetrack with that Signature Signature Primer Tutorial link way above to get all this in context. Chow for now.
Previous relevant PHP GD Image at Pixel Level Geometry Tutorial is shown below.
We’re off jumping again (post yesterday’s PHP GD Image at Pixel Level Animation Tutorial “chicken” work) a.k.a. …
On a (web application) “tool” project, is it the chicken or the egg that drives you? Sometimes, for us, we jump around. For us, depending on the nature of the “tool” we enjoy trying to …
- make the “child” generic … the “egg” above
- interface interestingly from the “parent” usefully … the “chicken” above
… because it occurs to us, with the “egg”, so far we’ve just been throwing “game like” …
  $x = rand(0, $width);

  $y = rand(0, $height);
… randomosity regarding co-ordinates used to pixellate “point” data. But suppose, today, we open the door to some order, some mathematical geometry ideas?! We’ve come up with the following additional parameterization ideas (not interfering with anything else that has come before … ie. “forward compatibility”), namely …
- coords … comma separated (x,y) co-ordinate set pairs that, by default, represent “pen down” rasterizations (our best “thought bubble” word for pixellations not in “point” form but in “pen down” “plotting” form … from the early “scanning” days of laser printers and even earlier days of data plotters … that “rasterize” linear data into “pixellated” form) … including a “+” sign at the start of “x” or “y” values is your way of defining “pen up”
- closecoords … as above, but join last to first as well (or just mention to say this about the coords value)
- circle … circle information comma separated (cx,cy,radius) sets
- arc … relevant to circle in the form of clockwise arc in degrees to allow or the comma separated (start,end) of clockwise arc in degrees starting with the zero degrees (north) bearing as zero
… and you’ve got the beginnings of some “orderly” geometry, and some “pen up/pen down” thoughts (and we recommend insomniacs try chanting “pen up”, “pen down” very sombrely for however long it takes rather than envisaging “pigs” … now that’s almost as ridiculous as baaaaa baaaaaaas), simple though it is, up to now.
Again, you can try this for yourself at this “child” “standalone” live run link for the PHP pixellate.php that changed in this way for today’s extended geometry (and pen up/pen down logic) choices.
Previous relevant PHP GD Image at Pixel Level Animation Tutorial is shown below.
Yesterday’s PHP GD Image at Pixel Level Outputs Tutorial was a tilt back to getting the “hard working duck” PHP child process more user friendly, and don’t know if the PHP’s newfound …
“parent” “body” (or other) element background image
… clang any bells in your head regarding possibilities, but it did for us regarding how to start using that PHP “child” iframe functionality in terms of an animation (effectively). Supposing we “start” (and, no doubt “start” is just that) with an HTML “parent” web application that just consists of …
- table element with one row and three columns for now … and (a bank of) …
- iframe elements
… respectively providing …
- where to place animation … and …
- means by which to create the animation
… because when you consider what “animation” consists of, we now have the wherewithal to do it in that …
- an “animation” is a set of …
- moving
- images
… where …
- the “moving” is worked by timed (via Javascript setTimeout method) creation of (table) cellular background
- “images” pixellated by the “child” iframe PHP “tool” web application (unchanged from yesterday’s work)
… moved fast enough to help the human mind recognize it as “animation”, whose HTML supervisory “parent” code can be downloaded as build_night_sky.html and tried with this live run link.
Previous relevant PHP GD Image at Pixel Level Outputs Tutorial is shown below.
On a (web application) “tool” project, is it the chicken or the egg that drives you? Sometimes, for us, we jump around. For us, depending on the nature of the “tool” we enjoy trying to …
- make the “child” generic … the “egg” above
- interface interestingly from the “parent” usefully … the “chicken” above
You could class yesterday’s PHP GD Image at Pixel Level Background Tutorial as a (baark, baark baark baark) “chicken” moment, enjoying writing a quirky “parent” for the “Image Pixellating” “child” iframe PHP code, even prompting an (important) improvement in its abilities “opacity” wise.
Today, though, you may think of it as stepping back to the “Primer” tutorial, but to us is sometimes the way projects “roll”, in that we think of a whole lot more functionality parts for the “egg” (“child” iframe PHP image pixellator). These new functionalities can all be classed as …
forms of output
… changes, where we can envisage “parent” web applications that will demand far more flexibility than just offering the “parent” yesterday’s sole “output” (mode) option of …
image data in a "child" iframe created via PHP's


header('Content-Type: image/png');

imagepng($gd);
… line of thinking. With incredibly useful help from this useful link, thanks (which, incidentally, appeared up the top of the list of this Google search) we were reminded of how that PHP code lines above could be “melded” into …
// header('Content-Type: image/png');

ob_start();

imagepng($gd);

$image_data = ob_get_contents();

ob_end_clean();

$image_data_base64 = base64_encode($image_data);
… to end up with, in the PHP variable $image_data_base64 above a dataURI of the image pixellated by our (“child” iframe supervised, perhaps) PHP web application, and opening the door to all manner of (additional “output” driven) interfacing (or standalone) possibilities like …
- “standalone” “image” data presented in an HTML img element, as in …
http://www.rjmprogramming.com.au/PHP/pixellate.php?mode=image&height=600&width=590&size=8&zeroes=2
- “standalone” “div” image data encased in an HTML div element, as in …
http://www.rjmprogramming.com.au/PHP/pixellate.php?mode=div&height=600&width=590&size=8&zeroes=2
- “standalone” “canvas” image data placed into in an HTML canvas element, as in …
http://www.rjmprogramming.com.au/PHP/pixellate.php?mode=canvas&height=600&width=590&size=8&zeroes=2
- “standalone” “body” element background image
- “parent” “image” data presented in an HTML img element, as in …
- “parent” “div” image data encased in an HTML div element, as in …
- “parent” “canvas” image data placed into in an HTML canvas element, as in …
- “parent” “body” (or other) element background image
You can try this for yourself at this “child” “standalone” live run link for the PHP pixellate.php that changed in this way for today’s extended “output” choices.
Previous relevant PHP GD Image at Pixel Level Background Tutorial is shown below.
Yesterday’s PHP GD Image at Pixel Level Primer Tutorial had us musing ….
Do you feel this web application has the genericity to be a “tool”? Spoiler alert … we think so.
… and so here we are, today, with the first idea regarding using that PHP code as a “tool”, a “background image iframe” tool, using two (of the usual “three amigos”, z-index having gone walkabout due to “relevance deprivation syndrome”, today) of our usual “overlay” suspects …
- position:absolute property (teamed with top:0px and left:0px)
- opacity
We encase yesterday’s PHP work into an HTML iframe “child” element, and rather than relying on the “parent” supervisory (and new) HTML pixellate.html to control opacity via the opacity of the HTML iframe element (which we may still allow for … we’ll see) we opt to make the “child” HTML iframe PHP be that little more flexible by allowing for pixellate.php change in this way to allow for a tailored calling mechanism regarding “opacity” via …
imagecolorallocateimagecolorallocatealpha‘s fifth “alpha” (ie. 127=transparent, 0=opaque) parameter
… that is user controllable via “&opacity=1.0” type of URL bit where (1.0=opaque, 0.0=transparent) usage.
The parent’s job using this PHP “child” would be to set some transparency to an HTML “iframe” call of the PHP to cover the window, where we call into play the Javascript window.getComputedStyle method to resize the PHP “child” to full window dimensions, on the proviso that any parameters the user uses to call the “parent” HTML don’t override this “default” width and height of background image (ie. PHP “child” iframe) settings.
Guess the other job of the “parent” is to “mean” something, and so we write some content on the “theme” of “Lyrics of Songs about Stars” because the background image effects you get with the “pixellated” PHP GD calls remind us of the nighttime sky, and stars, and you can see this in action with today’s live run link.
Previous relevant PHP GD Image at Pixel Level Primer Tutorial is shown below.
A great place to start learning about the serverside language PHP is to read the webpage Image Processing and GD because PHP is great in so many ways regarding image creation and manipulation.
The GD methods (down to the pixel level, with the first one) we use are …
What we parameterize is …
- width of image
- height of image
- density of pixels created
- size of conglomeration of pixel (rectangular “blob”)
Today’s PHP code you can download via this pixellate.php link and try it via this live run link. We kind of like some of the images as below …
http://www.rjmprogramming.com.au/PHP/pixellate.php?height=600&width=890&size=6&zeroes=4
http://www.rjmprogramming.com.au/PHP/pixellate.php?height=600&width=890&size=8&zeroes=2
http://www.rjmprogramming.com.au/PHP/pixellate.php?height=600&width=490
Do you feel this web application has the genericity to be a “tool”? Spoiler alert … we think so.
You can see this, also, at WordPress 4.1.1’s PHP GD Image at Pixel Level Primer Tutorial.
If this was interesting you may be interested in this too.
If this was interesting you may be interested in this too.
If this was interesting you may be interested in this too.
If this was interesting you may be interested in this too.
If this was interesting you may be interested in this too.
If this was interesting you may be interested in this too.
If this was interesting you may be interested in this too.
If this was interesting you may be interested in this too.
If this was interesting you may be interested in this too.
If this was interesting you may be interested in this too.
