Before we leave the …
- Xcode on macOS …
- File -> New -> Playground…
- Map
- Next
- Create
… “where of life” Google Maps or Apple Maps ideas of yesterday’s Swift Playgrounds on macOS Map Tutorial we wanted to further take in the excellence of the advice of MapKit Tutorial: Getting Started | Kodeco, the new raywenderlich.com and delve into the …
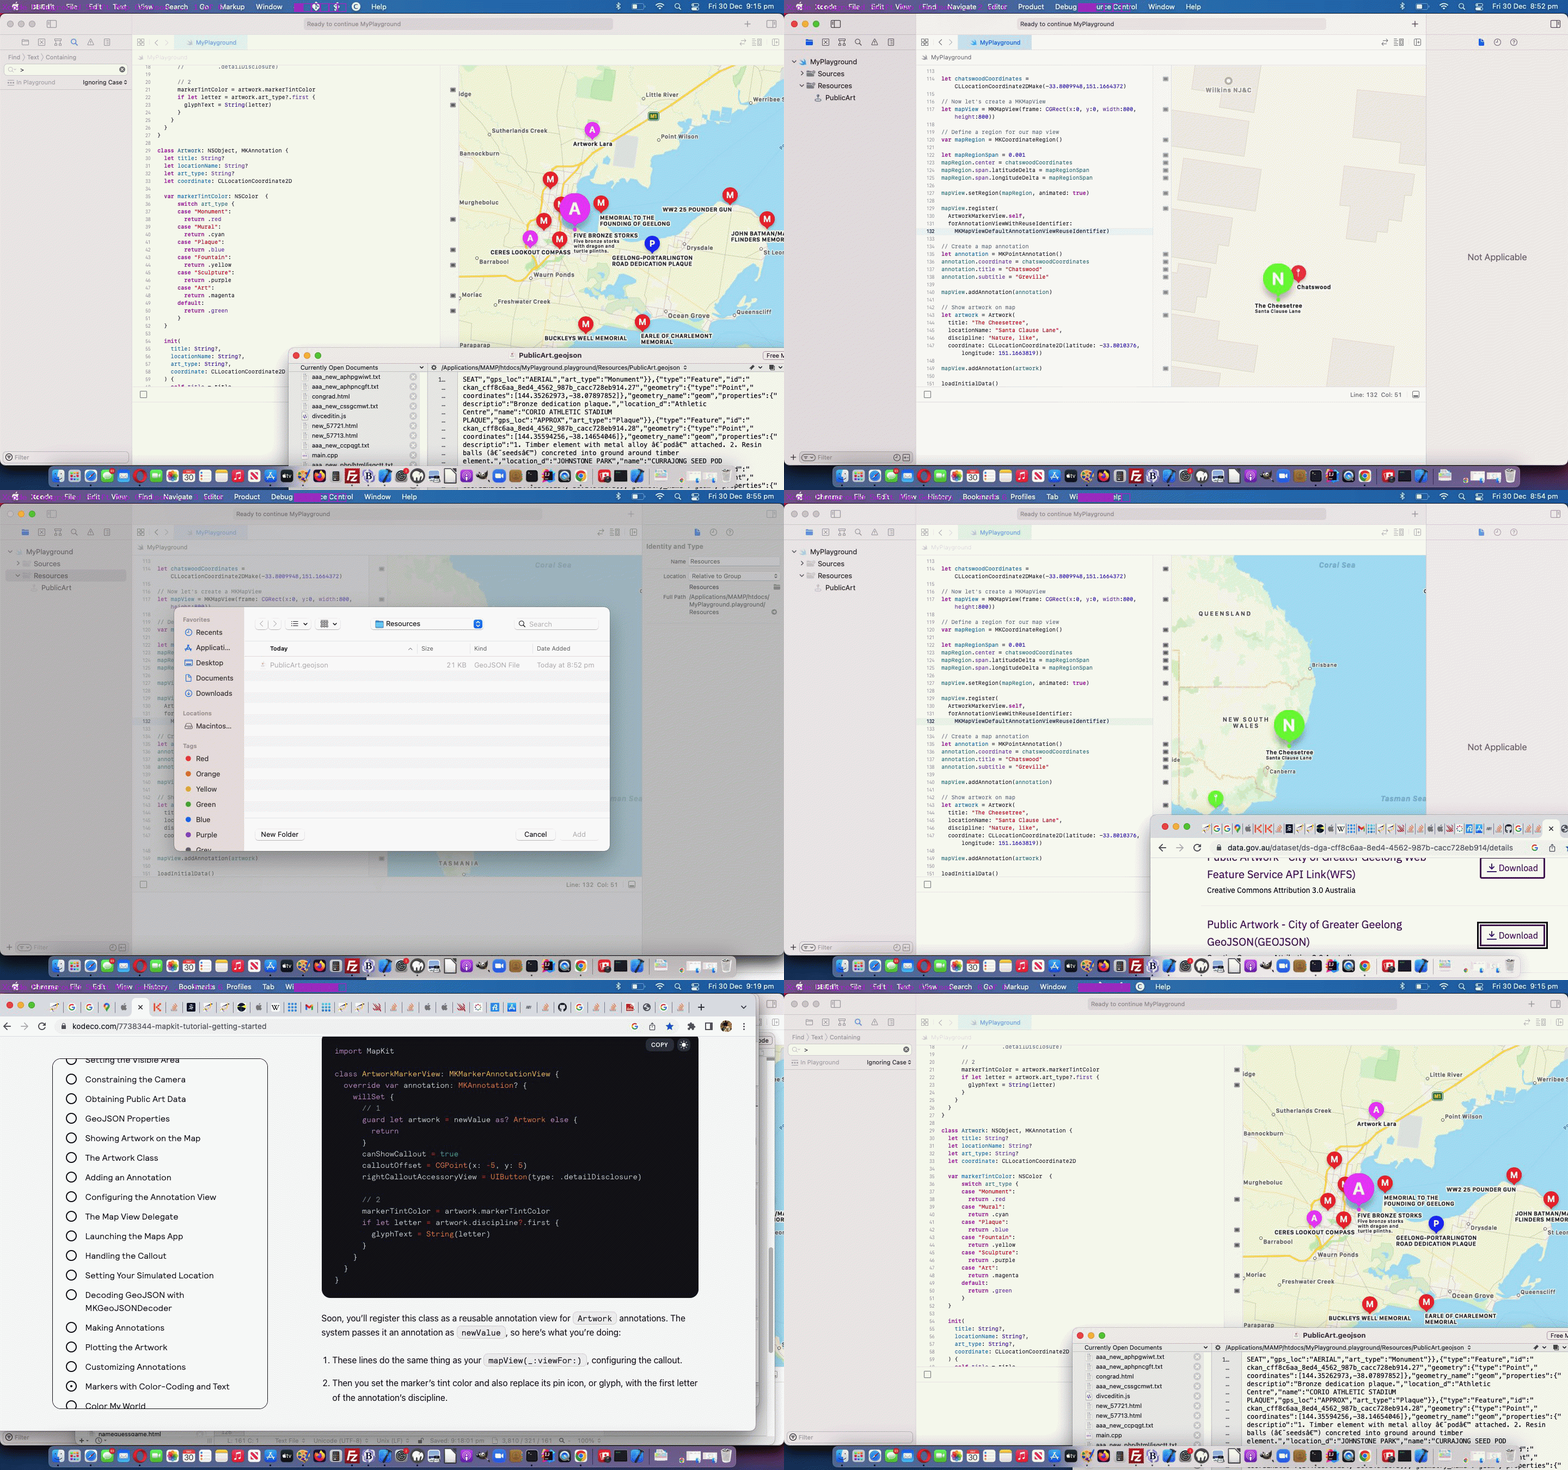
- involvement of public GeoJson PublicArt examples (ours being Geelong … so if you zoom out to southern Victoria and back in on the colourful colour coded new pins representing Geelong PublicArt locations) … in conjunction with …
- MKGeoJSONDecoder (to decode GeoJSON data)
… is a great approach to Customising Annotations on your Swift Playground Map desktop application, via Xcode as you can see with our changed MyPlayground.swift Swift source code macOS Swift desktop application code …
//: A MapKit based Playground


import PlaygroundSupport

import MapKit


private var artworks: [Artwork] = []


class ArtworkMarkerView: MKMarkerAnnotationView {

  override var annotation: MKAnnotation? {

    willSet {

      // 1

      guard let artwork = newValue as? Artwork else {

        return

      }

      canShowCallout = true

      calloutOffset = CGPoint(x: -5, y: 5)

      //rightCalloutAccessoryView = UIButton(type:

      //          .detailDisclosure)


      // 2

      markerTintColor = artwork.markerTintColor

      if let letter = artwork.art_type?.first {

        glyphText = String(letter)

      }

    }

  }

}


class Artwork: NSObject, MKAnnotation {

  let title: String?

  let locationName: String?

  let art_type: String?

  let coordinate: CLLocationCoordinate2D


  var markerTintColor: NSColor  {

      switch art_type {

      case "Monument":

        return .red

      case "Mural":

        return .cyan

      case "Plaque":

        return .blue

      case "Fountain":

        return .yellow

      case "Sculpture":

        return .purple

      case "Art":

        return .magenta

      default:

        return .green

      }

  }


  init(

    title: String?,

    locationName: String?,

    art_type: String?,

    coordinate: CLLocationCoordinate2D

  ) {

    self.title = title

    self.locationName = locationName

    self.art_type = art_type

    self.coordinate = coordinate


    super.init()

  }


    init?(feature: MKGeoJSONFeature) {

      // 1

      guard

        let point = feature.geometry.first as? MKPointAnnotation,

        let propertiesData = feature.properties,

        let json = try? JSONSerialization.jsonObject(with: propertiesData),

        let properties = json as? [String: Any]

        else {

          return nil

      }


      // 3

      title = properties["name"] as? String

      locationName = properties["descriptio"] as? String

      art_type = properties["art_type"] as? String

      coordinate = point.coordinate

      super.init()

    }


  var subtitle: String? {

    return locationName

  }

}


private func loadInitialData() {

  // 1

  guard

    let fileName = Bundle.main.url(forResource: "PublicArt", withExtension: "geojson"),

    let artworkData = try? Data(contentsOf: fileName)

    else {

     return

  }


  do {

    // 2

    let features = try MKGeoJSONDecoder()

      .decode(artworkData)

      .compactMap { $0 as? MKGeoJSONFeature }

    // 3

    let validWorks = features.compactMap(Artwork.init)

    // 4

    artworks.append(contentsOf: validWorks)

  } catch {

    // 5

    print("Unexpected error: \(error).")

  }

}


let chatswoodCoordinates = CLLocationCoordinate2DMake(-33.8009948,151.1664372)


// Now let's create a MKMapView

let mapView = MKMapView(frame: CGRect(x:0, y:0, width:800, height:800))


// Define a region for our map view

var mapRegion = MKCoordinateRegion()


let mapRegionSpan = 0.001

mapRegion.center = chatswoodCoordinates

mapRegion.span.latitudeDelta = mapRegionSpan

mapRegion.span.longitudeDelta = mapRegionSpan


mapView.setRegion(mapRegion, animated: true)


// Create a map annotation

let annotation = MKPointAnnotation()

annotation.coordinate = chatswoodCoordinates

annotation.title = "Chatswood"

annotation.subtitle = "Greville"


mapView.addAnnotation(annotation)


// Show artwork on map

let artwork = Artwork(

  title: "The Cheesetree",

  locationName: "Santa Clause Lane",

  art_type: "Nature, like",

  coordinate: CLLocationCoordinate2D(latitude: -33.8010376, longitude: 151.1663819))


mapView.addAnnotation(artwork)


loadInitialData()

mapView.addAnnotations(artworks)


mapView.register(

  ArtworkMarkerView.self,

  forAnnotationViewWithReuseIdentifier:

    MKMapViewDefaultAnnotationViewReuseIdentifier)


// Add the created mapView to our Playground Live View

PlaygroundPage.current.liveView = mapView
… that goes along with our adding into our Playground project’s Resources a file called PublicArt.geojson downloaded via this webpage, thanks everybody!
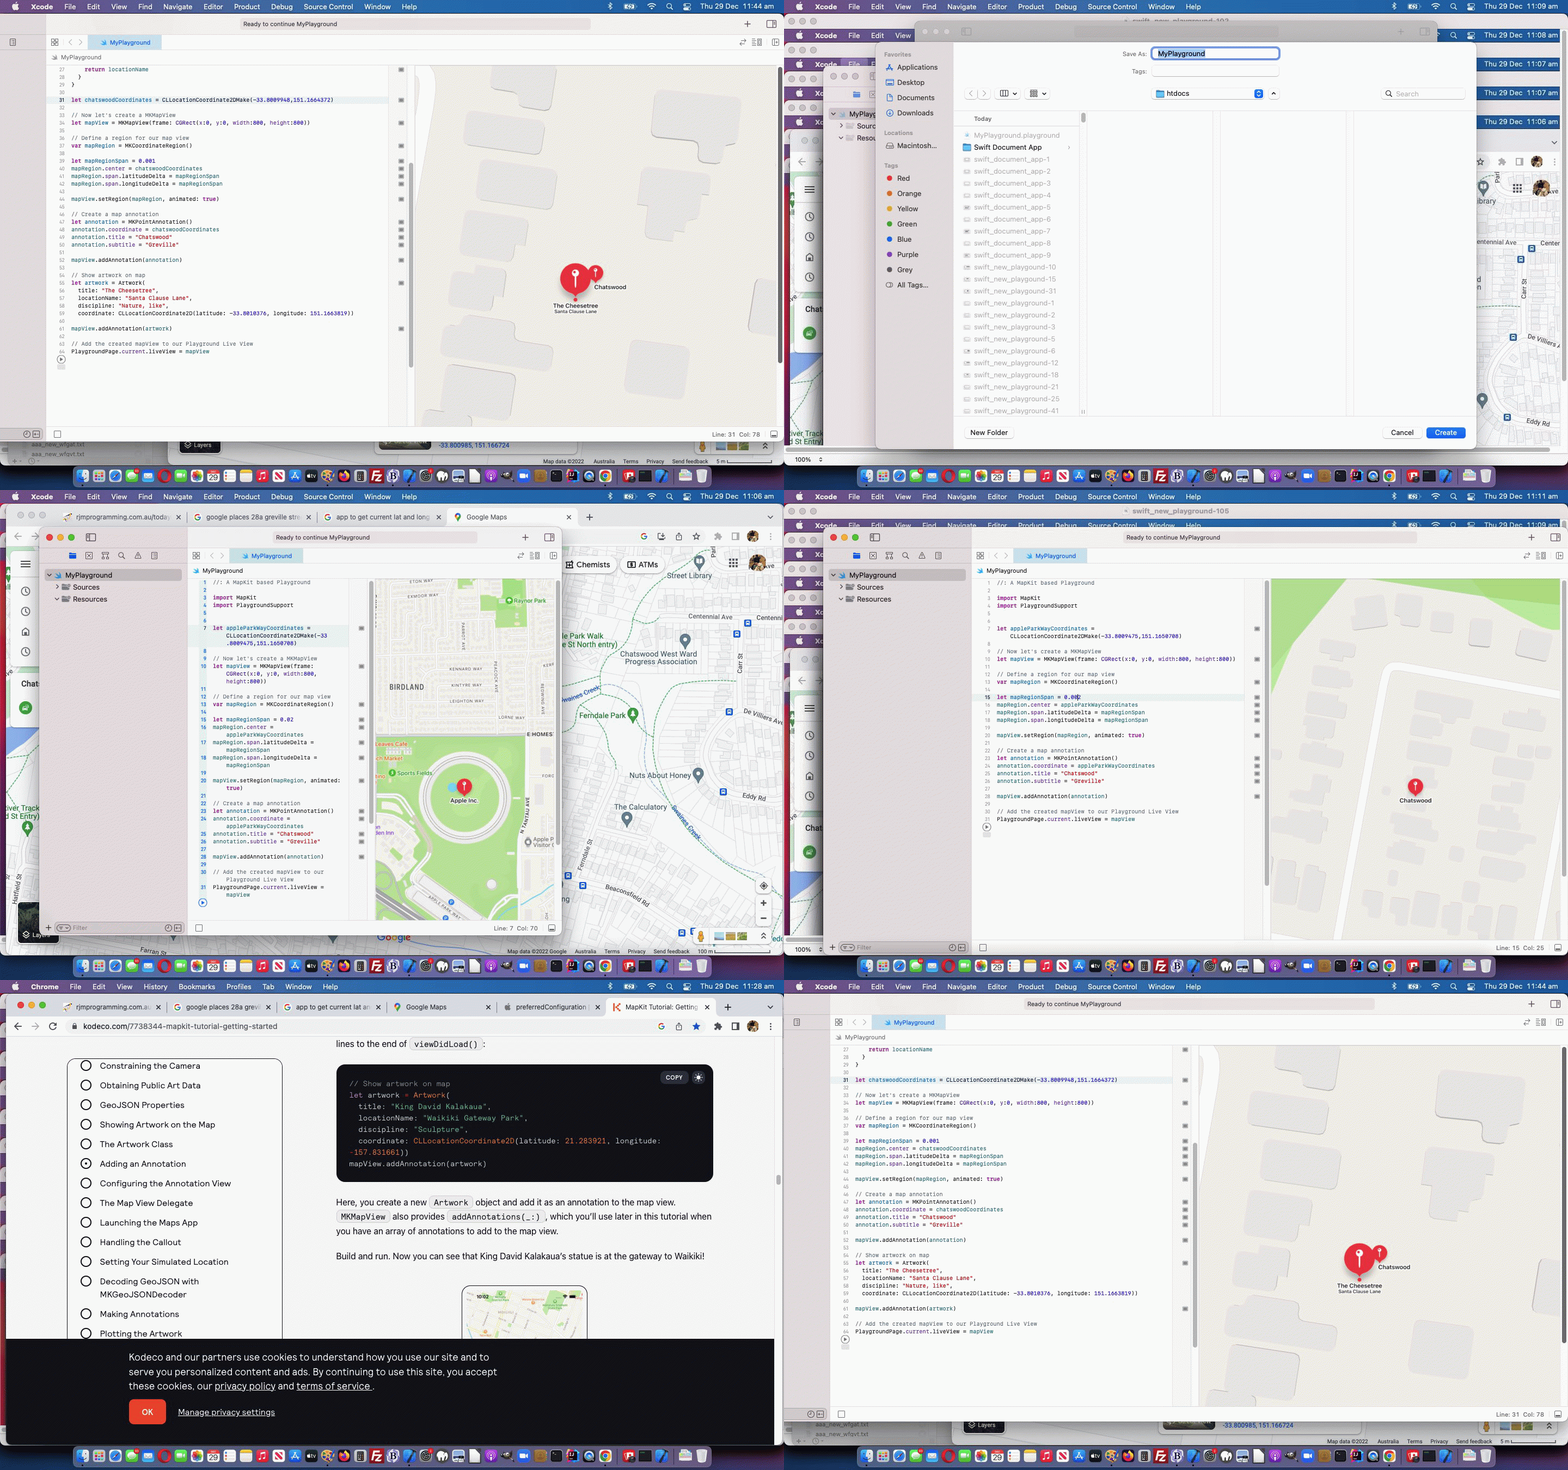
Previous relevant Swift Playgrounds on macOS Map Tutorial is shown below.
Are you looking for …
- informal … but …
- IDE based compiling …
- Swift … code based …
- macOS or iOS … suiting …
… programming environment? How about, if you are into the “where of” in life …
- Xcode on macOS …
- File -> New -> Playground…
- Map
- Next
- Create
Now, by informal, we mean you don’t have to worry about Development or Deployment certificates, and all that jazz. You just get to “play around”, make mistakes, take advice, and learn (more, on top of tutorials like Swift Playgrounds on iPad Primer Tutorial) about Swift programming language, in the process!
We had fun producing a macOS Swift playground desktop application that featured one local “Artwork” class (default) pinning map item, thanks to the great advice from MapKit Tutorial: Getting Started | Kodeco, the new raywenderlich.com … thanks. We ended up with …
//: A MapKit based Playground


import MapKit

import PlaygroundSupport


class Artwork: NSObject, MKAnnotation {

  let title: String?

  let locationName: String?

  let discipline: String?

  let coordinate: CLLocationCoordinate2D


  init(

    title: String?,

    locationName: String?,

    discipline: String?,

    coordinate: CLLocationCoordinate2D

  ) {

    self.title = title

    self.locationName = locationName

    self.discipline = discipline

    self.coordinate = coordinate


    super.init()

  }


  var subtitle: String? {

    return locationName

  }

}


let chatswoodCoordinates = CLLocationCoordinate2DMake(-33.8009948,151.1664372)


// Now let's create a MKMapView

let mapView = MKMapView(frame: CGRect(x:0, y:0, width:800, height:800))


// Define a region for our map view

var mapRegion = MKCoordinateRegion()


let mapRegionSpan = 0.001

mapRegion.center = chatswoodCoordinates

mapRegion.span.latitudeDelta = mapRegionSpan

mapRegion.span.longitudeDelta = mapRegionSpan


mapView.setRegion(mapRegion, animated: true)


// Create a map annotation

let annotation = MKPointAnnotation()

annotation.coordinate = chatswoodCoordinates

annotation.title = "Chatswood"

annotation.subtitle = "Greville"


mapView.addAnnotation(annotation)


// Show artwork on map

let artwork = Artwork(

  title: "The Cheesetree",

  locationName: "Santa Clause Lane",

  discipline: "Nature, like",

  coordinate: CLLocationCoordinate2D(latitude: -33.8010376, longitude: 151.1663819))


mapView.addAnnotation(artwork)


// Add the created mapView to our Playground Live View

PlaygroundPage.current.liveView = mapView
… in MyPlayground.swift Swift source code macOS Swift desktop application code.
Previous relevant Swift Playgrounds on iPad Primer Tutorial is shown below.
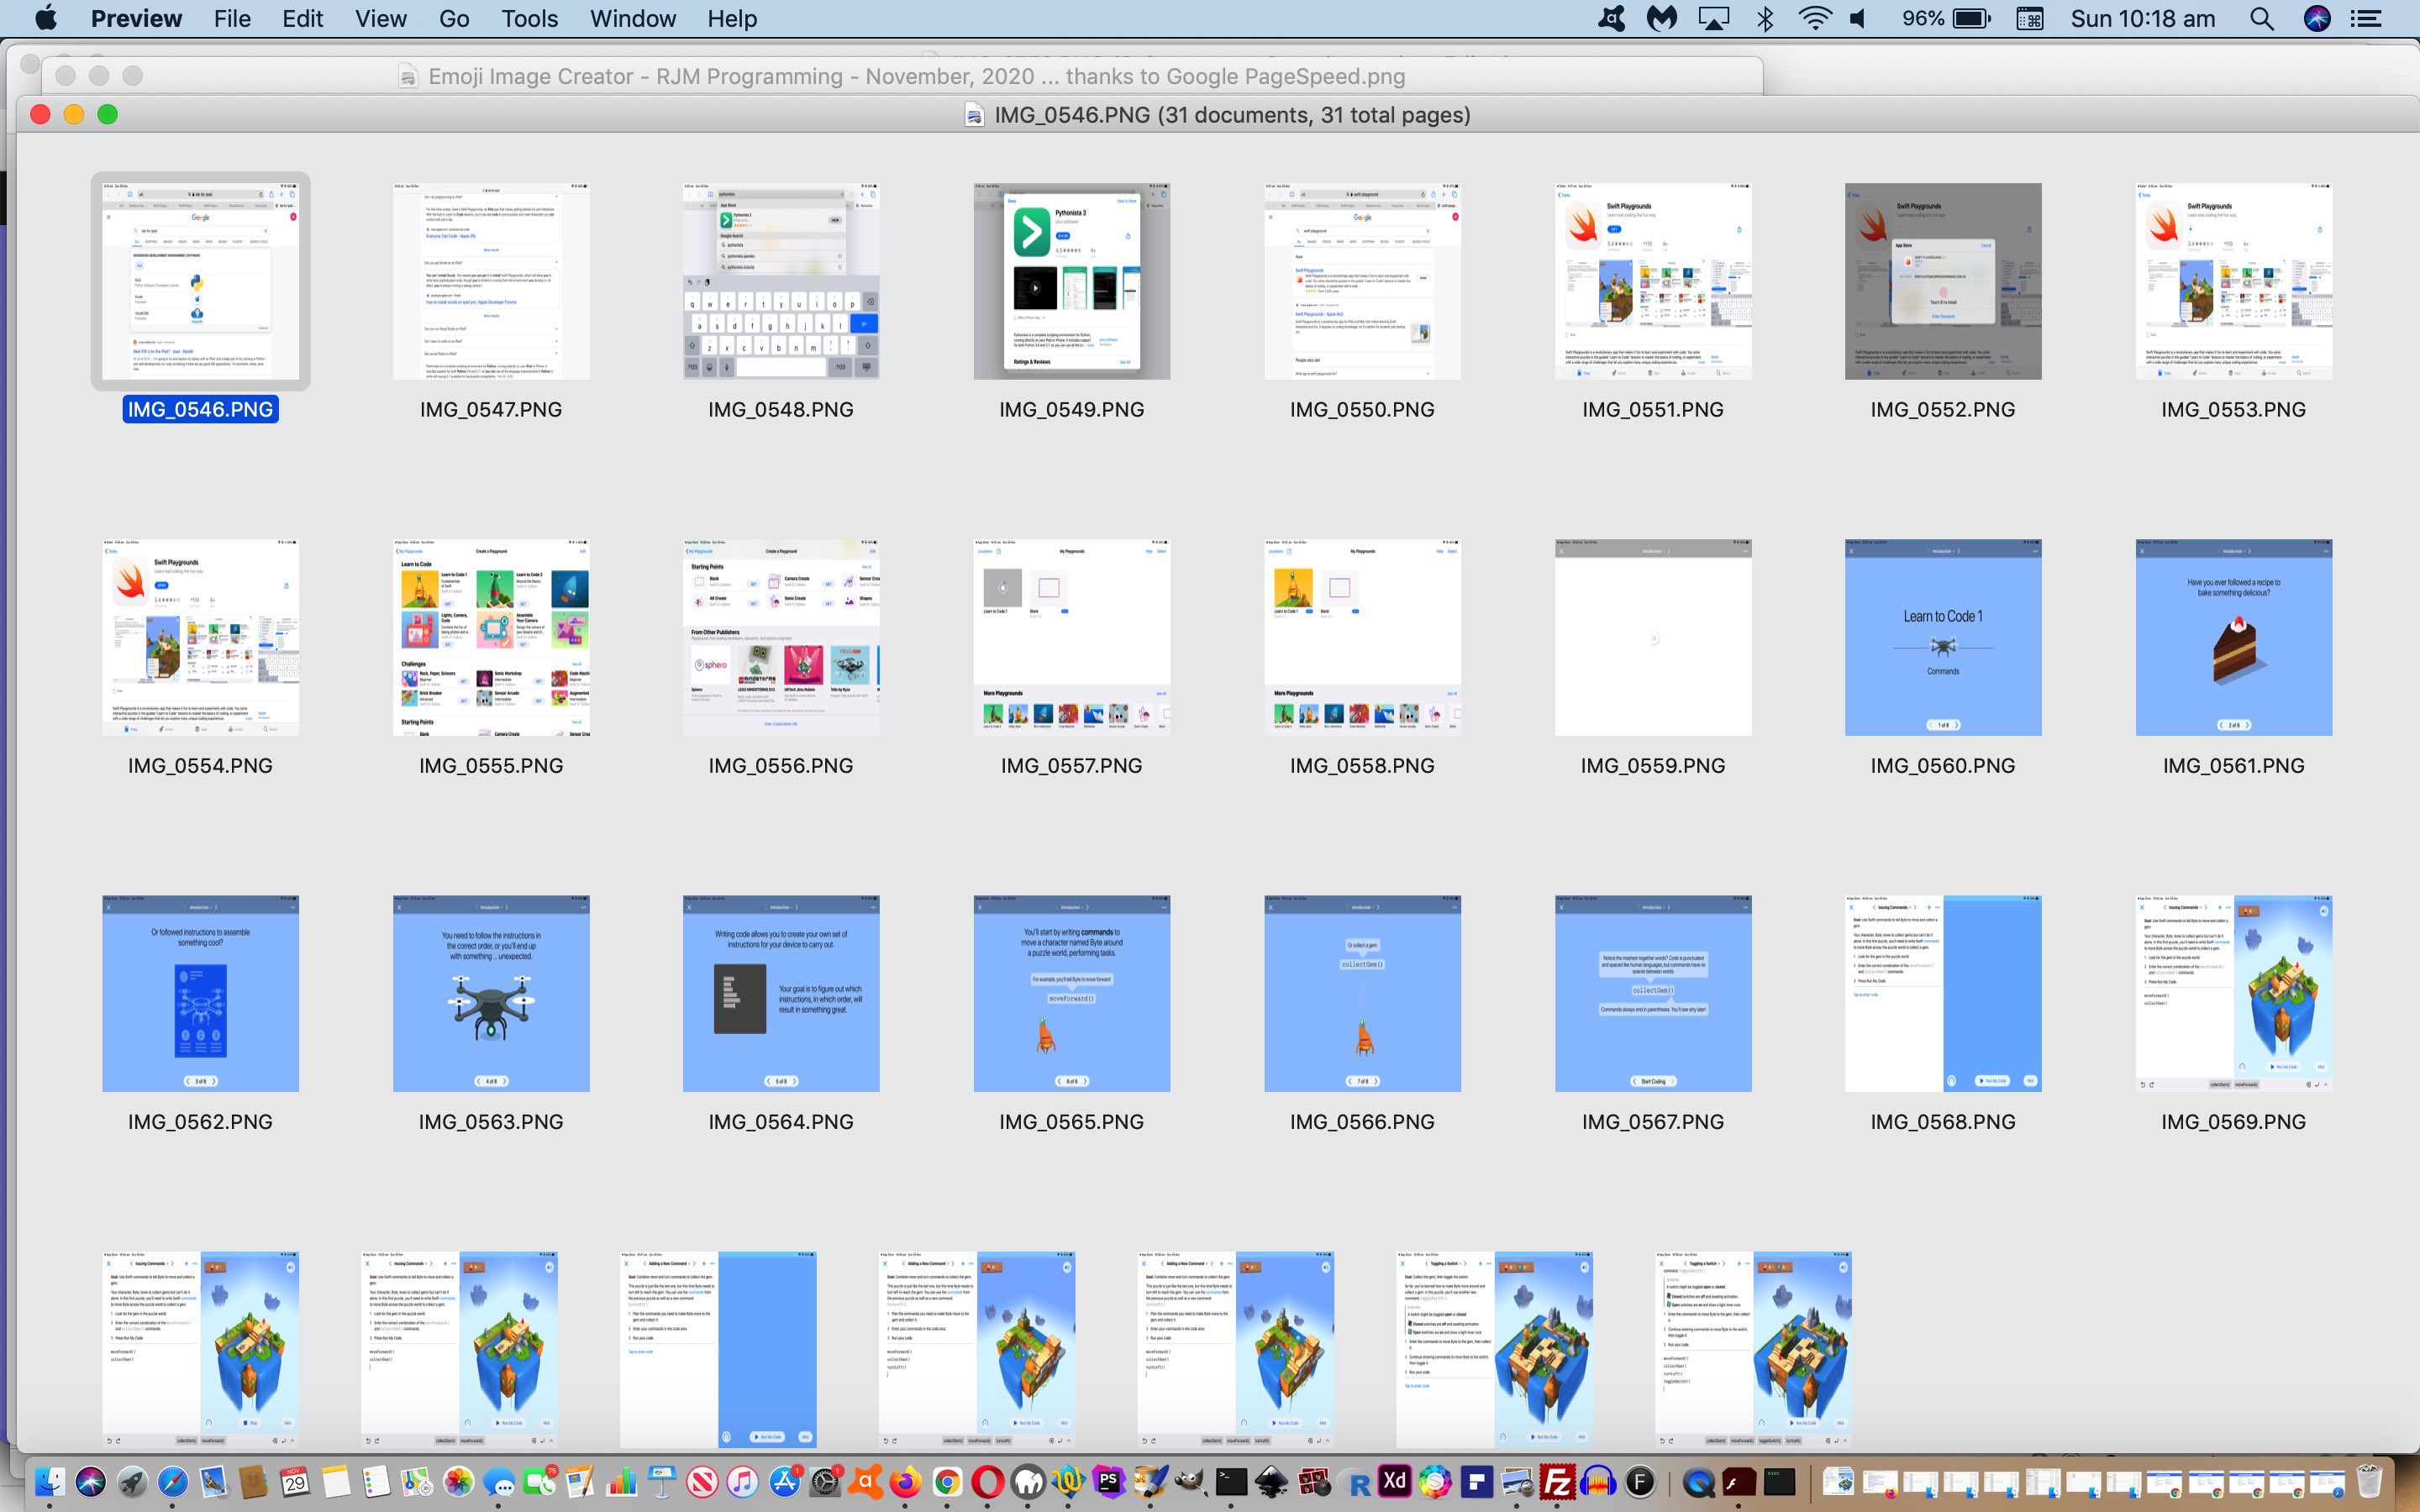
Generally speaking around here, we tend to think you need at least a laptop (eg. MacBook Pro) or desktop computer PC (macOS or Windows) or Linux operating system arrangement, to (computer) program (in other words, the iOS operating system is a missing part of the equation here). That has led us to assume more than we know, though looking into this topic via our Google search of …
… had us first looking into Python via “pythonista”, but the $14.99 price tag was far too much for us to absorb so early in the morning, and a warning that exclusive “above the fold” reading can have you suffer from (FOMO) “fear of missing out” syndrome. Reading, then, below the fold, soon turned up the Xcode IDE (we have on macOS, here, and appears “above the fold” regarding blurb actions above) programming language of choice, Swift, with its Apple iPad place …
… as a great resource into programming and “robotics feeling” coding leading to “programming action”! And the presentation may well suit young’uns getting into programming early, if that’s why you are reading this blog posting. As Swift Playgrounds starts out intimating, to “follow a recipe” and perform “steps in order” is likely to lead to the happiest programming and coding experience (to put it mildly … or … just follow orders … initially … to put it more bluntly).
Curiosity is the big key here. Start this way, and invariably if it interests, it interests, and could lead to many other avenues of knowledge, and it involving the Swift computer language, that could be a lead in to iOS mobile app development via Xcode and (paying, or not) careers in Information Technology?!
Or perhaps you are on an iPad and wish to fork out the $14.99 and get into Python, then that would be interesting too, we have no doubt. Either way, see how we R&D‘ed this topic, on an iPad, with today’s PDF presentation (dare we say) following orders.
We’ve also heard, but have not researched this, that Apple is making changes with iPad products into the future, to improve their programming capacities. Stay tuned, with Apple, on that.
If this was interesting you may be interested in this too.
If this was interesting you may be interested in this too.
If this was interesting you may be interested in this too.


