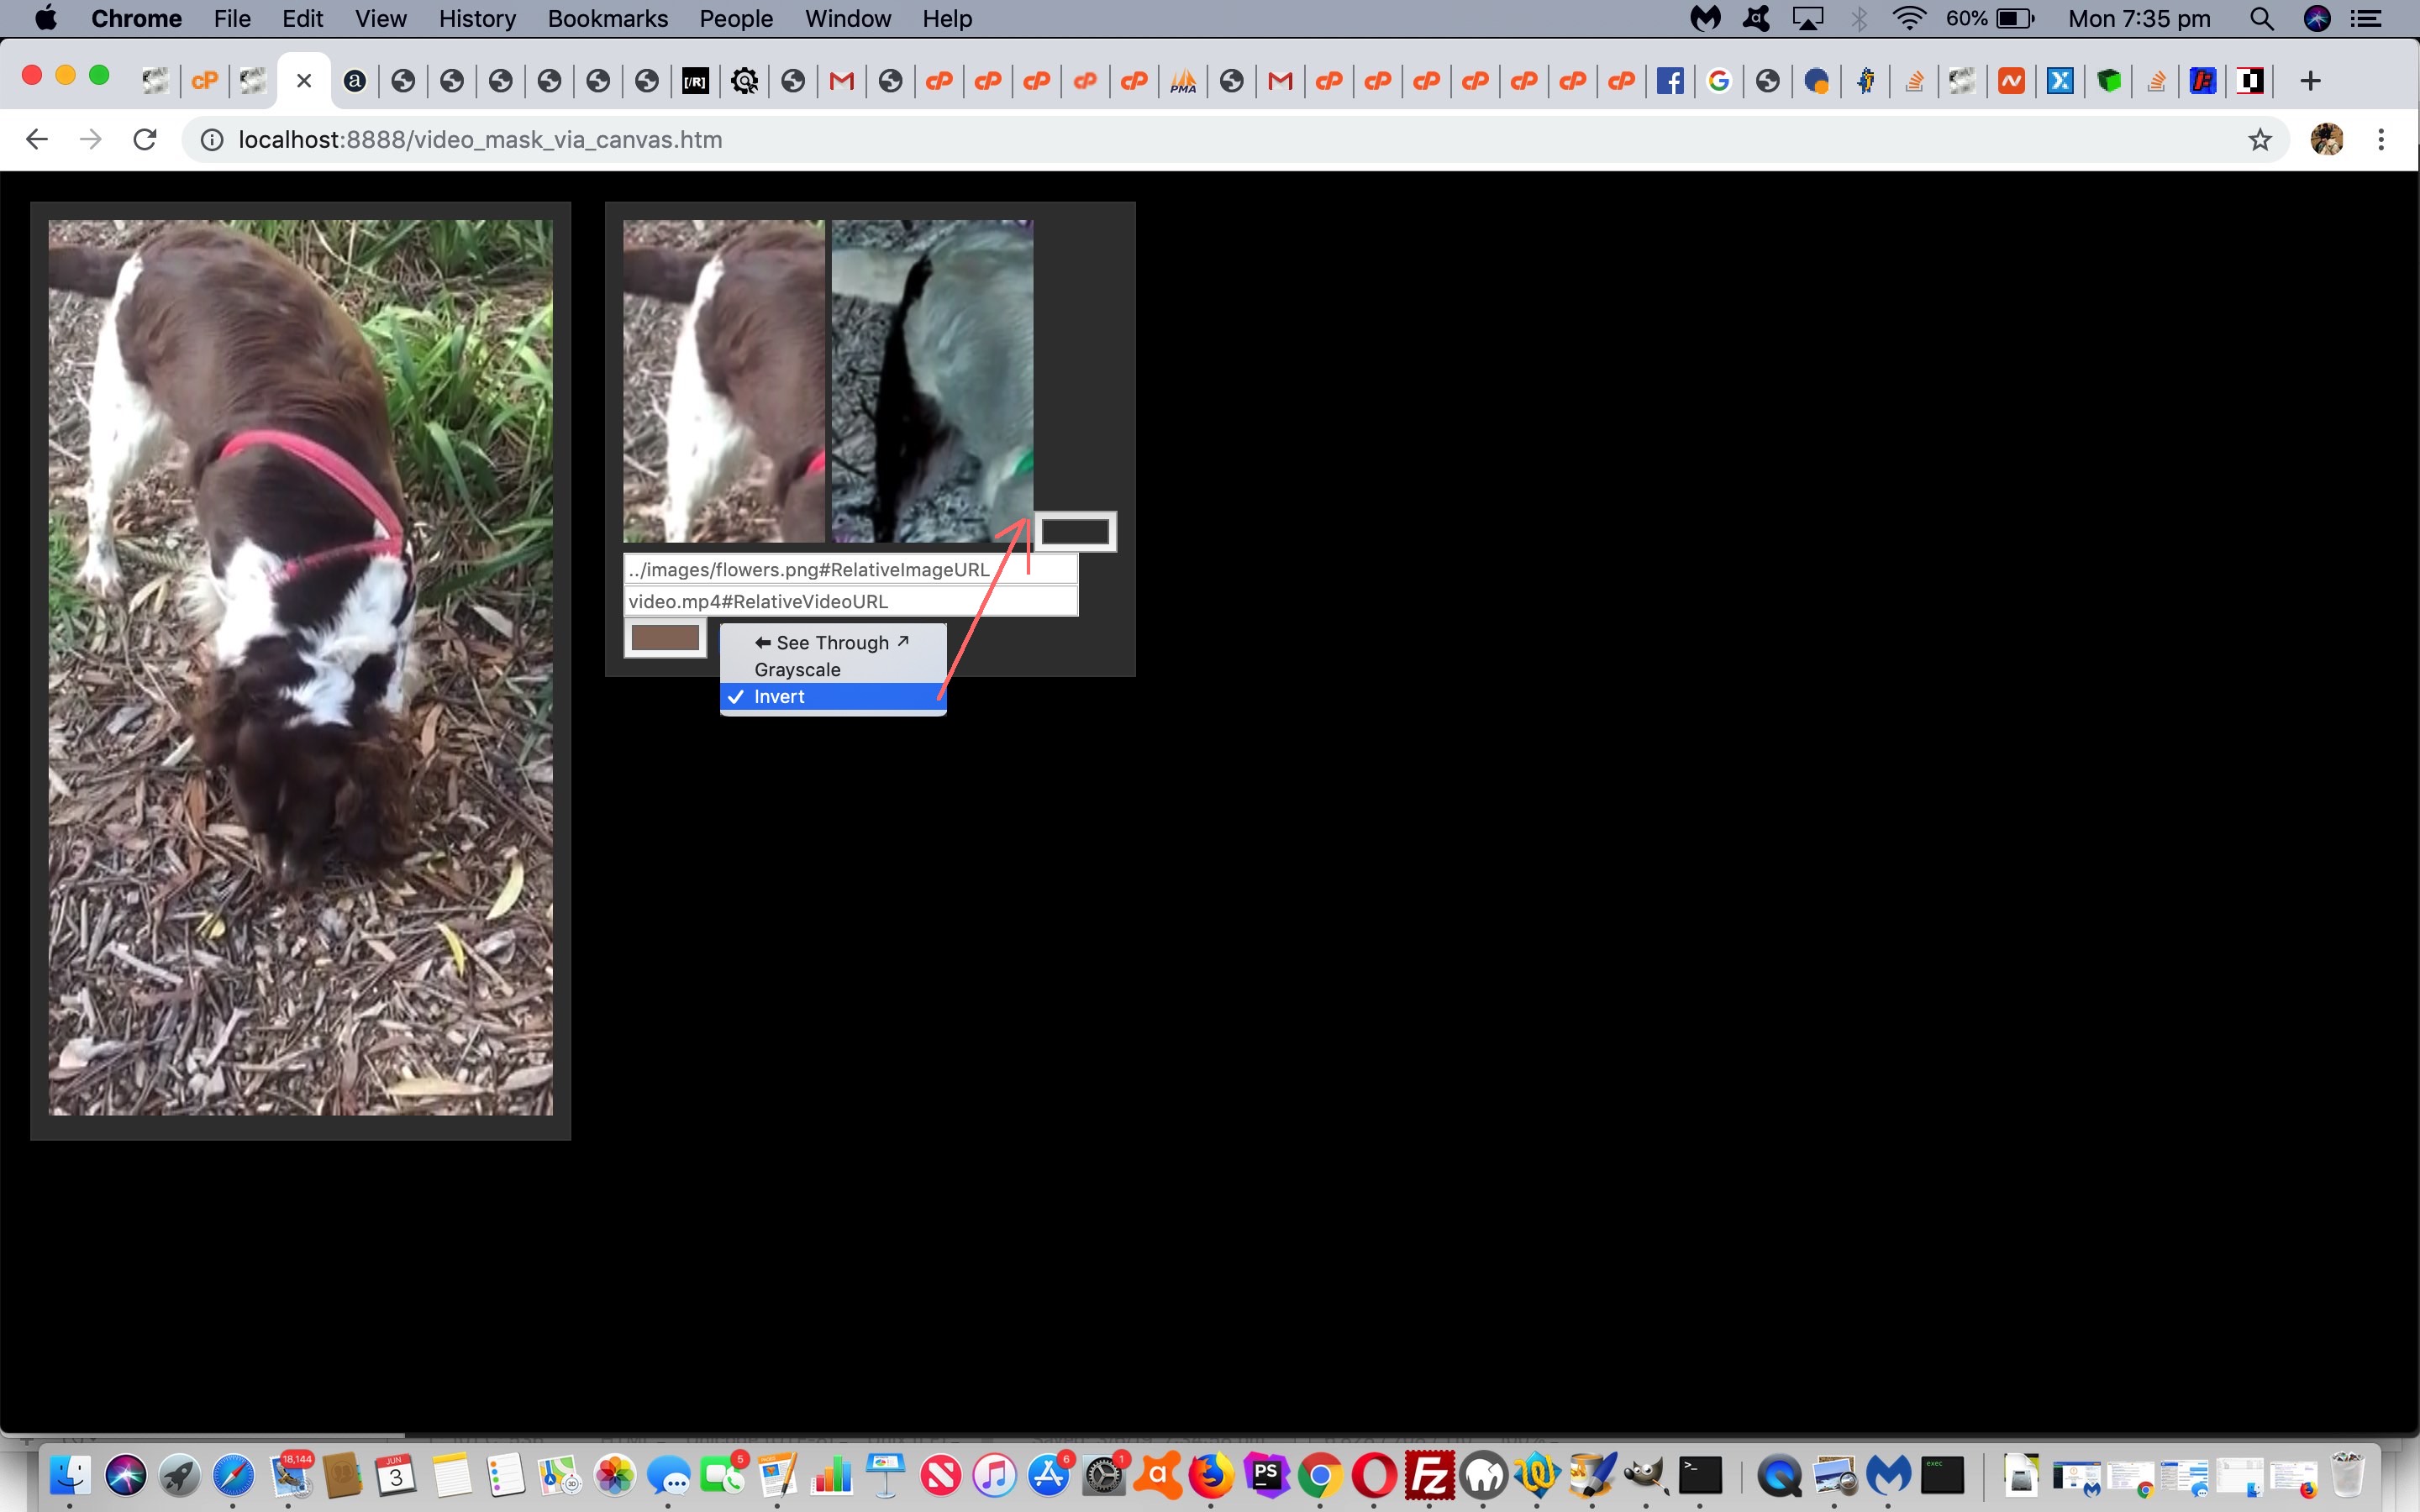
The recent Video Mask via Canvas Primer Tutorial got us started on a dynamic video manipulation tool that we see as …
- “see through” or masking functionality … and onto that today, we’d like to add two more pixel manipulation ideas, those being …
- grayscale … and …
- colour inversion
… so that aforesaid mentioned Javascript function becomes …
    computeFrame: function() {

      var imr=146;

      var img=117;

      var imb=101;

      var mode=0; // see through

      var bright=0;

      if (document.getElementById('mr')) {

      if (document.getElementById('mr').value != '') {

      imr=eval('' + document.getElementById('mr').value);

      }

      }

      if (document.getElementById('mg')) {

      if (document.getElementById('mg').value != '') {

      img=eval('' + document.getElementById('mg').value);

      }

      }

      if (document.getElementById('mb')) {

      if (document.getElementById('mb').value != '') {

      imb=eval('' + document.getElementById('mb').value);

      }

      }

      this.ctx1.drawImage(this.video, 0, 0, this.width, this.height);

      let frame = this.ctx1.getImageData(0, 0, this.width, this.height);

          let l = frame.data.length / 4;


      if (document.getElementById('mode')) {

          mode=eval('' + document.getElementById('mode').value);

          if (mode == 1) {  // going grey

      for (let i = 0; i < l; i++) {

        bright = 0.34 * frame.data[i * 4 + 0] + 0.5 * frame.data[i * 4 + 1] + 0.16 * frame.data[i * 4 + 2];

        frame.data[i * 4 + 0]=bright;

        frame.data[i * 4 + 1]=bright;

        frame.data[i * 4 + 2]=bright;

      }

          } else if (mode == 2) { // invert colours

      for (let i = 0; i < l; i++) {

        frame.data[i * 4 + 0]=255 - frame.data[i * 4 + 0];

        frame.data[i * 4 + 1]=255 - frame.data[i * 4 + 1];

        frame.data[i * 4 + 2]=255 - frame.data[i * 4 + 2];

      }

          }

      }


      if (mode == 0) {

      for (let i = 0; i < l; i++) {

        let r = frame.data[i * 4 + 0];

        let g = frame.data[i * 4 + 1];

        let b = frame.data[i * 4 + 2];

        if ((Math.abs(r - imr) <= 43 && Math.abs(g - img) <= 43 && Math.abs(b - imb) <= 43) || (1 == 6 && r > 200)) { frame.data[i * 4 + 3] = 0; }

      }

      }

      this.ctx2.putImageData(frame, 0, 0);

      return;

    }

  };
As well, we see the video itself as a parameterizable concept of the web application (as part of our continuing “genericization drive”) and offer logics to handle a user entered relative URL as far as that goes. Perhaps here, though, you can imagine where we’ll go with this on the next occasion.
The changed video_mask_via_canvas.html has this live run link for you to try, and which supervises the changed external Javascript processor.js).
Previous relevant Video Mask via Canvas Primer Tutorial is shown below.
Thanks to Manipulating Video using Canvas we have a …
- video … meets …
- canvas … may meet …
- image … or background colour … masking mechanism
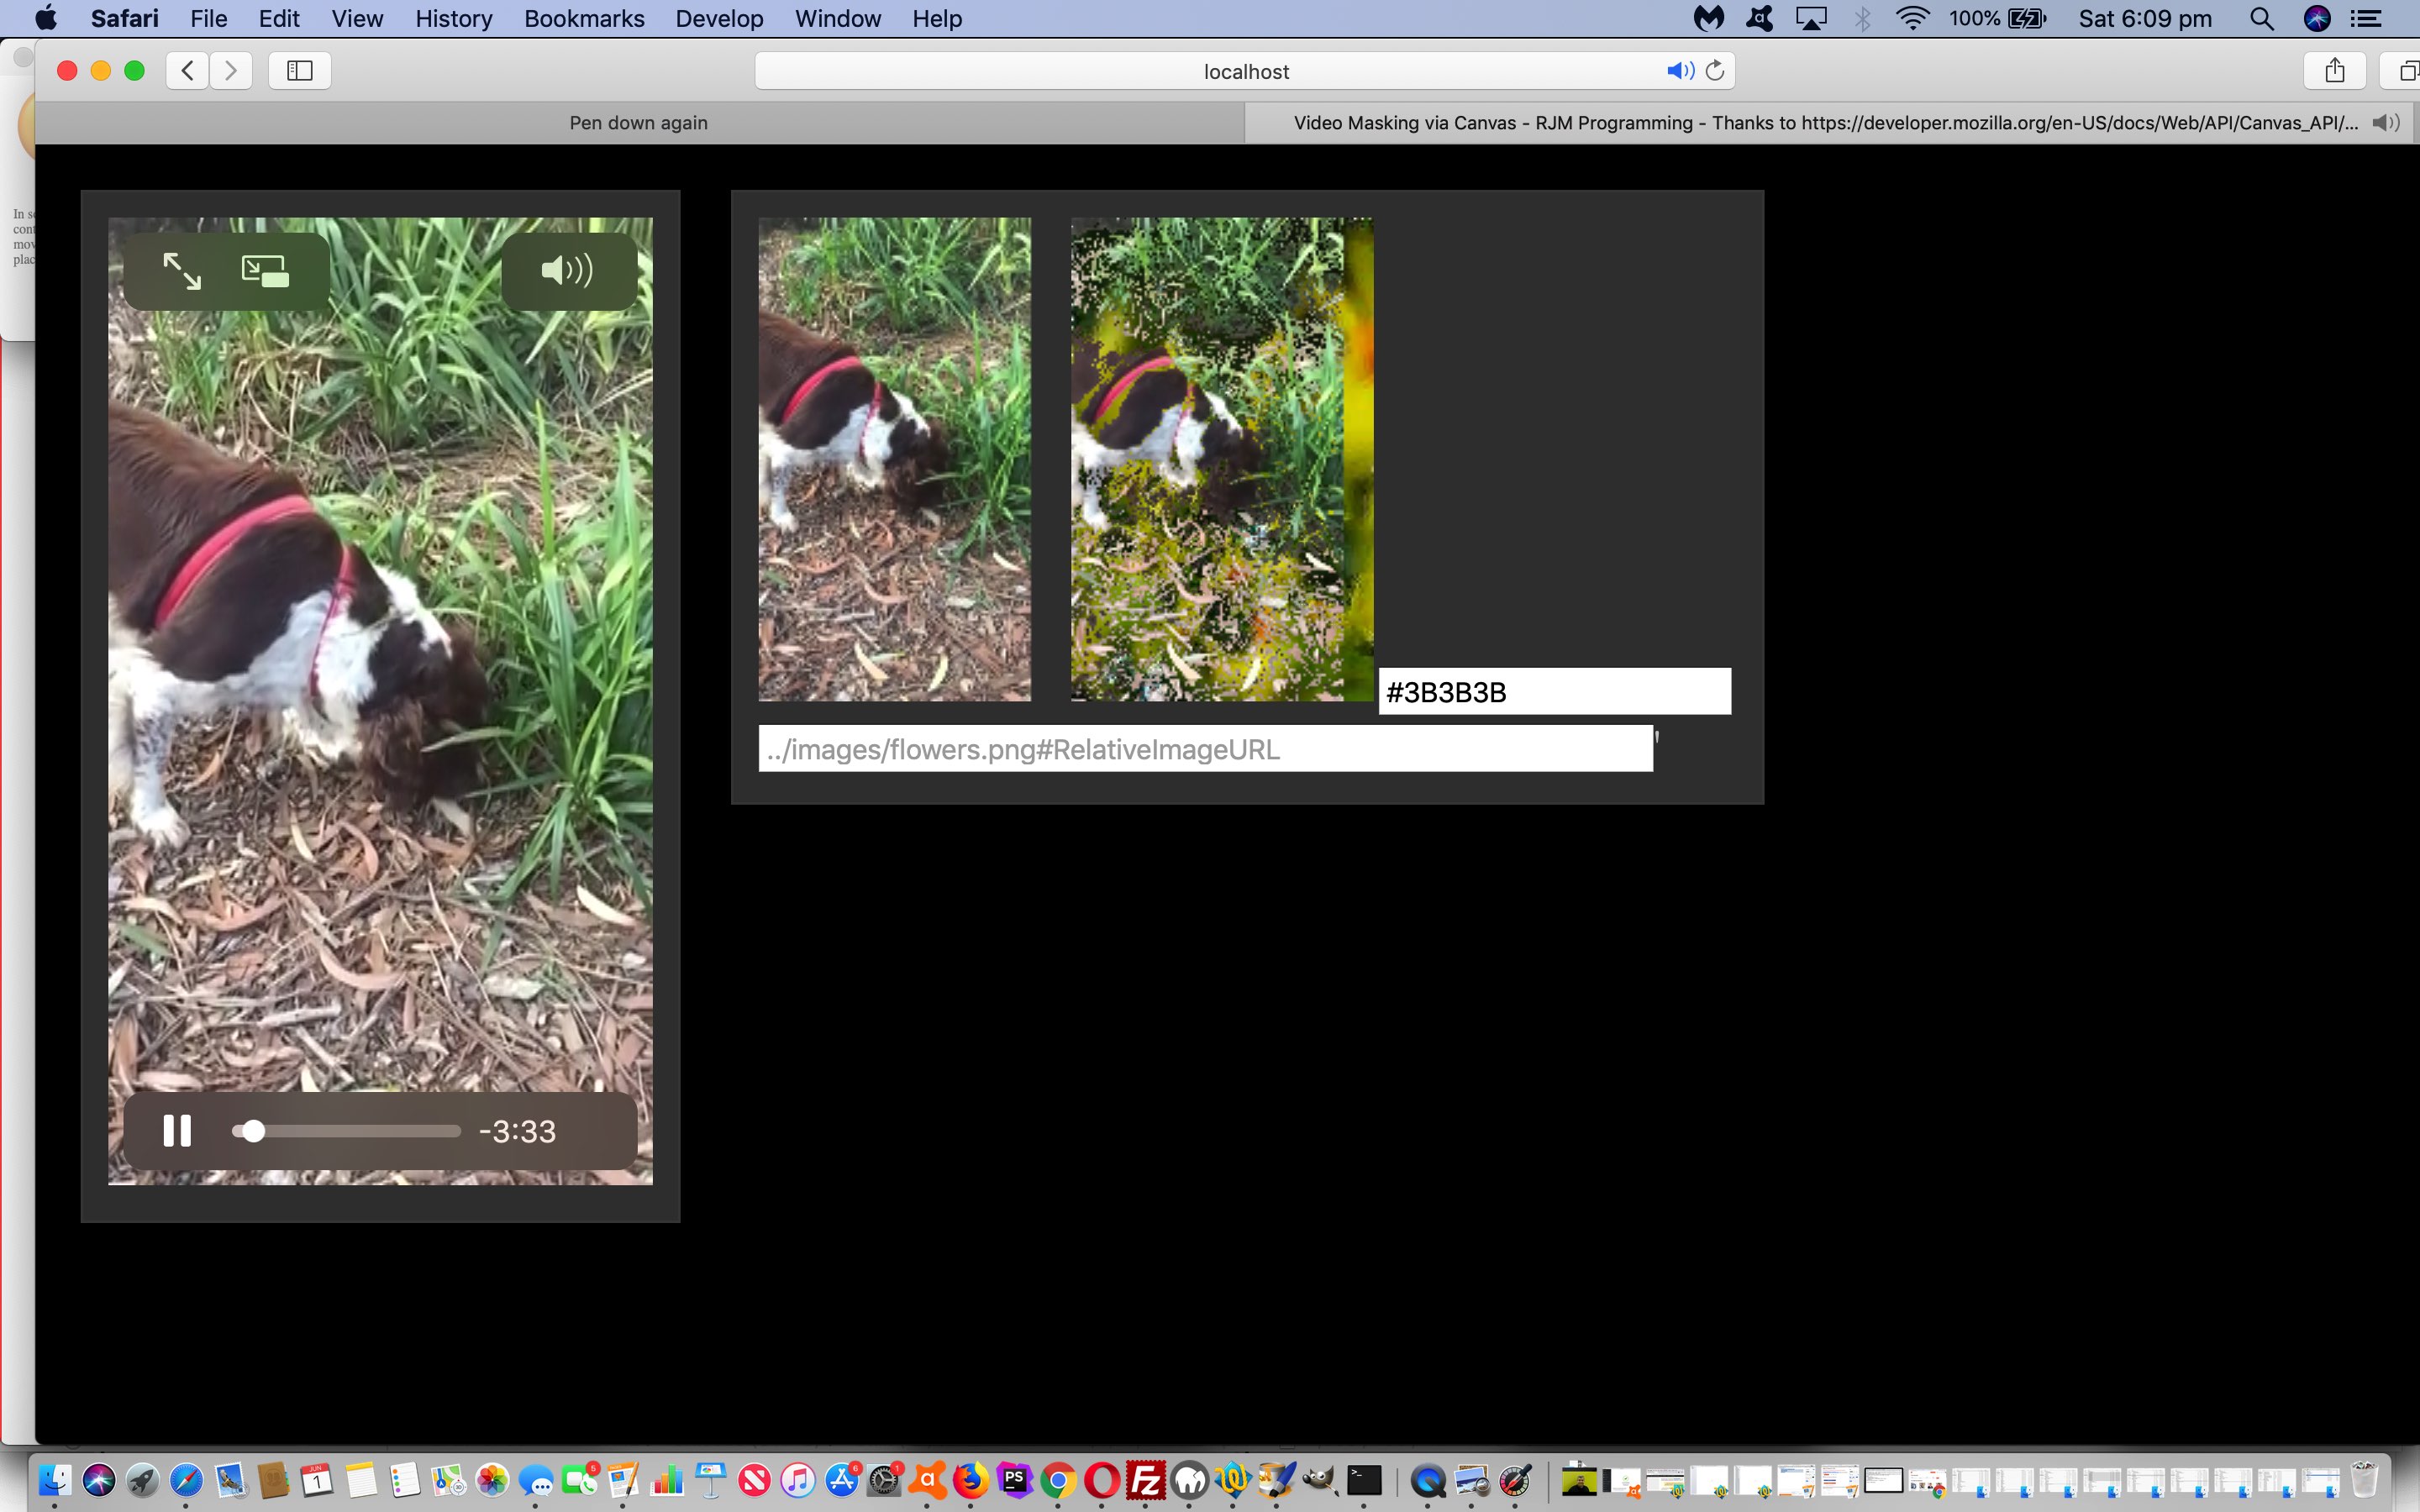
… today with a new web application (called video_mask_via_canvas.html) live run (supervising external Javascript processor.js) whereby a video is accompanied by a left canvas recreation of any one frame of the video as it plays and a right one subject to masking functionality as per …
    computeFrame: function() {

      this.ctx1.drawImage(this.video, 0, 0, this.width, this.height);

      let frame = this.ctx1.getImageData(0, 0, this.width, this.height);

          let l = frame.data.length / 4;


      for (let i = 0; i < l; i++) {
        let r = frame.data[i * 4 + 0];
        let g = frame.data[i * 4 + 1];
        let b = frame.data[i * 4 + 2];
        if ((Math.abs(r - 146) <= 43 && Math.abs(g - 117) <= 43 && Math.abs(b - 101) <= 43) || (1 == 6 && r > 200)) { frame.data[i * 4 + 3] = 0; }

      }

      this.ctx2.putImageData(frame, 0, 0);

      return;

    }

  };
… where we “masked” near to the rgb(146,117,101) dark brown (the rgb() details of which we gleaned via our MacBook Pro’s Digital Color Meter desktop application you can read more about at Digital Colour Meter on Mac Laptop Tutorial) that is near to our dog Luna’s liver coloured fur, as the star of the video. The effect of the masking is a splash of colour around Luna as pixels of that type above near to that liver “dark brown” become transparent and let through what is in the background, whether that be that background colour selected by our HTML input type=color colour picker or our HTML input type=text element optionally asking for a relative image URL to use as the masking helper.
We hope this is of interest to you.
If this was interesting you may be interested in this too.
If this was interesting you may be interested in this too.


