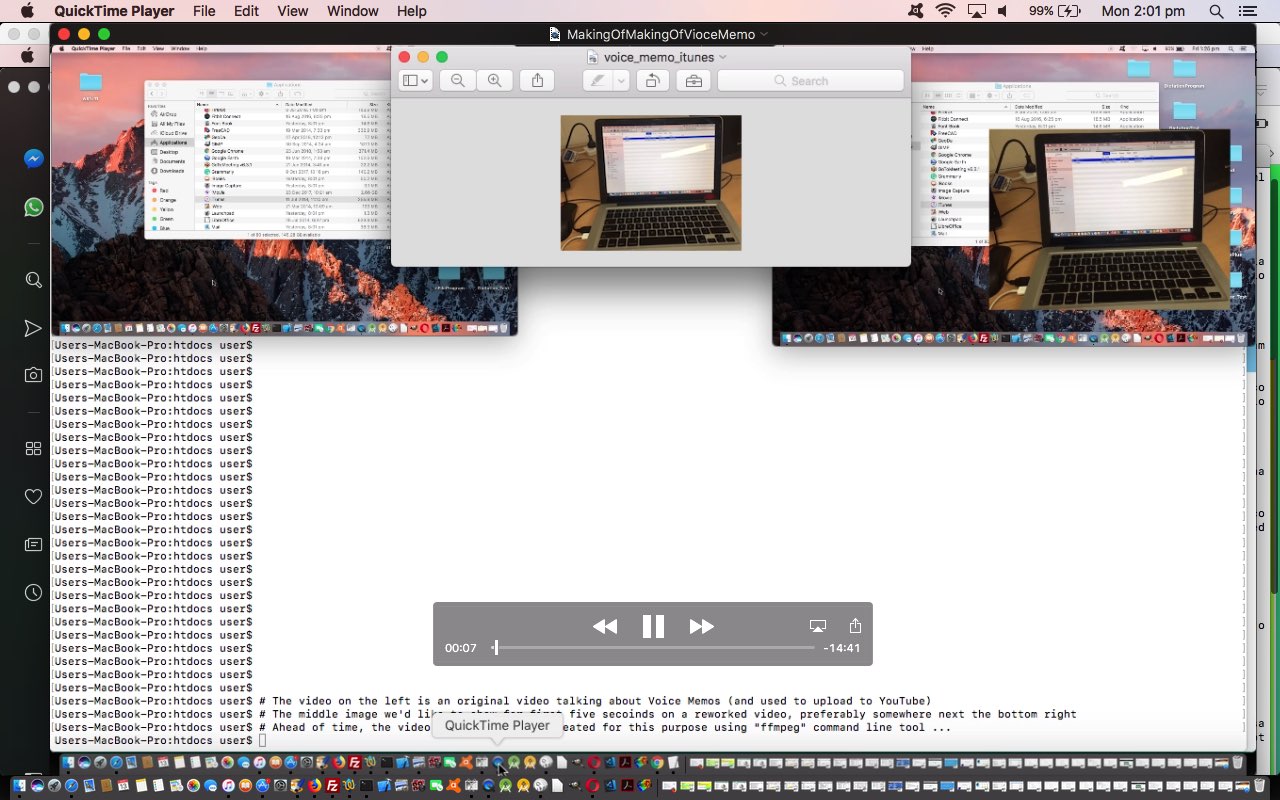
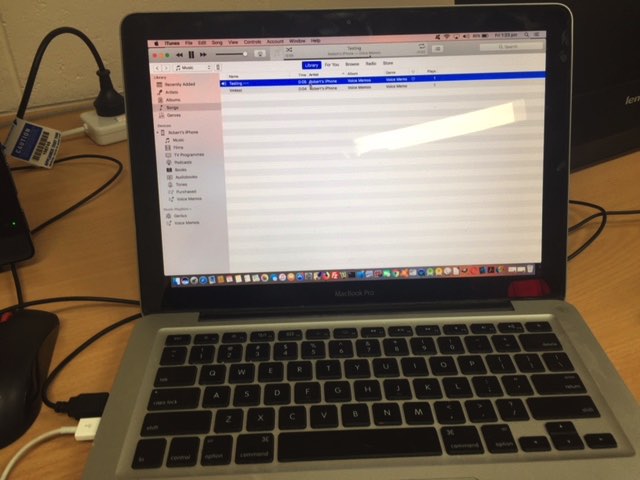
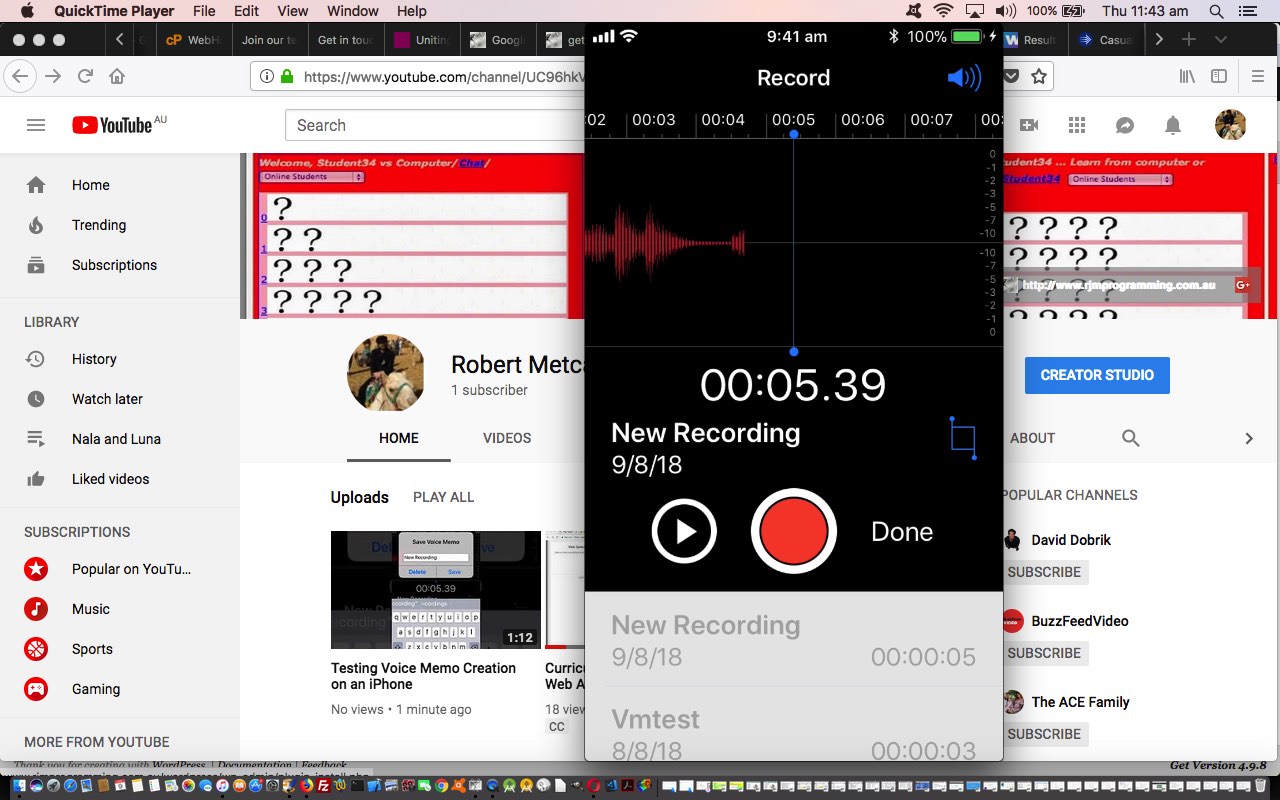
We’re often interested in “making of” techniques for presentations. Today’s topic involves video editing, and for us today, we call on the best Mac OS X command line video editing and manipulation tool we know of, that being ffmpeg. For installation advice on this take a look at our latest efforts here at Video via Slide Images and Back Again via ffmpeg Primer Tutorial. The “making of” reference is to the recent Voice Memo on iPhone iTunes Tutorial which followed up Voice Memo on iPhone Primer Tutorial to record a Voice Memo on an iPhone and upload that instructional video to YouTube. Before such uploads to YouTube happen, however, we have the QuickTime Player created video accessible to us here on this MacBook Pro that recorded the goings on which resulted in a *.mov video. That video was a screen capture of the iPhone screen, but what also of interest contextually here are not only the …
- iPhone 6 … but how we used an …
- Apple white lead … with its USB end connected to the …
- MacBook Pro … recording the iPhone goings on with its QuickTime Player Movie Recording (of the iPhone) functionality
… and to help with this context we thought we’d like to include Voice Memo on iPhone iTunes Tutorial‘s tutorial picture into a new version of the video, as an overlayed image that just appears for the first five seconds of the video to give the user that context, we hope?! Do you feel contextual now? Will you feel contextual at 5pm?
How to do? We came upon this wonderful advice, thanks, and so we were on our way to compiling today’s YouTube video as below …
… where the ffmpeg command we used in a Mac OS X Terminal window was …
ffmpeg -i toitunes.mov -i voice_memo_itunes.jpg -filter_complex "[0:v][1:v] overlay=575:225:enable='between(t,0,5)'" -pix_fmt yuv420p -c:a copy toitunes.mp4
… where the …
- toitunes.mov is input video
- “575:225” relates to “left:top” overlay thinking
- voice_memo_itunes.jpg is the overlay image
- between(t,0,5) says to overlay the image between 0 seconds and 5 seconds
- toitunes.mp4 is output video … that was the upload for the YouTube video …
We hope you can see what a powerful tool ffmpeg can be.
You can also see this play out at WordPress 4.1.1’s Voice Memo Video Presentation Edit Tutorial.
Previous relevant Voice Memo on iPhone iTunes Tutorial is shown below.
Yesterday’s Voice Memo on iPhone Primer Tutorial got us …
- creating a Voice Memo saved on an iPhone … ready for today’s …
- exporting of that iPhone Voice Memo onto a MacBook Pro’s version of iTunes via an Apple white lead connecting the iPhone to the MacBook Pro
Mac OS X or iOS (or indeed Windows) versions of iTunes are great desktop applications capable of being your repository “central” for Music and/or Videos and/or (as we show today) Voice Memos that could have been created on your mobile device (out and about) as a dictation exercise, or as an informational audio media piece of content.
Think “Apple white lead” and two Apple devices and you can think “iTunes”. For a very long time now, iTunes has been the first point of call on either end of a multiple device sharing arrangement with Apple white leads, or other non-lead arrangements, to “Sync” devices for media.
Today, we’ve used QuickTime Player on a MacBook Pro while connected to the iPhone 6 with the Voice Memo via an Apple white lead to make the YouTube video below …
… to show you how to transfer (or Sync) for an iPhone connected to a MacBook Pro, but a student and I succeeded quite easily achieving a similar effect for an iPhone and a Windows 10 laptop …
- have iPhone and MacBook Pro ready …
- connect the Apple white lead with USB end at the MacBook Pro
- click the MacBook Pro’s iTunes icon or do this with Finder in the Applications folder
- answer any questions asked ready to up the top (to the right of that menu) see an iPhone icon that you click … revealing …
- media contents on the iPhone appears and down the bottom right you’ll see proportions of iPhone diskspace used and a Sync button and a Done button, and up the top a checkbox talking about Sync and showing options …. so …
- up the top amongst the checkboxes, as required, make sure Voice Memos will be Synced …
- optionally click the top checkbox to allow a Sync Music operation …
- click the Sync button down at the bottom menu justified right …
- Voice Memos not already Synced in the past will find their way into the MacBook Pro’s “Music” part of its iTunes library … so to hear them …
- click the MacBook Pro’s Music section of the left menus to see your newly imported Voice Memos ready to be able to play them, and if all is well …
- click the eject (arrow up) icon next to the iPhone icon on the left menu to eject the connection …
- disconnect the Apple white lead, as required
Previous relevant Voice Memo on iPhone Primer Tutorial is shown below.
If you are on the go with a mobile device such as the iPhone 6 of today’s tutorial, and think of an idea, you may want to consider dictating your thoughts into a Voice Memo.
Today, we’ve used QuickTime Player on a MacBook Pro connected to the iPhone 6 via an Apple white lead to make the YouTube video below …
… to show you how to …
- be at the iPhone desktop (via Home button taps)
- tap (touch) “Extras” (maybe “Utilities”) folder to reveal a Voice Memos icon …
- tap “voice Memos” icon …
- tap speakers icon at top right and set to “iPhone” (and you may need to ensure the volume is up enough for a dictation type of audio recording) then …
- as necessary drag start of Voice Memo to zero seconds and …
- tap red circle record button (it goes square) …
- dictate what you want to record then …
- tap (that now square) red button to stop recording the Voice Memo …
- optionally play it back via dragging pointing back to zero seconds again before tapping left pointing play button to hear back the Voice Memo … and …
- if you want to Save the Voice Memo tap the “Done” link and fill out a Voice Memo filename saved to your iPhone and that you will see listed as you re-enter the Voice Memo app the next time
Useful, we hope, huh?!
If this was interesting you may be interested in this too.
If this was interesting you may be interested in this too.
If this was interesting you may be interested in this too.


