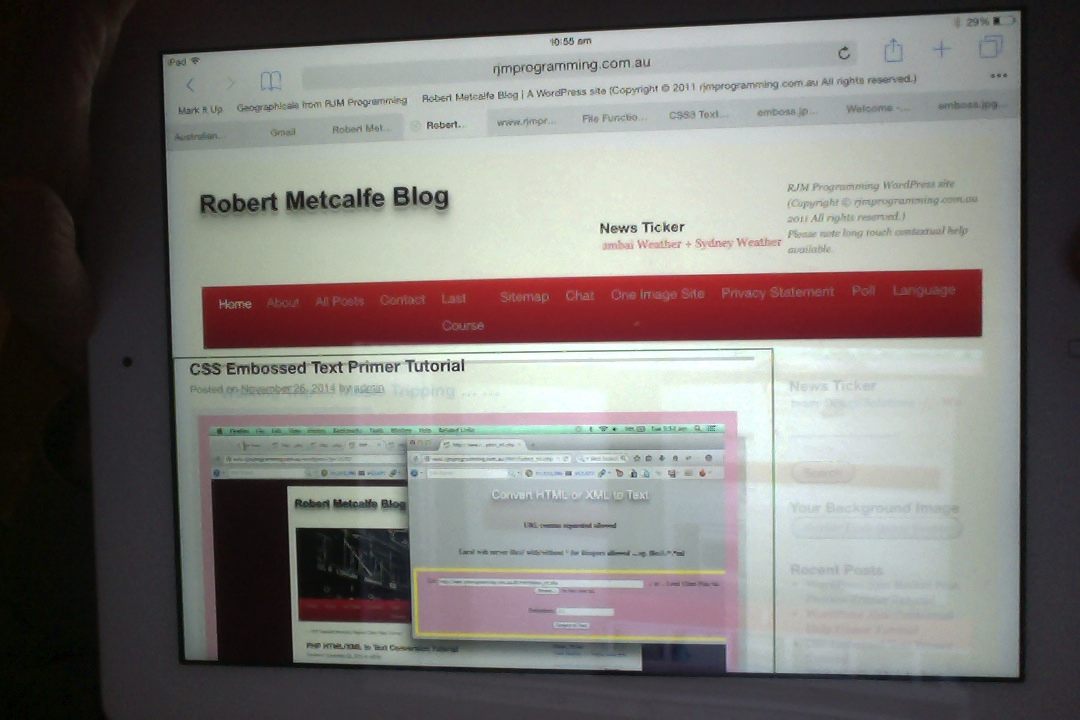
Building on yesterday’s WordPress Ajax Recent Post Preview Primer Tutorial and continuing on with the set up of this blog for Ajax use for a laptop or desktop that recognises the onmouseover event, today we create a way whereby mobile devices can also now access the Ajax functionality, by creating logic for all the same HTML elements, but use ontouchstart and ontouchend events (rather than the non-mobile onmouseover and onmouseout event usage).
Ajax thoughts can be applied to a number of usages, as it is functionality that you may have thought to do by going to a new URL in a new tab or window, but allow the user to do on the same webpage they are on currently. The contextual nature of this can be great for a new user, but may annoy the user who “knows the ropes”, so that functionality should have an “out” which is, in our case, the difference between “short hover” and “long hover” on non-mobiles, and “short touch” and “long touch” on mobile devices.
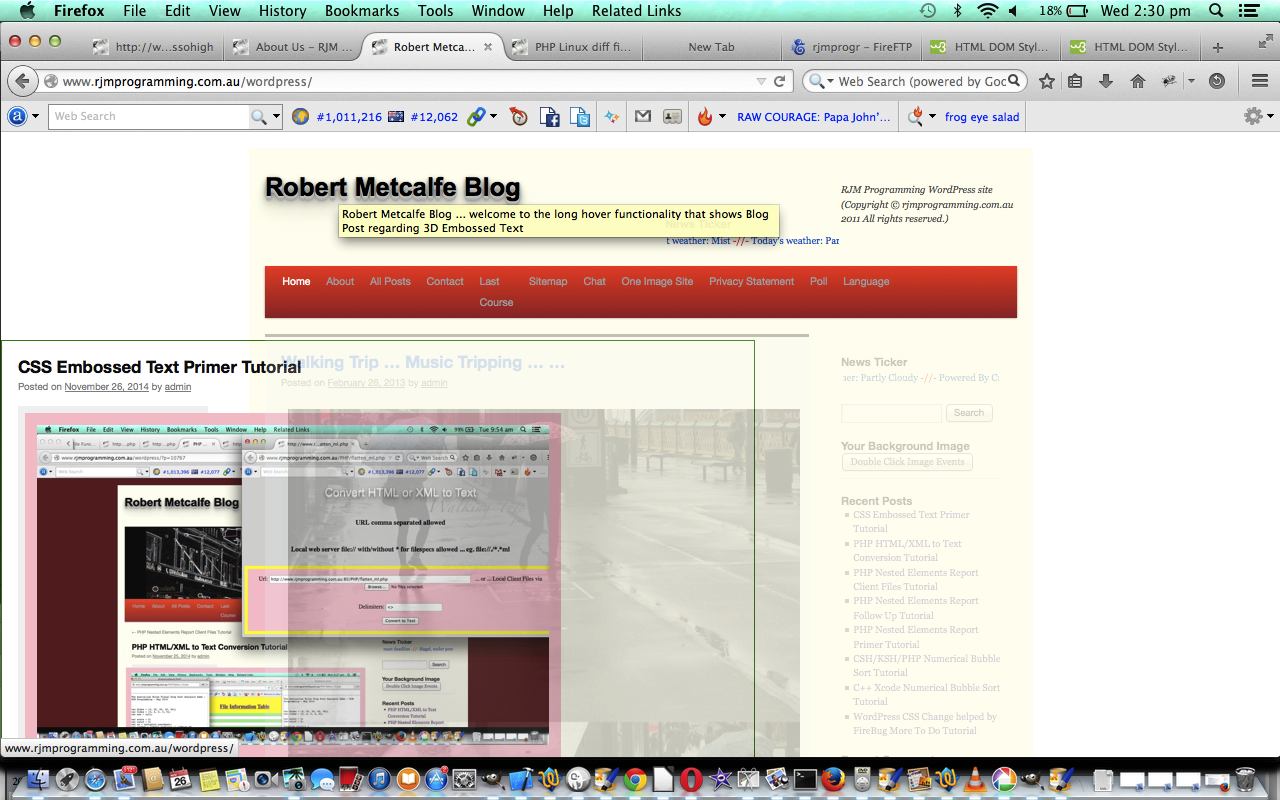
So, today, with Ajax, we allow for contextual Blog Posting help when the user “long touches” some mobile links or “long hovers” over some non-mobile links on the WordPress Blog webpage.
So some of the features of this Ajax code specific to mobile device issues are:
- we use the ontouchstart event … rather than the onmouseover event
- we use the ontouchend event … rather than the onmouseout event
The new WordPress external Javascript code is downloadable as wajax.js and its changes specific to mobile device usage can be seen via wajax.js
Hopefully the Ajax today sets your mind to trying some Ajax for mobile or non-mobile yourself.
Previous relevant WordPress Ajax Recent Post Preview Primer Tutorial is shown below.
Yesterday’s WordPress Ajax Contextual Help Primer Tutorial set up this blog for Ajax use for a laptop or desktop that recognises the onmouseover event.
Ajax thoughts can be applied to a number of usages, as it is functionality that you may have thought to do by going to a new URL in a new tab or window, but allow the user (on a laptop or desktop (only) … just in our case yesterday and today … only because our code uses the onmouseover event to attach the functionality) to do on the same webpage they are on currently. The contextual nature of this can be great for a new user, but may annoy the user who “knows the ropes”, so that functionality should have an “out” which is, in our case, the difference between “short hover” and “long hover”.
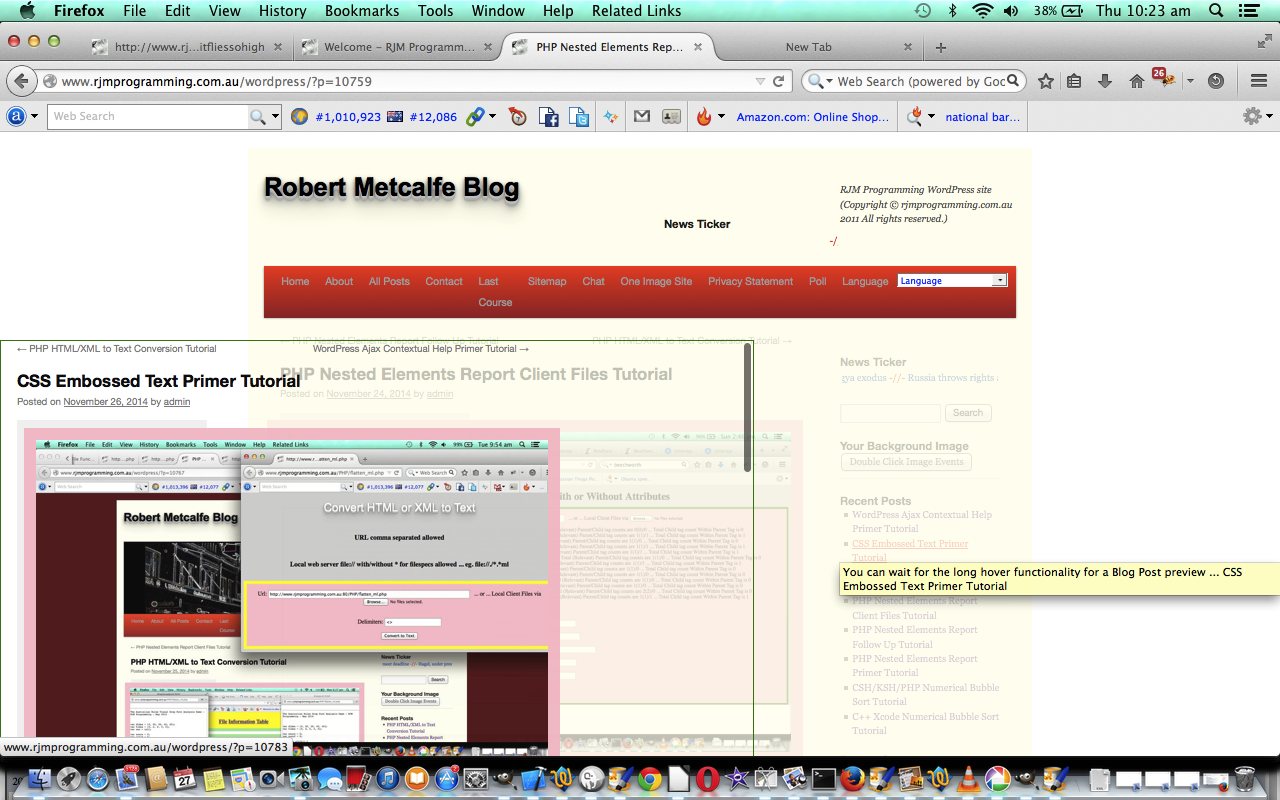
So, today, with Ajax (you know the drill), we allow a preview of a Blog Posting when the user “long hovers” over a link within the Recent Posts menu.
Yesterday we forgot one feature of the Ajax code which applied yesterday and today (as all the yesterday ones also apply to today’s):
- we use document.body.style.zindex=8; to help make the advice links “sit” above their counterparts, to be clickable and active
… and, specifically, today, we have …
- we rewrite document.getElementById(‘recent-posts-2’).innerHTML to get the Javascript event logic into the HTML itself
The new WordPress external Javascript code is downloadable as wajax.js and its changes specific to Recent Post Previews can be seen via wajax.js
Hopefully the Ajax today sets your mind to trying some Ajax yourself … bye for now.
Previous relevant WordPress Ajax Contextual Help Primer Tutorial is shown below.
Yesterday’s CSS Embossed Text Primer Tutorial set the mind to address an Ajax piece of functionality to help out with contextual help with features local to this WordPress blog, so that the user can use a “long hover” (and my apologies to mobile users, here, who do not have an onmouseover event here) to bring up the relevant blog post addressing the change to the WordPress blog that brought about the feature they are hovering over. That HTML element the user hovers over uses the usual HTML element title parameter for the “short hover” period, so during that period we do a ” … ” additional part to the title saying that if they hover longer than usual they can receive this contextual blog posting advice … ie. it is contextual, and it uses Ajax.
So some of the features of this Ajax code are:
- we use the onmouseover event … sad news for mobile users
- we use document.body.style.backgroundColor=’transparent’; to help bring out the advice by lessening the background
- we use document.getElementById(‘main’).style.opacity=0.2; to also help bring out the advice by lessening the background
- we rewrite document.getElementById(‘branding’).innerHTML to get the additional advice to sit up near the top
- we use Javascript setInterval() to differentiate the “short hover” from the Ajax “long hover” logic
- we use Javascript window.prompt() to ask if the functionality should proceed
- we use Javascript window.open() to allow for the second mode of viewing in a new window, as required
The new WordPress external Javascript code is downloadable as wajax.js
To install this code into the WordPress code we use our old favourite header.php in your theme’s directory via code …
-
<script type='text/javascript' src='http://www.rjmprogramming.com.au/wordpress/wp-admin/js/wajax.js'></script>
… placed in the header section between <head> and </head>
-
…
function courseCookies() {
winit(); // Ajax functionality 26/11/2014 … slow hover … not for mobile
…… changed bits are bold above … or if there is no Course Design functionality, then you just need something like
<body onload=" winit(); ">(rather than just <body>)
To give it a try, and you are on a laptop or desktop you could try hovering over the blog’s title for longer than usual … hope it leads to ideas you may be able to use.
Previous relevant CSS Embossed Text Primer Tutorial is shown below.
Sometimes it is good to give a 3D embossed effect (with text shadowing) to some text HTML elements for the purpose of attracting the user’s attention and giving that 3D effect for vibrancy.
Today we’ve applied some CSS to do this in a number of combinations:
- With WordPress Blog title via changes to header.php as per the bold code below …
<link rel="stylesheet" type="text/css" media="all" href="<?php bloginfo( 'stylesheet_url' ); ?>" />

<style>

.mypclass { color:rgb(185,127,206); }

#mypid { color:rgb(185,127,206); }

.mypclass2 { background-color:rgb(185,127,206); color:'black'; }

.mypclass22 { background-color:rgb(185,127,206); color:'black'; }

#mypid2 {  background-color:rgb(185,127,206); color:'black';  }


#ahomeis {

    color: #ffffff;

    font: 24pt Arial;

    text-shadow: 0 1px 0 #ccc, 0 2px 0 #c9c9c9, 0 3px 0 #bbb, 0 4px 0 #b9b9b9, 0 5px 0 #aaa, 0 6px 1px rgba(0, 0, 0, 0.1), 0 0 5px rgba(0, 0, 0, 0.1), 0 1px 3px rgba(0, 0, 0, 0.3), 0 3px 5px rgba(0, 0, 0, 0.2), 0 5px 10px rgba(0, 0, 0, 0.25), 0 10px 10px rgba(0, 0, 0, 0.2), 0 20px 20px rgba(0, 0, 0, 0.15);

}


</style>

<link rel="pingback" href="<?php bloginfo( 'pingback_url' ); ?>" />
- Landing Page (and other) HTML of www.rjmprogramming.com.au …
<style>

#rjmp {

    color: #777777;

    font: 24pt Arial;

    text-shadow: 0 1px 0 #ccc, 0 2px 0 #c9c9c9, 0 3px 0 #bbb, 0 4px 0 #b9b9b9, 0 5px 0 #aaa, 0 6px 1px rgba(0, 0, 0, 0.1), 0 0 5px rgba(0, 0, 0, 0.1), 0 1px 3px rgba(0, 0, 0, 0.3), 0 3px 5px rgba(0, 0, 0, 0.2), 0 5px 10px rgba(0, 0, 0, 0.25), 0 10px 10px rgba(0, 0, 0, 0.2), 0 20px 20px rgba(0, 0, 0, 0.15);

}

</style>
- File Information Table fileinfotable.php changes can be seen via fileinfotable.php using emboss_h1.css
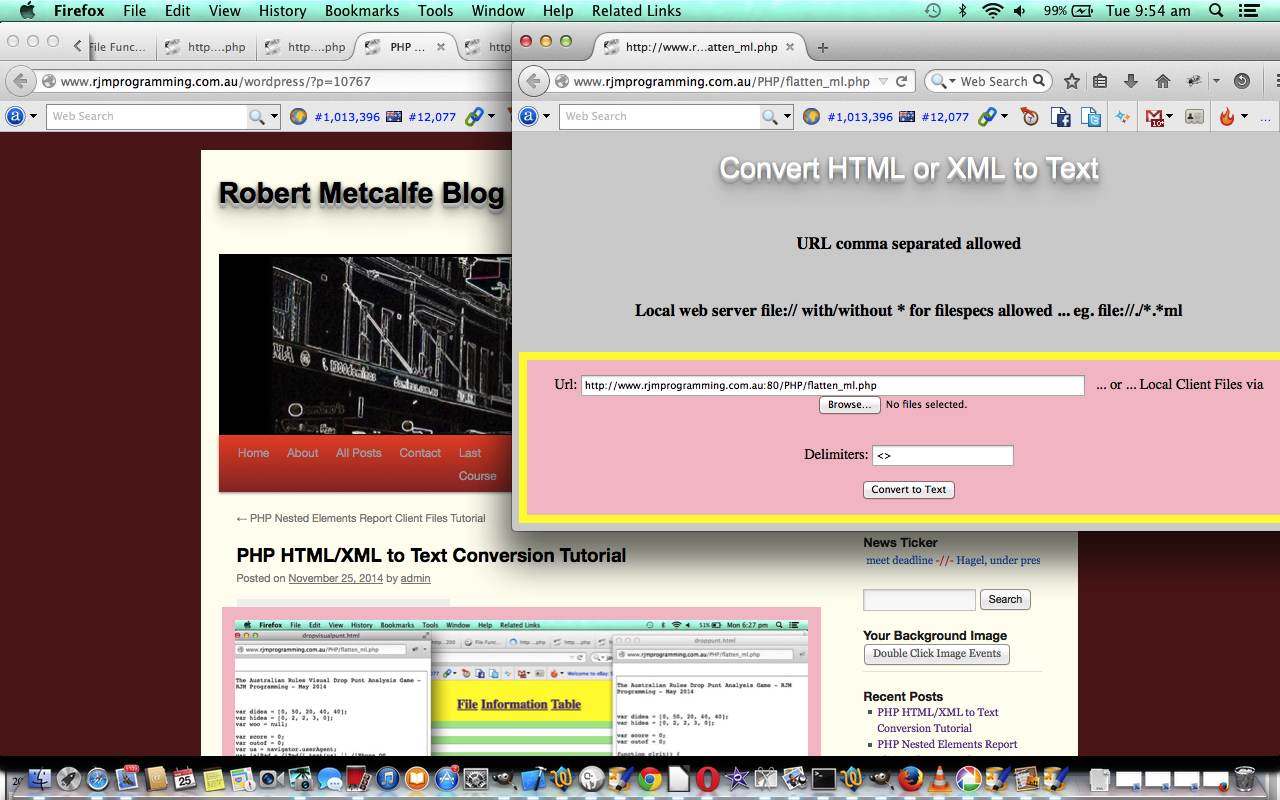
- HTML/XML to Text Conversion flatten_ml.php changes can be seen via flatten_ml.php
Hope you enjoy today’s tutorial.
If this was interesting you may be interested in this too.
If this was interesting you may be interested in this too.
If this was interesting you may be interested in this too.
If this was interesting you may be interested in this too.


