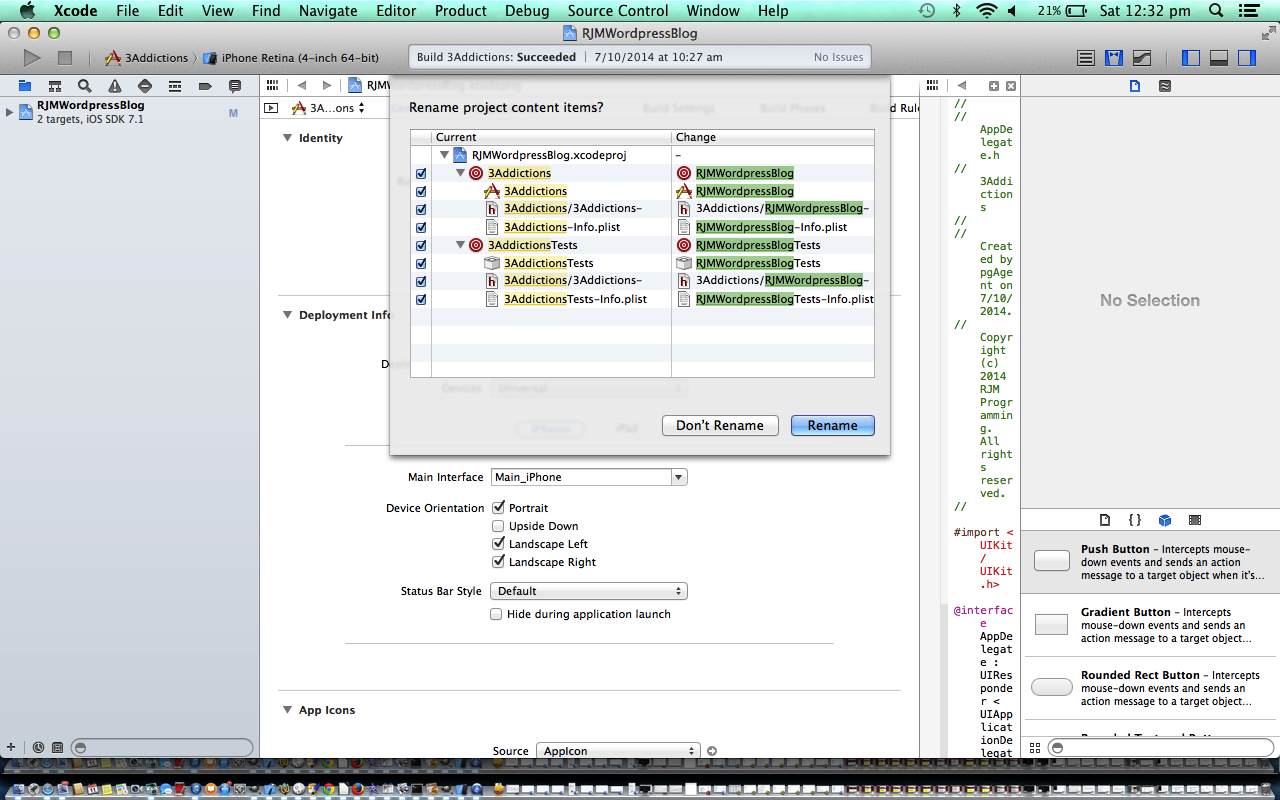
The Xcode IDE, like many IDEs, holds that special fascination for the occasions when you, the user, (or youse, the users (chortle, chortle)) can go “File->New Project” as we showed, below, with the previous Xcode iOS Utility Application Primer Tutorial. With a couple more button presses the user will feel that satisfaction of making the fastest progress they can expect to ever feel progressing on a project. Today, though, we take that a little further along and say “we’ve got this Xcode iOS Mobile Project that we would like to ‘clone’ into a new project with a few tweaks because it is so close to what we want”. So you look around the File menu for mention of the word Export, as a first instinct, and, lo and behold it isn’t there … boo hoo. So we go off and find this very useful link, from which we “cherry pick” Diago’s advice, because it is all “déjà vu” all over again for me, and think we’ve gone through this mild pain before … thanks.
Do all the workings of “nib” files and/or “storyboards” come across? … Well, I hate to give away too many surprises so if you want to find out for yourself, view the tutorial, and/or have a sneak peek ?
Today, we show how, with the Xcode IDE and a bit of work the creation of a mobile application showing the use of a UIWebView, the contents being this WordPress Blog (but please know such a scenario is not good without also providing, at least, buttons for the equivalent functionality as the web browser’s back and forward buttons … remember, with UIWebView there is no address bar, and no multiple tabs nor windows … if your webpage has complete forward and backward navigational integrity that could suit a UIWebView “on its lonesome”).
And today we show you some steps in deploying it to an iPad … say some steps, because it ignores all the first steps regarding registering with Apple as an iOS Developer and getting your iPad registered as a development device associated with your iOS Developer Account (accessible by its associated Apple ID) … your (provisioning) profile … because this had already been done with the iPad involved … but if you are into “thrills and spills” (it wasn’t quite as straightforward as shown) take a geek at the upgrade of the iPad’s iOS (operating system) to 8.0.2 and Xcode (on the laptop) to an SDK to suit iOS 8 … the “it’s a great bag of fruit, it’s a Silvertex iOS 8 suit” … very lame chortle, very lame chortle.
So, as with Android development, all this is like the “middle game” that we talked about in Android development, and put into context with Eclipse Android App Google Play Ready Primer Tutorial … with mobile development there are not so big “start games”, big to huge “middle games” and big “end games” (less big with Android “end games”).
As a general comment about Xcode iOS mobile development you must try to get efficient at the linking (or “connecting”) of “nib” file and/or “storyboard” GUI objects to your ViewController.h code and for this, we’d really like to defer to a YouTube video we mentioned in a tutorial a long time back called Wish me luck … 1 of ?) iOS Hello World on iPhone 5 simulator … since then have worked out, with some web browsers, how to lob you at the exact bit, and am hoping you get straight to that bit with this link (please have sound up to hear of role of the “control” button “while dragging”).
This deployment to real devices, of course, is great, as you can’t rely on simulators forever, though the options in this field grow, as you can imagine, because it is impossible to keep up owning all the gadgetry you’d need as a programmer to test for everything with real devices. Don’t confuse this “middle game” “quality assurance” or “unit test” concept with the concept of an “end game” deployment as an Apple App Store app (where there are quite a few extra steps to undertake). When dealing with real devices you will need:
- the device … doh, chortle, doh, chortle
- the Mac OS X laptop that runs Xcode
- the white lead that temporarily connects your iPad or iPhone or iPod mobile device with your Mac OS X laptop that runs Xcode
- a lack of fear of all things “sync”
- the iTunes device (up arrow eject) button to safely eject the device (similar functionality as Windows icon right-click Eject options (in Windows Explorer))
Here is a link to some downloadable Xcode (on a Mac laptop) Objective-C programming source code which you may want to rename to AppDelegate.h, AppDelegate.m, ViewController.h, ViewController.m and main.m
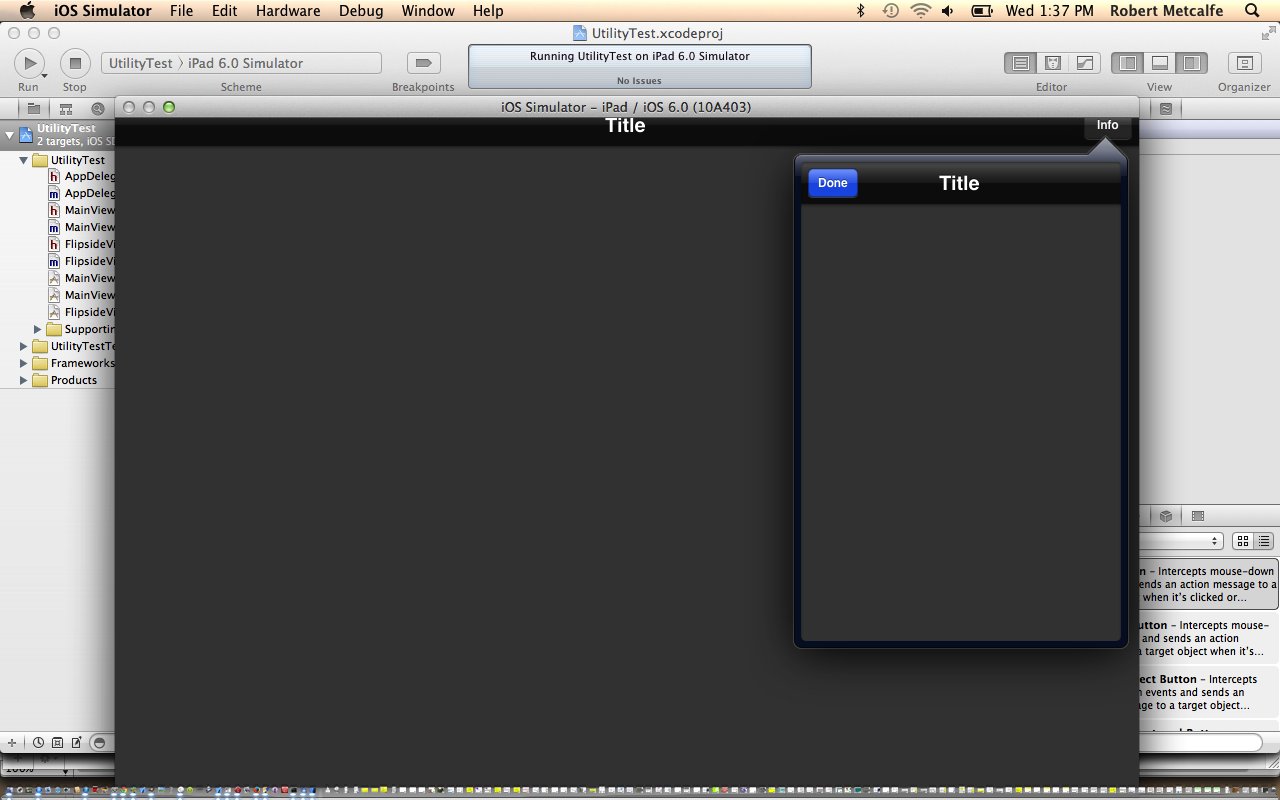
Previous relevant Xcode iOS Utility Application Primer Tutorial is shown below.
The Xcode IDE, like many IDEs, holds that special fascination for the occasions when you, the user, (or youse, the users (chortle, chortle)) can go “File->New Project”. With a couple more button presses the user will feel that satisfaction of making the fastest progress they can expect to ever feel progressing on a project.
This great feeling is well worth it, as long as the user doesn’t fall into the “post FNP navel gazing” period.
Today, we show how, with the Xcode IDE and a few button presses, with no coding (yet), the user can achieve giant leaps in their Xcode iOS Utility mobile application.
IDEs are worth discussing in relation to pros and cons with respect to this:
Pros are …
- speed of initial progress
- the clarity you get to do with the design aspects of seeing what you have after the initial non-coding FNP phase
- the main files you will ever need have been created in the right places with the correct permissions, etcetera
- any makefiles required will have been created and any additional files added will be handled by the IDE as far as keeping the (underlying) makefile up to date
- there is online help with IDE procedures and search engines are good with your IDE keyword
- multi-device scenarios catered for
- debugging facilities are great
Cons might be (my argument is that you can control lots of these with awareness) …
- what to do after speed of initial progress (“post FNP navel gazing”?), and the hard slog begins (take some time between this and your next bit of work planning the first few more important bits of the “hard slog” to do)
- the design has a lot of similarities to other products “out there” (plan for some things you want to do that can be done in a variety of ways and pick a way that you have never tried before, if applicable)
- you may have lost that intimate awareness of where each file is and what its role is for your project (go to the Finder or Windows Explorer or other, and locate your project, and see what’s there, now, preferably)
- you lack intimate understanding of how to compile your code when it comes to porting it to another environment (the next IDE along, if applicable, may help with this (we hope))
- the relationship of code to GUI can be baffling (practice the GUI to code linkage points, and look around more when succeeding, and remember that the more you practice the better you get)
- the diversity of choice of environment is sometimes unnecessary and confusing (this is worth putting up with, especially as the more scenarios you test, the more solid your project is)
- you may debug your way to a less efficient and elegant solution (leave debugging to only deeply embedded issues or problems, rather than using it in any way like a design tool)
Think Pro 2. on its own, makes it worth while to use IDEs, as you can see what is behind you and ahead of you, and it helps you envisage the “big picture” of what you want to achieve overall.
Here is a link to some downloadable Xcode (on a Mac laptop) Objective-C programming source code which you may want to rename to AppDelegate.h, AppDelegate.m, MainViewController.h, MainViewController.m, FlipsideViewController.h, FlipsideViewController.m and main.m
If this was interesting you may be interested in this too.
If this was interesting you may be interested in this too.


